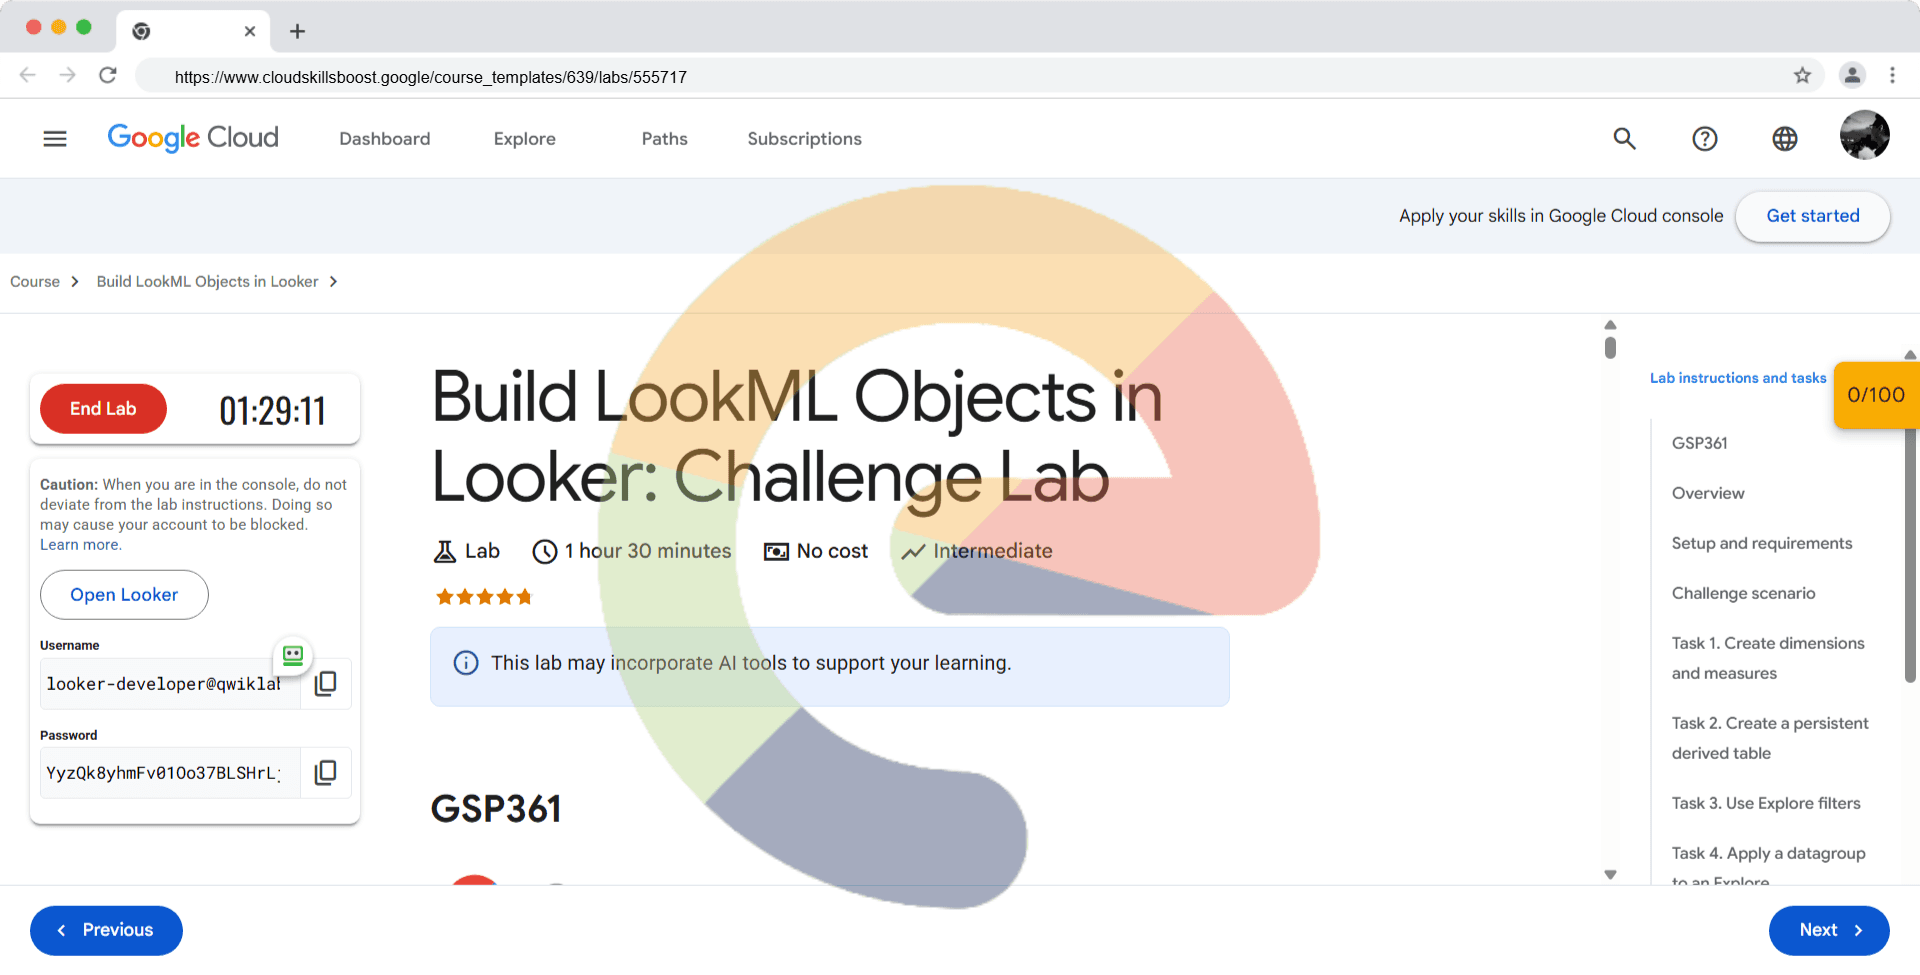
Build LookML Objects in Looker: Challenge Lab - GSP361
A passionate full-stack developer from @ePlus.DEV
Overview
In a challenge lab you’re given a scenario and a set of tasks. Instead of following step-by-step instructions, you will use the skills learned from the labs in the course to figure out how to complete the tasks on your own! An automated scoring system (shown on this page) will provide feedback on whether you have completed your tasks correctly.
When you take a challenge lab, you will not be taught new Google Cloud concepts. You are expected to extend your learned skills, like changing default values and reading and researching error messages to fix your own mistakes.
To score 100% you must successfully complete all tasks within the time period!
This lab is recommended for students who have enrolled in the Build LookML Objects in Looker skill badge. Are you ready for the challenge?
Topics tested:
Create dimensions and measures
Create and persist derived tables
Apply different filters to an Explore
Create and use a new datagroup
Setup and requirements
Before you click the Start Lab button
Read these instructions. Labs are timed and you cannot pause them. The timer, which starts when you click Start Lab, shows how long Google Cloud resources are made available to you.
This hands-on lab lets you do the lab activities yourself in a real cloud environment, not in a simulation or demo environment. It does so by giving you new, temporary credentials that you use to sign in and access Google Cloud for the duration of the lab.
To complete this lab, you need:
- Access to a standard internet browser (Chrome browser recommended).
Note: Use an Incognito or private browser window to run this lab. This prevents conflicts between your personal account and the Student account, which may cause extra charges incurred to your personal account.
- Time to complete the lab—remember, once you start, you cannot pause a lab.
Note: If you already have a personal Google Cloud account or project, do not use it for this lab to avoid extra charges to your account.
How to start your lab and sign in to Looker
When ready, click Start Lab.
The Lab Details pane appears with the temporary credentials that you must use for this lab.
If you need to pay for the lab, a pop-up opens for you to select your payment method.
Notice your lab credentials in the Lab details pane. You use them to sign in to the Looker instance for this lab.
Note: If you use other credentials, you will get errors or incur charges.
Click Open Looker.
Enter the provided Username and Password in the Email and Password fields.
Username:
looker-developer@qwiklabs.netCopied!
Password:
YyzQk8yhmFv01Oo37BLSHrLjW4Iparf49u9KUFmqPck=Copied!
Important: You must use the credentials from the Lab Details pane on this page. Do not use your Google Cloud Skills Boost credentials. If you have a personal Looker account, do not use it for this lab.
Click Log In.
After a successful login, you see the Looker instance for this lab.
Challenge scenario
You are a LookML developer intern for a new cutting-edge e-commerce company. The company's infrastructure is run solely on Google Cloud and uses Looker for their data platform to analyze and integrate insights across different data sources.
For your first assignment, you have been tasked with creating LookML objects that answer specific business requirements from your company's different teams so that they are equipped to run focused market research and data analysis.
You are expected to have the skills and knowledge for these tasks, so don't expect step-by-step guides to be provided.
Task 1. Create dimensions and measures
Your marketing team is requesting a new view to help them calculate how many users that found their website via search that have completed orders. In addition, they want to then see the gross margin of sales and the number of return days for each order. In this section, you will build dimensions and measures to answer these questions.
Open the order_items view
Click the toggle button to enter Development mode.
Navigate to the the qwiklabs-ecommerce project and open the order_items view file.
You write your new dimensions and measures in this file.
Create dimensions and measures
Inside of the order_items view file, you can add your new dimensions and measures after the total_revenue_from_completed_orders measure (around line 128).
- Create a dimension that returns a boolean value if the user traffic source was from Search. Name this dimension
is_search_source.
- Use this newly built
is_search_sourcedimension to create a measure that sums the sale price from Search users with a Complete status on their order. Name this measuresales_from_complete_search_users.
- Create a new measure that computes a sum of the total gross margin (sale price - cost). Name this measure
total_gross_margin.
- Create a new dimension that computes the number of days between the Order Delivered Date and the Order Return Date. The interval should be calculated in days. Name this dimension
return_days.
Click Validate LookML to validate your code.
Click Commit Changes and Push, then click Deploy to Production.
Click Check my progress to verify the objective.
Create dimensions and measures
Task 2. Create a persistent derived table
Your data analytics team has requested a derived table to include specific details about a user. It will need to include their Order ID, User ID, Total Revenue, Age, City, and State to conduct market research on where to launch an advertisement campaign. Since they will need to be using this table heavily over the next few months, the table should be already created reducing query time and database load.
In this section, you will create a native derived table and persist it based on the pre-defined datagroup (cache policy) in the model.
Create a native derived table
- From the Order Items Explore, create a native derived table named user_details that contains the following details for each user in the following order:
Order ID
User ID
Total revenue
Age
City
State
Note: You should retrieve the Order ID, User ID, and Total Revenue from the Order Items view, and Age, City, and State from the Users view.
Once you've created the derived table, add the code to a new view file named user_details. Move this file into the views folder.
Finally, join your new user_details view to the Order Items Explore. Make sure to set the join field as
user_idon the order_items view and use a many to one relationship.Click Commit Changes and Push, then click Deploy to Production.
Persist the derived table
Persist the
user_detailsderived table based on the pre-defined datagroup (cache policy) in the model file.Set the persisted derived table to stay up for a set duration of
3hours.Click Validate LookML to validate your code.
Click Commit Changes and Push, then click Deploy to Production.
Click Check my progress to verify the objective.
Create a persistent derived table
Task 3. Use Explore filters
In this section, you will choose the correct type of filter to use based off of different business requirements. For each filter you use, replace it with the filter in the next section for the grading to accurately check your progress.
Note: After each filter you create, click Commit Changes and Push, then click Deploy to Production to accurately be graded for each exercise.
Filter #1
Your marketing team has requested that you create an Explore that only shows orders where the sale price is over $162. Additionally, they don't want there to be any visible filters in the Explore that can be modified.
- Add a filter to the Order Items Explore to include only items where the sale price is greater than or equal to
162. This will be used to omit any orders from the Explore that are less than $162.
Filter #2
Your marketing team has requested an Explore where there is a default filter on the shipped date which can be overridden if they apply a filter on the status or delivered date. They'd like the shipped date to default to the year 2018.
Remove the previous filter.
Next, add a filter to the Order Items Explore to only return data for orders that were shipped in the year 2018, unless a filter is applied to the Order Item Status or Order Item Delivered Date.
Use the
shipped_datedimension for this filter.
Click Check my progress to verify the objective.
Use Explore filters Filter #2
Filter #3
Your marketing team has requested that you create an Explore that only shows orders where the average sale price is more than $75. Additionally, they don't want there to be any visible filters in the Explore that can be modified.
Remove the previous filter.
Next, add a filter to the Order Items Explore to filter out all the items where the average sale price is more than
75. That is, use a filter to only show orders with an average sale price of $75or more.
Filter #4
Finally, your marketing team has requested that you build an Explore to include a certain set of filters with default values that may be changed, but not removed. The idea is to not request all of the possible data at one time by filtering by specific dimensions, which should save on computing costs.
Specifically, they want the set of filters to be on the Order Status, State, and Traffic source. The default values should be set to Shipped, California, and Search, respectively.
Remove the previous filter.
Next, use a filter to define default values for the Order Status, State, and Traffic Source for the Order Items Explore. Make sure that the filter is required for the business user, but they will still be able to provide different values for these dimensions.
Click Check my progress to verify the objective.
Use Explore filters Filter #4
Task 4. Apply a datagroup to an Explore
Lastly, you've been requested to update the caching policy of your LookML model. Your team would like you to update the number of hours to keep a cached result to 3 hours.
Remove any filters you created from the previous section.
Inside of your model file, create a new datagroup named
order_items_challenge_datagroupthat has a maximum caching age of3hours, and uses the following sql trigger:SELECT MAX(order_item_id) from order_items ;;.Apply the datagroup at the model level to apply it as the default for all Explore.
Click Validate LookML to validate your code.
Click Commit Changes and Push, then click Deploy to Production.
Click Check my progress to verify the objective.
Apply a datagroup to an Explore
Solution of Lab
Click the toggle button to enter Development mode.
Navigate to the qwiklabs-ecommerce.
Task 1.order_items_challenge.view
view: order_items_challenge {
  sql_table_name: `cloud-training-demos.looker_ecomm.order_items`  ;;
  drill_fields: [order_item_id]
  dimension: order_item_id {
  primary_key: yes
  type: number
  sql: ${TABLE}.id ;;
  }

  dimension: is_search_source {
  type: yesno
  sql: ${users.traffic_source} = "Search" ;;
  }


  measure: sales_from_complete_search_users {
  type: sum
  sql: ${TABLE}.sale_price ;;
  filters: [is_search_source: "Yes", order_items.status: "Complete"]
  }


  measure: total_gross_margin {
  type: sum
  sql: ${TABLE}.sale_price - ${inventory_items.cost} ;;
  }


  dimension: return_days {
  type: number
  sql: DATE_DIFF(${order_items.delivered_date}, ${order_items.returned_date}, DAY);;
  }
  dimension: order_id {
  type: number
  sql: ${TABLE}.order_id ;;
  }
}
Task 2.user_details.view
# If necessary, uncomment the line below to include explore_source.
# include: "training_ecommerce.model.lkml"

view: user_details {
  derived_table: {
  explore_source: order_items {
    column: order_id {}
    column: user_id {}
    column: total_revenue {}
    column: age { field: users.age }
    column: city { field: users.city }
    column: state { field: users.state }
  }
  }
  dimension: order_id {
  description: ""
  type: number
  }
  dimension: user_id {
  description: ""
  type: number
  }
  dimension: total_revenue {
  description: ""
  value_format: "$#,##0.00"
  type: number
  }
  dimension: age {
  description: ""
  type: number
  }
  dimension: city {
  description: ""
  }
  dimension: state {
  description: ""
  }
}
Update the VALUE_1 in Line 21 with the FILTER #1 Value Provided in Lab

Update the VALUE_2 in Line 33 with the FILTER #3 Value Provided in Lab

training_ecommerce.model
connection: "bigquery_public_data_looker"

# include all the views
include: "/views/*.view"
include: "/z_tests/*.lkml"
include: "/**/*.dashboard"

datagroup: training_ecommerce_default_datagroup {
  # sql_trigger: SELECT MAX(id) FROM etl_log;;
  max_cache_age: "1 hour"
}

persist_with: training_ecommerce_default_datagroup

label: "E-Commerce Training"

explore: order_items {


  sql_always_where: ${sale_price} >= VALUE_1 ;;


  conditionally_filter: {

  filters: [order_items.shipped_date: "2018"]

  unless: [order_items.status, order_items.delivered_date]

  }


  sql_always_having: ${average_sale_price} > VALUE_2 ;;

  always_filter: {
  filters: [order_items.status: "Shipped", users.state: "California", users.traffic_source:
    "Search"]
  }


  join: user_details {

  type: left_outer

  sql_on: ${order_items.user_id} = ${user_details.user_id} ;;

  relationship: many_to_one

  }


  join: order_items_challenge {
  type: left_outer
  sql_on: ${order_items.order_id} = ${order_items_challenge.order_id} ;;
  relationship: many_to_one
  }

  join: users {
  type: left_outer
  sql_on: ${order_items.user_id} = ${users.id} ;;
  relationship: many_to_one
  }


  join: inventory_items {
  type: left_outer
  sql_on: ${order_items.inventory_item_id} = ${inventory_items.id} ;;
  relationship: many_to_one
  }

  join: products {
  type: left_outer
  sql_on: ${inventory_items.product_id} = ${products.id} ;;
  relationship: many_to_one
  }

  join: distribution_centers {
  type: left_outer
  sql_on: ${products.distribution_center_id} = ${distribution_centers.id} ;;
  relationship: many_to_one
  }
}

explore: events {
  join: event_session_facts {
  type: left_outer
  sql_on: ${events.session_id} = ${event_session_facts.session_id} ;;
  relationship: many_to_one
  }
  join: event_session_funnel {
  type: left_outer
  sql_on: ${events.session_id} = ${event_session_funnel.session_id} ;;
  relationship: many_to_one
  }
  join: users {
  type: left_outer
  sql_on: ${events.user_id} = ${users.id} ;;
  relationship: many_to_one
  }
}

Update the NUM in Line 10 with the given number of Hours in Task 4 from the Lab Manual.

training_ecommerce.model
connection: "bigquery_public_data_looker"

# include all the views
include: "/views/*.view"
include: "/z_tests/*.lkml"
include: "/**/*.dashboard"

datagroup: order_items_challenge_datagroup {
  sql_trigger: SELECT MAX(order_item_id) from order_items ;;
  max_cache_age: "NUM hours"
}


persist_with: order_items_challenge_datagroup


label: "E-Commerce Training"

explore: order_items {
  join: user_details {

  type: left_outer

  sql_on: ${order_items.user_id} = ${user_details.user_id} ;;

  relationship: many_to_one

  }


  join: order_items_challenge {
  type: left_outer
  sql_on: ${order_items.order_id} = ${order_items_challenge.order_id} ;;
  relationship: many_to_one
  }

  join: users {
  type: left_outer
  sql_on: ${order_items.user_id} = ${users.id} ;;
  relationship: many_to_one
  }


  join: inventory_items {
  type: left_outer
  sql_on: ${order_items.inventory_item_id} = ${inventory_items.id} ;;
  relationship: many_to_one
  }

  join: products {
  type: left_outer
  sql_on: ${inventory_items.product_id} = ${products.id} ;;
  relationship: many_to_one
  }

  join: distribution_centers {
  type: left_outer
  sql_on: ${products.distribution_center_id} = ${distribution_centers.id} ;;
  relationship: many_to_one
  }
}

explore: events {
  join: event_session_facts {
  type: left_outer
  sql_on: ${events.session_id} = ${event_session_facts.session_id} ;;
  relationship: many_to_one
  }
  join: event_session_funnel {
  type: left_outer
  sql_on: ${events.session_id} = ${event_session_funnel.session_id} ;;
  relationship: many_to_one
  }
  join: users {
  type: left_outer
  sql_on: ${events.user_id} = ${users.id} ;;
  relationship: many_to_one
  }
}