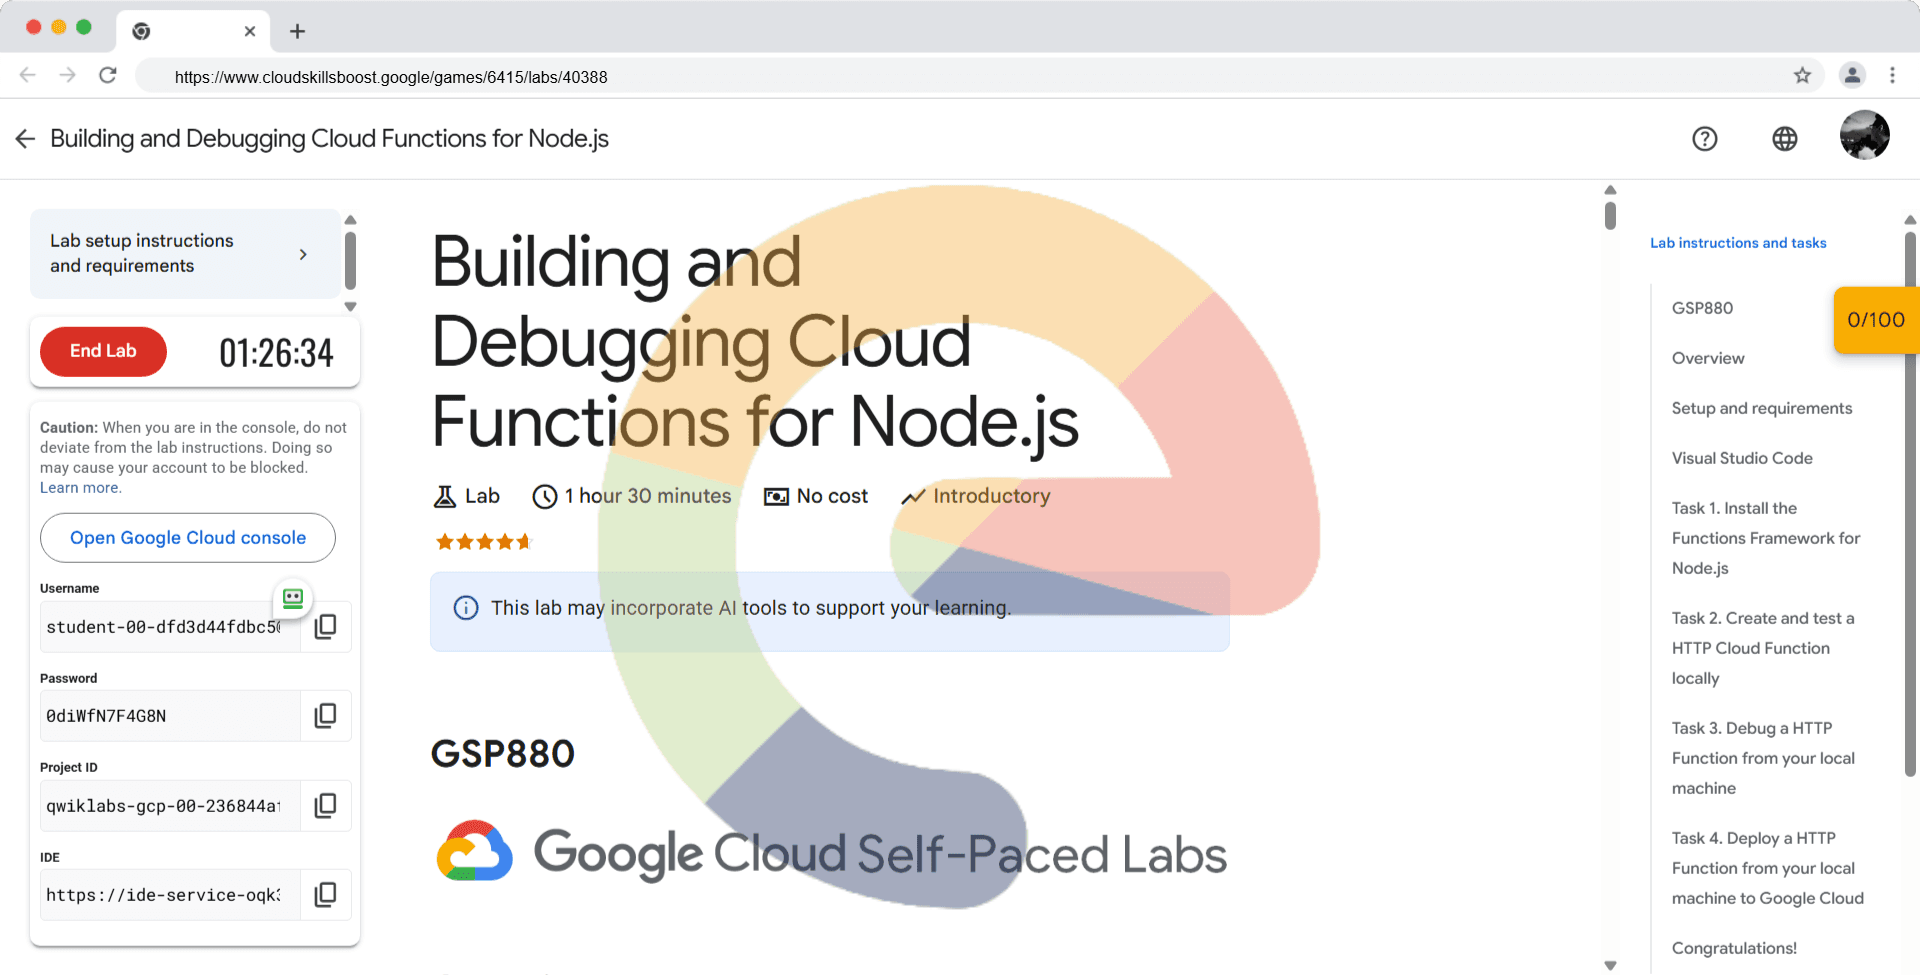
Building and Debugging Cloud Functions for Node.js - GSP880
A passionate full-stack developer from @ePlus.DEV
Overview
Google Cloud Functions is an event-driven serverless compute platform. Cloud Functions allows you to write your code without worrying about provisioning resources or scaling to handle changing requirements.
Cloud Functions written in Javascript execute in a Node.js environment on Google Cloud Platform. You can run your Cloud Function in any standard Node.js runtime to enable portability and local testing.
In this lab, you will create a Cloud Function for Node.js that reports whether a specified temperature is acceptable or too hot. You will create, test, and debug your Cloud Function using Visual Studio Code on your local machine. Lastly, you'll deploy your function to Google Cloud Platform.
What you'll learn
Functions Framework for Node.js.
Create and test a HTTP Cloud Function locally.
Debug a HTTP Function from your local machine.
Deploy a HTTP Function from your local machine.
Prerequisites
Node.js 8.6.0 or higher (to install Node.js, use nvm, to check your version, run node --version)
Completion of the My First Function: Node.js guide
Setup and requirements
Before you click the Start Lab button
Read these instructions. Labs are timed and you cannot pause them. The timer, which starts when you click Start Lab, shows how long Google Cloud resources are made available to you.
This hands-on lab lets you do the lab activities in a real cloud environment, not in a simulation or demo environment. It does so by giving you new, temporary credentials you use to sign in and access Google Cloud for the duration of the lab.
To complete this lab, you need:
- Access to a standard internet browser (Chrome browser recommended).
Note: Use an Incognito (recommended) or private browser window to run this lab. This prevents conflicts between your personal account and the student account, which may cause extra charges incurred to your personal account.
- Time to complete the lab—remember, once you start, you cannot pause a lab.
Note: Use only the student account for this lab. If you use a different Google Cloud account, you may incur charges to that account.
Visual Studio Code
The lab environment has provisioned an instance of Visual Studio Code for you. You can use this rather than installing and using a local version. This instance can be run completely in your browser, and has the required Cloud SDKs and Node packages installed.
Copy the URL listed under Visual Studio IDE from Lab Details panel and open in a new tab or browser window.
Within Visual Studio Code, you should check to be sure that you are logged into Google Cloud with the correct credentials.
Open up a terminal session use this command:
gcloud auth list
You should see an output like this:
                  Credentialed Accounts
ACTIVE  ACCOUNT
        708175952215-compute@developer.gserviceaccount.com
*       student-02-38b433f92344@qwiklabs.net

To set the active account, run:
    $ gcloud config set account `ACCOUNT`
If the account listed and selected with the asterisk is not the student account listed in your Lab Details panel, you will need to login to Google Cloud.
To login, type the command:
gcloud auth login
If prompted, Do you want to continue (Y/n)?. Enter Y.
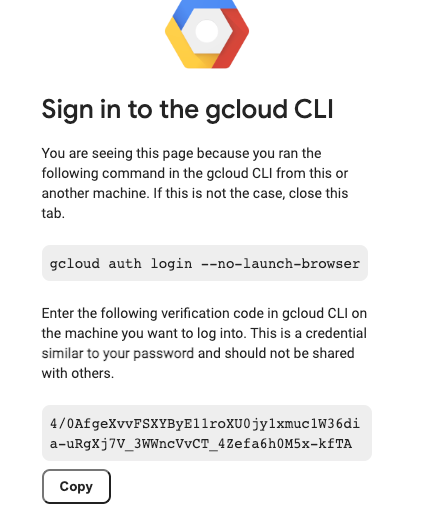
You will be presented with a URL to login (it may open in your browser automatically) with Google Credentials. Be sure to use the credentials specified in the Lab Details panel instead of your own. This will ensure that you are not charged to run the code in this lab.
If presented with a question to enable Google Cloud SDK to access your account, click Allow.

Finally, you will be presented with a verification code. Copy the code and enter it in the terminal where you were prompted from the login command.
You should now be logged in with the correct credentials for the lab. Verify using the auth list command:
gcloud auth list
Task 1. Install the Functions Framework for Node.js
The Functions Framework for Node.js is an open source FaaS (Function as a Service) framework for writing portable Node.js functions that is brought to you by the Google Cloud Functions team.
The Functions Framework lets you write lightweight functions that run in many different environments, including:
Google Cloud Functions
Your local development machine
Cloud Run and Cloud Run on GKE
Knative-based environments
Create a app folder.
mkdir ff-app && cd $_Create a new node.js app.
npm init --yNote:
While accepting defaults, make sure to useindex.jsas the entry point for your app.Now install the Functions Framework for Node.js.
npm install @google-cloud/functions-frameworkClick Explorer in left pane and click Open folder. Select the
/home/ide-dev/ff-apppath and then click OK. Open yourpackage.jsonin explorer window. Verify that you see the functions framework listed as a dependency as shown in the example below. (The version shown below may vary. This is ok.)"dependencies": { "@google-cloud/functions-framework": "^3.1.2" }
The Functions Framework has now been successfully installed. You are now ready to create your Cloud Function.
Click Check my progress to verify the objective.
Install the Functions for Node.js
Task 2. Create and test a HTTP Cloud Function locally
Create a local Cloud Function
In this section, you will create and test a HTTP Function that responds to HTTP requests.
Create a new file called
index.jsin the same directory as your package.json file.Add the following:
 exports.validateTemperature = async (req, res) => {
  try {
    if (req.body.temp < 100) {
      res.status(200).send("Temperature OK \n");
    } else {
      res.status(200).send("Too hot \n");
    }
  } catch (error) {
    //return an error
    console.log("got error: ", error);
    res.status(500).send(error);
  }
 };
You are now ready to test the function.
Test function in Visual Studio Code
From this point on, this lab uses the integrated terminal within VS Code.
In Visual Studio Code, open a terminal window.
Run the following command:
npx @google-cloud/functions-framework --target=validateTemperatureThis command starts a local server that is ready to call the
validateTemperaturefunction when the server receives an HTTP request.You should see the following output in your terminal window:
 Serving function...
 Function: validateTemperature
 URL: http://localhost:8080/
Create a second terminal window within VS Code by clicking the
New Terminalplus icon in the Terminal window pane. You will switch between these two terminal windows: the first for serving the function and the second for calling the function using curl.You can switch between terminal windows by using the drop down. If a terminal window is currently serving a function, the drop down list refers to it as
node. Otherwise it is referred tozsh(or the shell you are using).In the second terminal window, run the following command to send a temperature payload of 50 to the local server serving the
validateTemperaturefunction.curl -X POST http://localhost:8080 -H "Content-Type:application/json" -d '{"temp":"50"}'You should receive the following response from the cloud function:
Temperature OKIn the second terminal window, test the function again by sending a "too high" temperature payload as shown below:
curl -X POST http://localhost:8080 -H "Content-Type:application/json" -d '{"temp":"120"}'You should receive the following response from the cloud function:
Too hotLastly, test the function by calling it with a missing payload.
curl -X POST http://localhost:8080You should receive the following response from the cloud function:
Too hotIdeally, the function should not return "too hot" if no temperature is provided. You have discovered a bug in the code.
Make sure to stop your function from running by pressing
Ctrl + Cin the first terminal window serving your function.

Click Check my progress to verify the objective.
Create a HTTP Cloud function
Task 3. Debug a HTTP Function from your local machine
Now we'll start node with the inspect flag to enable debugging using the following command:
npx --node-options=--inspect @google-cloud/functions-framework --target=validateTemperaturewhere the
--inspectflag tells Node.js to listen for a debugging client. For more info, please see the Node documentation on debugging.You'll now need to attach the debugger to the running node process. Open the Command Palette in Visual Studio Code. If you're on a Mac, use
Cmd + Shift + P. If you're on Windows, useCtrl + Shift + P.Type
Debug: Attach to Node Processin the Command Palette and pick the top item in the list.You will be prompted to select a process to attach to. Select the first node process (it will match the npx command you used to start the process).
This time you should see an orange status bar in VS Code indicating that the debugger is attached.
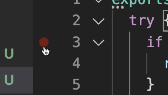
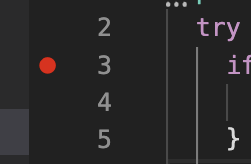
Set a breakpoint at line 3 by clicking inside the margin to the left of the line number.
The breakpoint icon should illuminate bright red, indicating this line of code is accessible by the debugger.
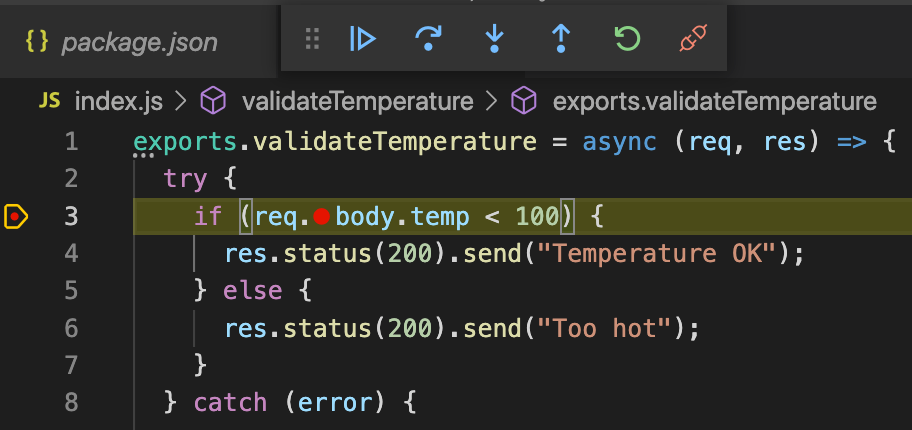
In the second terminal window, hit the breakpoint by running the following curl command.
curl -X POST http://localhost:8080You will see a yellow highlight appear over line 3. This highlight indicates that this line is the current statement being evaluated by the debugger.
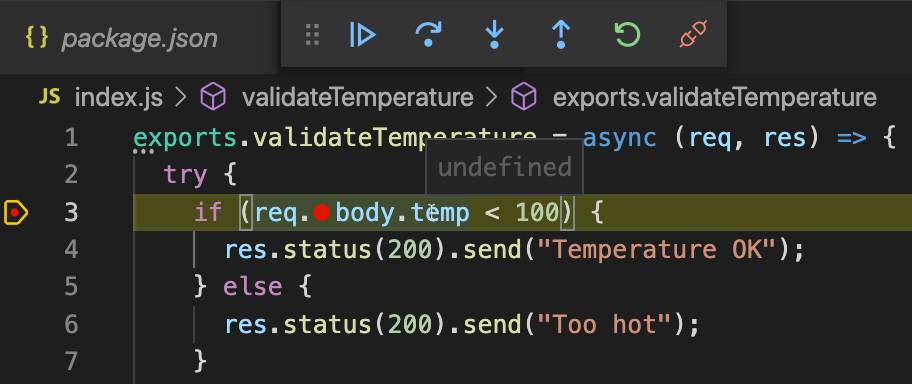
Mouse-over the temp variable to verify that its contents are
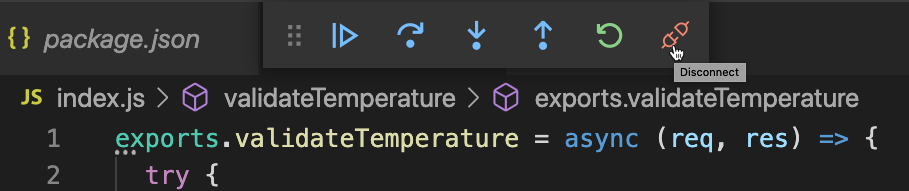
undefined, since the request did not provide a temperature payload.Click the step-over icon in status bar to execute the next statement.
You will see the current statement jump to the else portion of the if statement.
For this demo, you can assume that the specification requires all requests to send a temperature reading. In the unlikely event a temperature reading is not provided, the function should throw an exception.
Click the Disconnect button to disconnect the debugger.
In your first terminal window, stop serving your function from running by pressing Ctrl + C.
Update your function to add an if statement to throw an exception if temperature is undefined as shown below:
exports.validateTemperature = async (req, res) => {

 try {

   // add this if statement below line #2
   if (!req.body.temp) {
     throw "Temperature is undefined \n";
   }

 ...
In your first terminal window, start running your cloud function again by running the following command without the --inspect flag to avoid attaching the debugger.
npx @google-cloud/functions-framework --target=validateTemperatureVerify that an exception is thrown by running the following command in your second terminal window:
curl -X POST http://localhost:8080You should see the following output returned from your request:
Temperature is undefinedIn your first terminal window, you'll also see the error logged by your function.
Serving function...
Function: validateTemperature
URL: http://localhost:8080/
got error:  Temperature is undefined
You can now stop running your function by pressing CTRL + C in your first terminal window.


Click Check my progress to verify the objective.
Debug HTTP function
Task 4. Deploy a HTTP Function from your local machine to Google Cloud
Now that you've created, tested, and debugged a Cloud Function on your local machine, you are ready to deploy it to Google Cloud.
Set the project configuration
gcloud config set project qwiklabs-gcp-00-236844af4ebdIn any terminal window, run the following command:
 gcloud functions deploy validateTemperature \
   --trigger-http \
   --runtime nodejs20 \
   --gen2 \
   --allow-unauthenticated \
   --region us-east1 \
   --service-account developer-sa@qwiklabs-gcp-00-236844af4ebd.iam.gserviceaccount.com
where the parameters are explained as follows:
deploy validateTemperature- the gcloud subcommand for deploying a Cloud Function with the namevalidateTemperaturewith an entry point namedvalidateTemperature--trigger-http- the triggering event type--gen2- the second generation runtime for this function--runtime nodejs20- the targeted runtime for this function--allow-unauthenticated- allows public access to call the function--region- the region where the function will be deployed
You may be prompted to enable the Cloud Functions APIs. Type y to enable the APIs.
    API [cloudfunctions.googleapis.com] not enabled on project
    [1057316433766]. Would you like to enable and retry (this will take a
    few minutes)? (y/N)? y
Once deployment is completed, you will see the following in the output:
    Deploying function (may take a while - up to 2 minutes)...done.
    availableMemoryMb: 256
    buildId: <your-build-id>
    entryPoint: validateTemperature
    httpsTrigger:
      url: https://<your-region-and-project>.cloudfunctions.net/validateTemperature
    ...
Note the value of the httpsTrigger. In your terminal window, use curl to call this public endpoint, replacing
<your-region-and-project>with the appropriate value.curl -X POST https://us-east1-qwiklabs-gcp-00-236844af4ebd.cloudfunctions.net/validateTemperature -H "Content-Type:application/json" -d '{"temp":"50"}'and confirm that your cloud function has been deployed successfully by verifying the appropriate response.
Temperature OK
Click Check my progress to verify the objective.
Deploy the HTTP function
Solution of Lab
curl -LO raw.githubusercontent.com/quiccklabs/Labs_solutions/refs/heads/master/Building%20and%20Debugging%20Cloud%20Functions%20for%20Node.js/quicklabgsp880.sh
source quicklabgsp880.sh