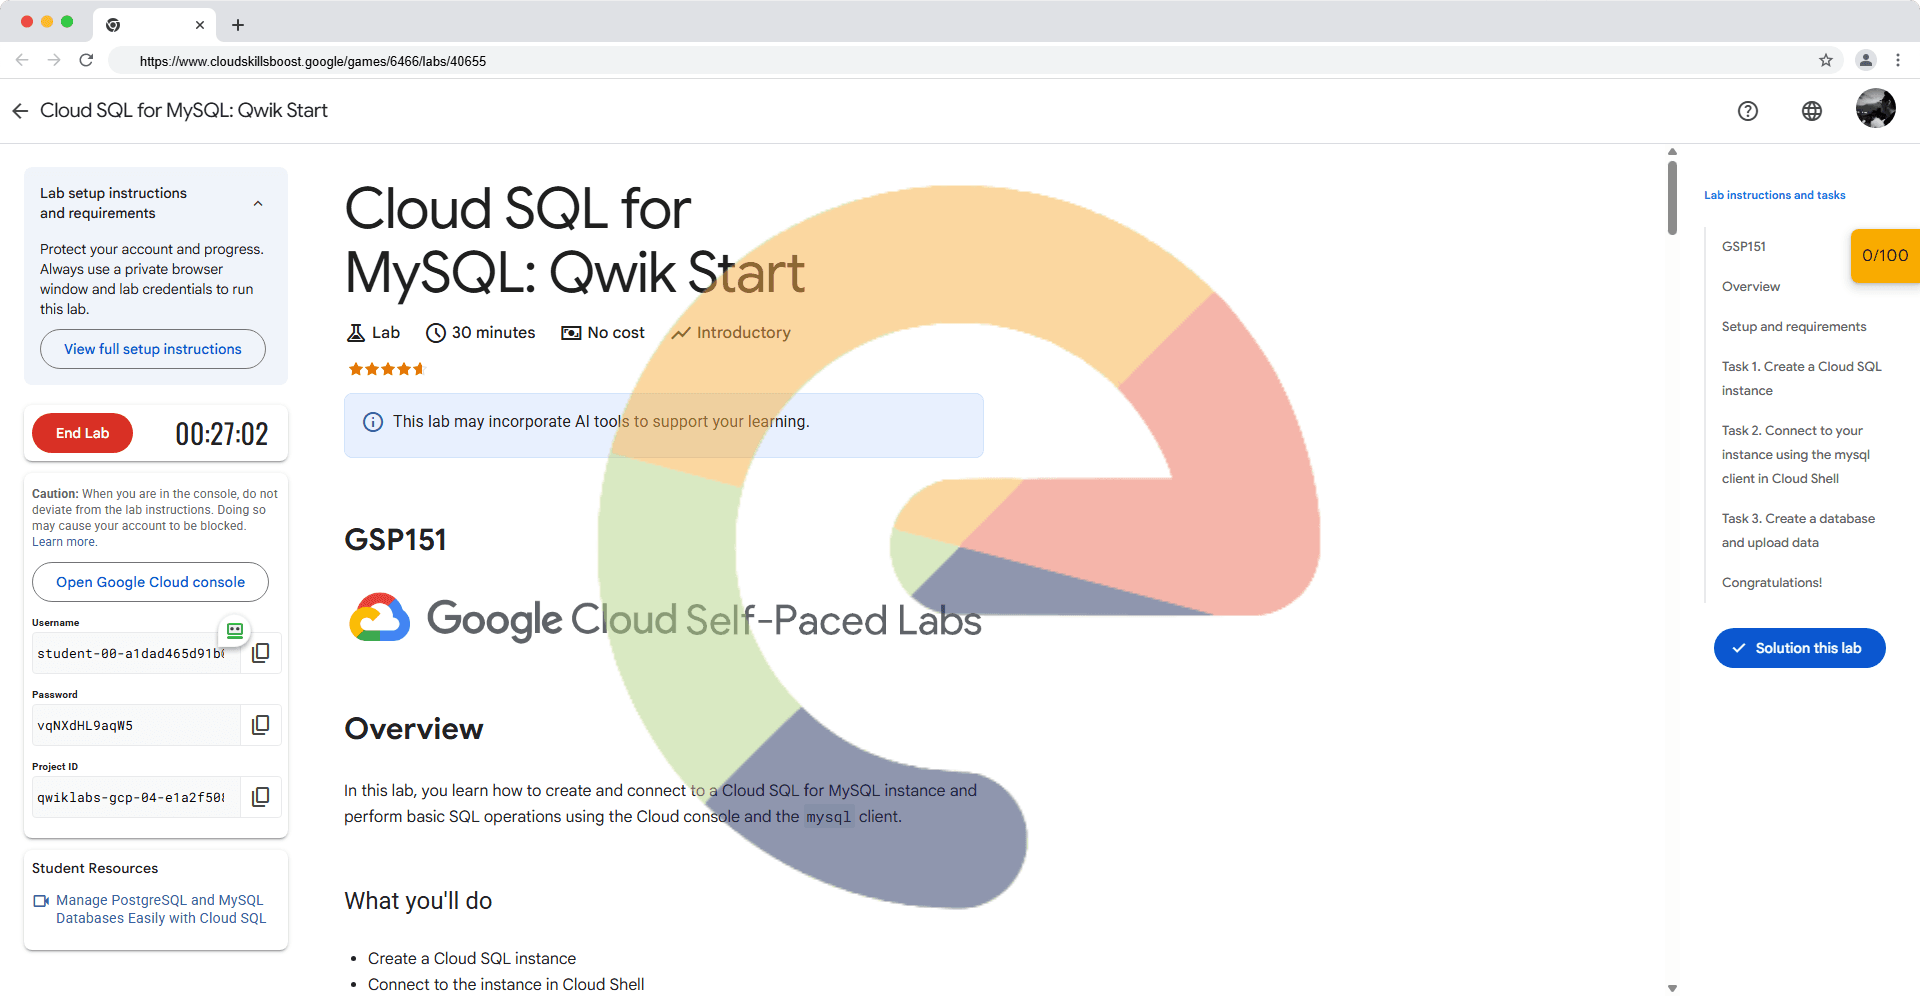
Cloud SQL for MySQL: Qwik Start - GSP151
A passionate full-stack developer from @ePlus.DEV
Overview
In this lab, you learn how to create and connect to a Cloud SQL for MySQL instance and perform basic SQL operations using the Cloud console and the mysql client.
What you'll do
Create a Cloud SQL instance
Connect to the instance in Cloud Shell
Create a database and upload data
Task 1. Create a Cloud SQL instance
From the Navigation menu () click on SQL.
Click Create Instance.
Choose MySQL database engine.
Enter Instance ID as
myinstance.In the password field click on the Generate link and the eye icon to see the password. Save the password to use in the next section.
Select the database version as MySQL 8.
For Choose a Cloud SQL edition, select Enterprise edition.
For Preset choose Development (4 vCPU, 16 GB RAM, 100 GB Storage, Single zone).
Warning: if you choose a preset larger than Development, your project will be flagged and your lab will be terminated.
Set Region as
<REGION>.Set the Multi zones (Highly available) > Primary Zone field as
<ZONE>.Click CREATE INSTANCE.
It might take a few minutes for the instance to be created. Once it is, you will see a green checkmark next to the instance name.
- Click on the Cloud SQL instance. The SQL Overview page opens.
Test Completed Task
Click Check my progress to verify your performed task. If you have successfully created a Cloud SQL instance, you will see an assessment score.
Create a Cloud SQL instance
Check my progress
Test your understanding
Below is a true/false question to reinforce your understanding of this lab's concepts. Answer it to the best of your ability.
Instance ID is used to uniquely identify your instance within the project.TrueFalse
Task 2. Connect to your instance using the mysql client in Cloud Shell
- In the Cloud Console, click the Cloud Shell icon in the upper right corner.
Click Continue.
At the Cloud Shell prompt, connect to your Cloud SQL instance by running the following:
gcloud sql connect myinstance --user=root
Click Authorize.
Enter your root password when prompted. Note: The cursor will not move.
Press the Enter key when you're done typing.
You should now see the mysql prompt.
Task 3. Create a database and upload data
- Create a SQL database called
guestbookon your Cloud SQL instance:
CREATE DATABASE guestbook;
Test completed task
Click Check my progress to verify your performed task. If you have successfully created a custom database on the Cloud SQL instance, you will see an assessment score.
Create a database.
Check my progress
- Insert the following sample data into the guestbook database:
USE guestbook;
CREATE TABLE entries (guestName VARCHAR(255), content VARCHAR(255),
    entryID INT NOT NULL AUTO_INCREMENT, PRIMARY KEY(entryID));
    INSERT INTO entries (guestName, content) values ("first guest", "I got here!");
INSERT INTO entries (guestName, content) values ("second guest", "Me too!");
- Now retrieve the data:
SELECT * FROM entries;
You should see:
+--------------+-------------------+---------+
| guestName    | content           | entryID |
+--------------+-------------------+---------+
| first guest  | I got here!       |       1 |
| second guest | Me too!           |       2 |
+--------------+-------------------+---------+
2 rows in set (0.00 sec)
mysql>
Solution of Lab
New Solution
curl -LO raw.githubusercontent.com/ePlus-DEV/storage/refs/heads/main/labs/GSP151/lab.sh
source lab.sh
Old Solution
export ZONE=

curl -LO raw.githubusercontent.com/quiccklabs/Labs_solutions/master/Cloud%20SQL%20for%20MySQL%20Qwik%20Start/quicklabgsp151.sh
sudo chmod +x quicklabgsp151.sh
./quicklabgsp151.sh