
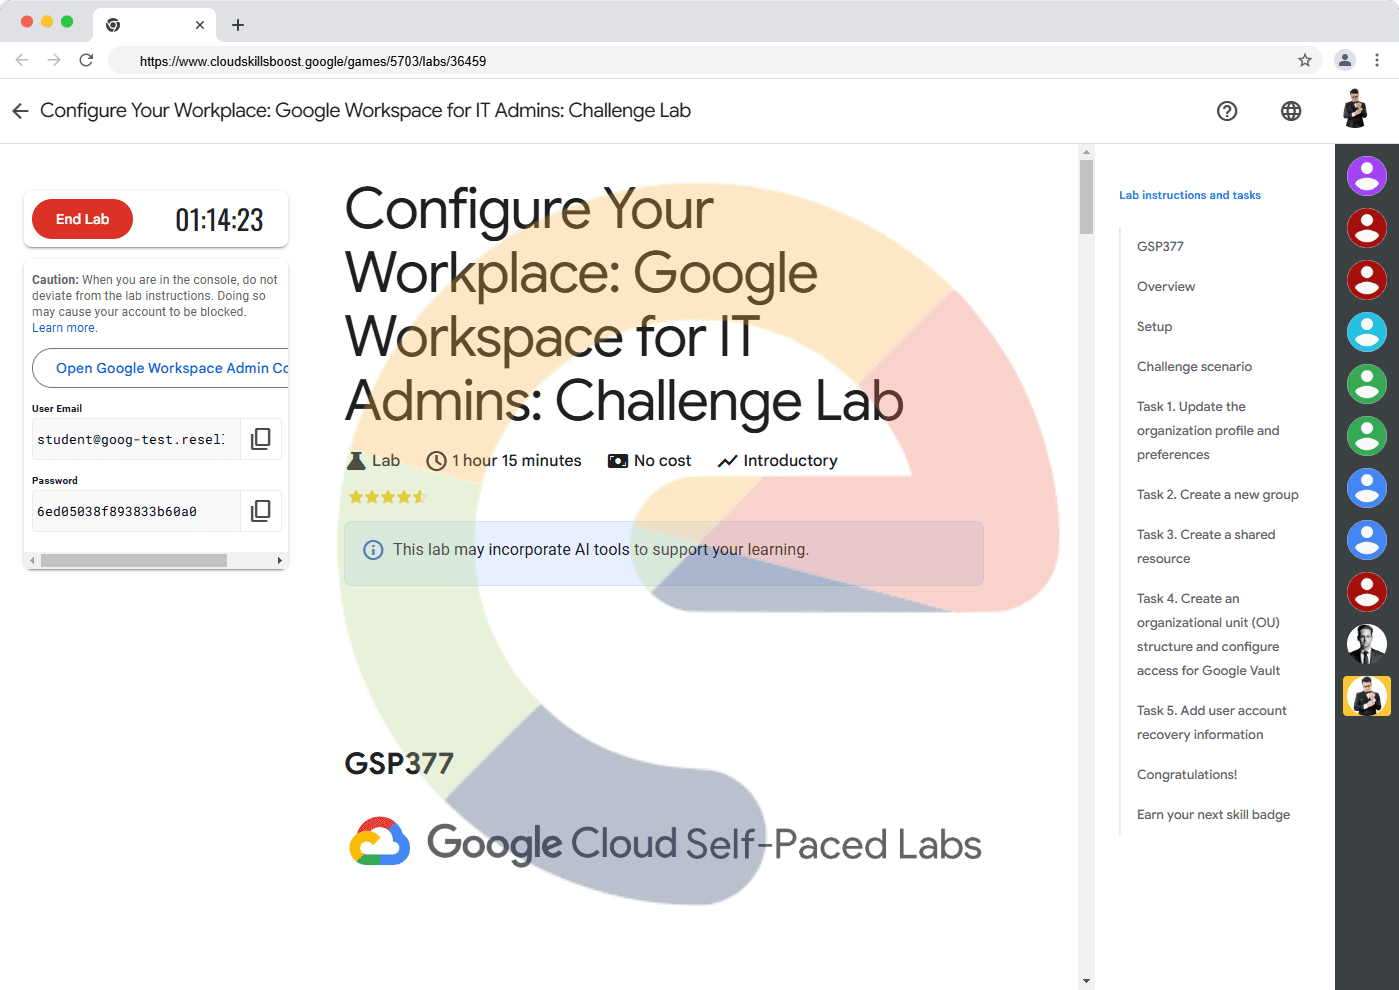
Configure Your Workplace: Google Workspace for IT Admins: Challenge Lab - GSP377
A passionate full-stack developer from @ePlus.DEV
Overview
In a challenge lab you’re given a scenario and a set of tasks. Instead of following step-by-step instructions, you will use the skills learned from the labs in the course to figure out how to complete the tasks on your own! An automated scoring system (shown on this page) will provide feedback on whether you have completed your tasks correctly.
When you take a challenge lab, you will not be taught new Google Cloud concepts. You are expected to extend your learned skills, like changing default values and reading and researching error messages to fix your own mistakes.
To score 100% you must successfully complete all tasks within the time period!
This lab is recommended for students enrolled in the Configure your Workplace: Google Workspace for IT Admins skill badge. Are you ready for the challenge?
Setup
Before you click the Start Lab button
Read these instructions. Labs are timed and you cannot pause them. The timer, which starts when you click Start Lab, shows how long Google Cloud resources will be made available to you.
This hands-on lab lets you do the lab activities yourself in a real cloud environment, not in a simulation or demo environment. It does so by giving you new, temporary credentials that you use to sign in and access Google Cloud for the duration of the lab.
To complete this lab, you need:
- Access to a standard internet browser (Chrome browser recommended).
Note: Use an Incognito or private browser window to run this lab. This prevents any conflicts between your personal account and the Student account, which may cause extra charges incurred to your personal account.
- Time to complete the lab---remember, once you start, you cannot pause a lab.
Note: If you already have your own personal Google Cloud account or project, do not use it for this lab to avoid extra charges to your account.
Start your lab
When you are ready, click Start Lab in the upper left.
Sign in to the Google Workspace Admin Console
To access the Google Workspace Admin Console, you must find your credentials and then sign in.
Find your lab's User Email and Password
To access the resources and console for this lab, locate the User Email and Password in the Lab Details panel. This panel is on the left or at the top, depending on the width of the browser window. Use these credentials to log in to the Google Workspace Admin Console.
If your lab requires other resource identifiers or connection-related information, they appear on this panel as well.
Sign in to the Admin Console
- Click Open Google Workspace Admin Console.
Tip: Open the tabs in separate windows, side-by-side.
Note: If you see the Verify your account dialog:
Click Next.
Click the prefilled user.
Click Use another account.
On the Sign in page, log in using the User Email and Password details provided.
When prompted, click I understand and ACCEPT TERMS OF SERVICE to accept all terms and conditions.
After a few seconds, the Admin Console opens.
Right-click VERIFY DOMAIN in either the yellow box at the top or the red box in the Domains card, and select Open link in new tab.
Note: To complete this step in a real-life scenario, you'd need to add an actual DNS record.
Click the new tab, called Domain setup, to complete the Google Workspace domain verification steps.
On the Let's set up your domain page, click Get Started.
Select the My domain uses a different host checkbox and then click Continue.
At the bottom of the Add verification code page, select the Come back here and confirm once you have updated the code on your domain host checkbox, and then click Confirm.
Wait until it says Your domain is verified! and then close the Domain setup tab.
Note: Do not click Activate Gmail.
Return to the Admin Console tab and refresh the page.
Challenge scenario
Your company acquired a small company that will become a new division. As part of the team tasked with configuring Workspace for this new division, you are assigned to use the Google Workspace Admin Console to configure the new operating division environment to run safely, securely, and reliably.
As a Workspace administrator you need to perform following administrative operations:
Update organization profile and preferences
Create a new group
Create a shared resource
Create an organizational unit (OU) structure and configure access for Google Vault
Enable super admin recovery
Task 1. Update the organization profile and preferences
Update the organization's name to Cymbal Finance and then the organization preferences setting so that new products are not automatically rolled out to users when they are released.
Click Check my progress to verify the objective.
Update the organization profile and preferences
Check my progress
Task 2. Create a new group
Create a new restricted group named Operating Team to be used by employees in the new division for easy group communication and collaboration. When you create this group, restrict the membership to invited users only.
Click Check my progress to verify the objective.
Create a new group
Check my progress
Task 3. Create a shared resource
Create a Calendar resource named Meeting Room, which represents a physical meeting room as a shared resource that users can view and book in Calendar. The meeting room will have at least one feature of the Other type.
Use below details to create resources:
For building:
| Parameter | Value |
| Name | Head Office |
| Floors | G |
For resource:
| Parameter | Value |
| Category | Meeting Space |
| Building | Head Office |
| Floor | G |
| Resource name | Meeting Room |
| Capacity | 12 |
For resource feature:
| Parameter | Value |
| Feature name | Whiteboard |
| Feature type | Other |
Click Check my progress to verify the objective.
Create a shared resource
Check my progress
Task 4. Create an organizational unit (OU) structure and configure access for Google Vault
To apply different administrative settings to some users, you must place them in child OUs below the top-level organization. In this task, create an OU named Operating Unit for the division and add at least two users to this OU with the following details:
| First Name | Last Name |
| Jamie | Jim |
| Leslie | Brick |
Then configure Google Vault so that only users in the Operating Unit OU can access it.
Click Check my progress to verify the objective.
Create an OU structure and configure access for Google Vault
Check my progress
Task 5. Add user account recovery information
Add an email recovery option in your lab account, so that if you forget your password, you can easily reset it.
Click Check my progress to verify the objective.
Add user account recovery information
Check my progress
Solution of Lab


