
Create a Go Artifact Registry and Upload Code - gem-artifact-registry-go
A passionate full-stack developer from @ePlus.DEV
Activate Cloud Shell
Cloud Shell is a virtual machine that is loaded with development tools. It offers a persistent 5GB home directory and runs on the Google Cloud. Cloud Shell provides command-line access to your Google Cloud resources.
Click Activate Cloud Shell
at the top of the Google Cloud console.

When you are connected, you are already authenticated, and the project is set to your PROJECT_ID. The output contains a line that declares the PROJECT_ID for this session:
Your Cloud Platform project in this session is set to YOUR_PROJECT_ID
gcloud is the command-line tool for Google Cloud. It comes pre-installed on Cloud Shell and supports tab-completion.
- (Optional) You can list the active account name with this command:
gcloud auth list
Click Authorize.
Your output should now look like this:
Output:
ACTIVE: *
ACCOUNT: student-01-xxxxxxxxxxxx@qwiklabs.net

To set the active account, run:
    $ gcloud config set account `ACCOUNT`
- (Optional) You can list the project ID with this command:
gcloud config list project
Output:
[core]
project = <project_ID>
Example output:
[core]
project = qwiklabs-gcp-44776a13dea667a6
Note: For full documentation of gcloud, in Google Cloud, refer to the gcloud CLI overview guide.
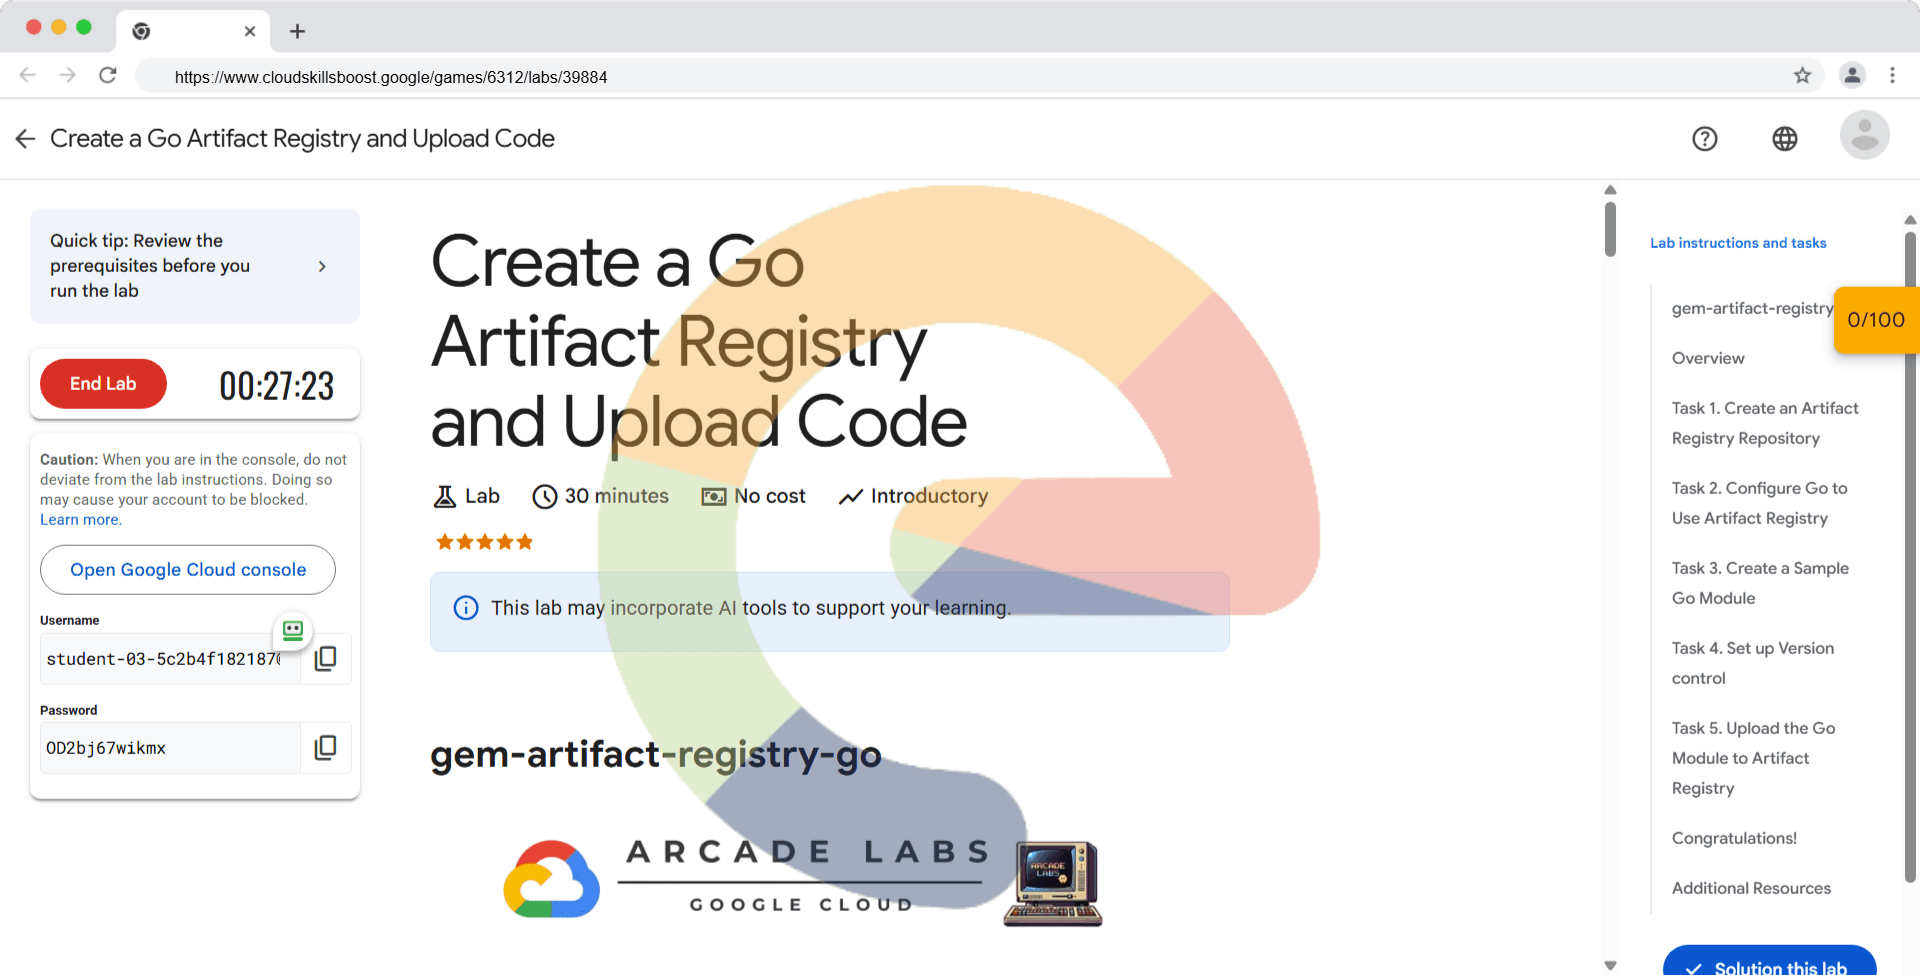
Overview
In this lab, you will learn how to create an Artifact Registry repository for Go packages and upload a sample Go module to it. This allows you to manage and share Go packages within your Google Cloud environment. This lab focuses on using Artifact Registry for container images.
Task 1. Create an Artifact Registry Repository
First, you'll create a new Artifact Registry repository to store your Go packages. Choose a name and region for your repository.
- Enable the Artifact Registry API.
gcloud services enable artifactregistry.googleapis.com
Note:
This command enables the Artifact Registry API for your project.
- Set your Project ID is:
qwiklabs-gcp-03-4ae61595ee42
gcloud config set project qwiklabs-gcp-03-4ae61595ee42
Note:
This command sets your active project identity.
- Set your default region to
us-east1
gcloud config set compute/region us-east1
Note:
This command sets your active compute region.
- Create a new Artifact Registry repository. Ensure you are using a supported region (
us-east1).
gcloud artifacts repositories create my-go-repo \
    --repository-format=go \
    --location=us-east1 \
    --description="Go repository"
Note:
This command creates the Artifact Registry repository.
- Verify the repository was created successfully. Replace
my-go-repowith your repository name.
gcloud artifacts repositories describe my-go-repo \
    --location=us-east1
Note:
This command describes the Artifact Registry repository.
Task 2. Configure Go to Use Artifact Registry
Next, you'll configure your Go environment to use the newly created Artifact Registry repository.
- Set the
GOPRIVATEenvironment variable. Replaceqwiklabs-gcp-03-4ae61595ee42with your Google Cloud project ID.
go env -w GOPRIVATE=cloud.google.com/qwiklabs-gcp-03-4ae61595ee42
Note:
This command sets the GOPRIVATE environment variable.
- Configure
goto authenticate with Artifact Registry. Replaceus-east1with your repository's region andqwiklabs-gcp-03-4ae61595ee42with your Google Cloud project ID.
export GONOPROXY=github.com/GoogleCloudPlatform/artifact-registry-go-tools
GOPROXY=proxy.golang.org go run github.com/GoogleCloudPlatform/artifact-registry-go-tools/cmd/auth@latest add-locations --locations=us-east1
Note:
This command configures go to authenticate with Artifact Registry using application default credentials.
Task 3. Create a Sample Go Module
Now, let's create a simple Go module to upload to the Artifact Registry.
- Create a directory for your Go module. Replace
hellowith desired directory name.
mkdir hello
cd hello
Note:
This command creates the module directory and navigates into it.
- Initialize the Go module.
go mod init labdemo.app/hello
Note:
This command initializes the Go module.
- Create a
hello.gofile with the following content:
package main

import "fmt"

func main() {
    fmt.Println("Hello, Go module from Artifact Registry!")
}
Note:
This code defines a simple Go program.
- Optional: Verify the go module builds
go build
Note:
This command builds the go module.
Task 4. Set up Version control
Add version control information to the environment.
- Setup the user email
git config --global user.email student-03-5c2b4f182187@qwiklabs.net
- Setup the user name
git config --global user.name cls
- Set the default branch naming as main
git config --global init.defaultBranch main
- Initialize a git repo
git init
- Add the files to the repository
git add .
- Add a commit message
git commit -m "Initial commit"
- Tag the files
git tag v1.0.0
Task 5. Upload the Go Module to Artifact Registry
Finally, you'll upload the Go module to your Artifact Registry repository.
- Upload the module to Artifact Registry using the go upload command. Replace
us-east1with your repository's region,my-go-repowith your repository name.
gcloud artifacts go upload \
  --repository=my-go-repo \
  --location=us-east1 \
  --module-path=labdemo.app/hello \
  --version=v1.0.0 \
  --source=.
Note:
This command uploads the Go module to Artifact Registry.
- Verify the module has been pushed.
gcloud artifacts packages list --repository=my-go-repo --location=us-east1
Note:
This command lists Go packages in the Artifact Registry. You can verify that your package exists.
Solution of Lab
curl -LO raw.githubusercontent.com/Techcps/Google-Cloud-Skills-Boost/master/Create%20a%20Go%20Artifact%20Registry%20and%20Upload%20Code/techcps.sh
sudo chmod +x techcps.sh
./techcps.sh


