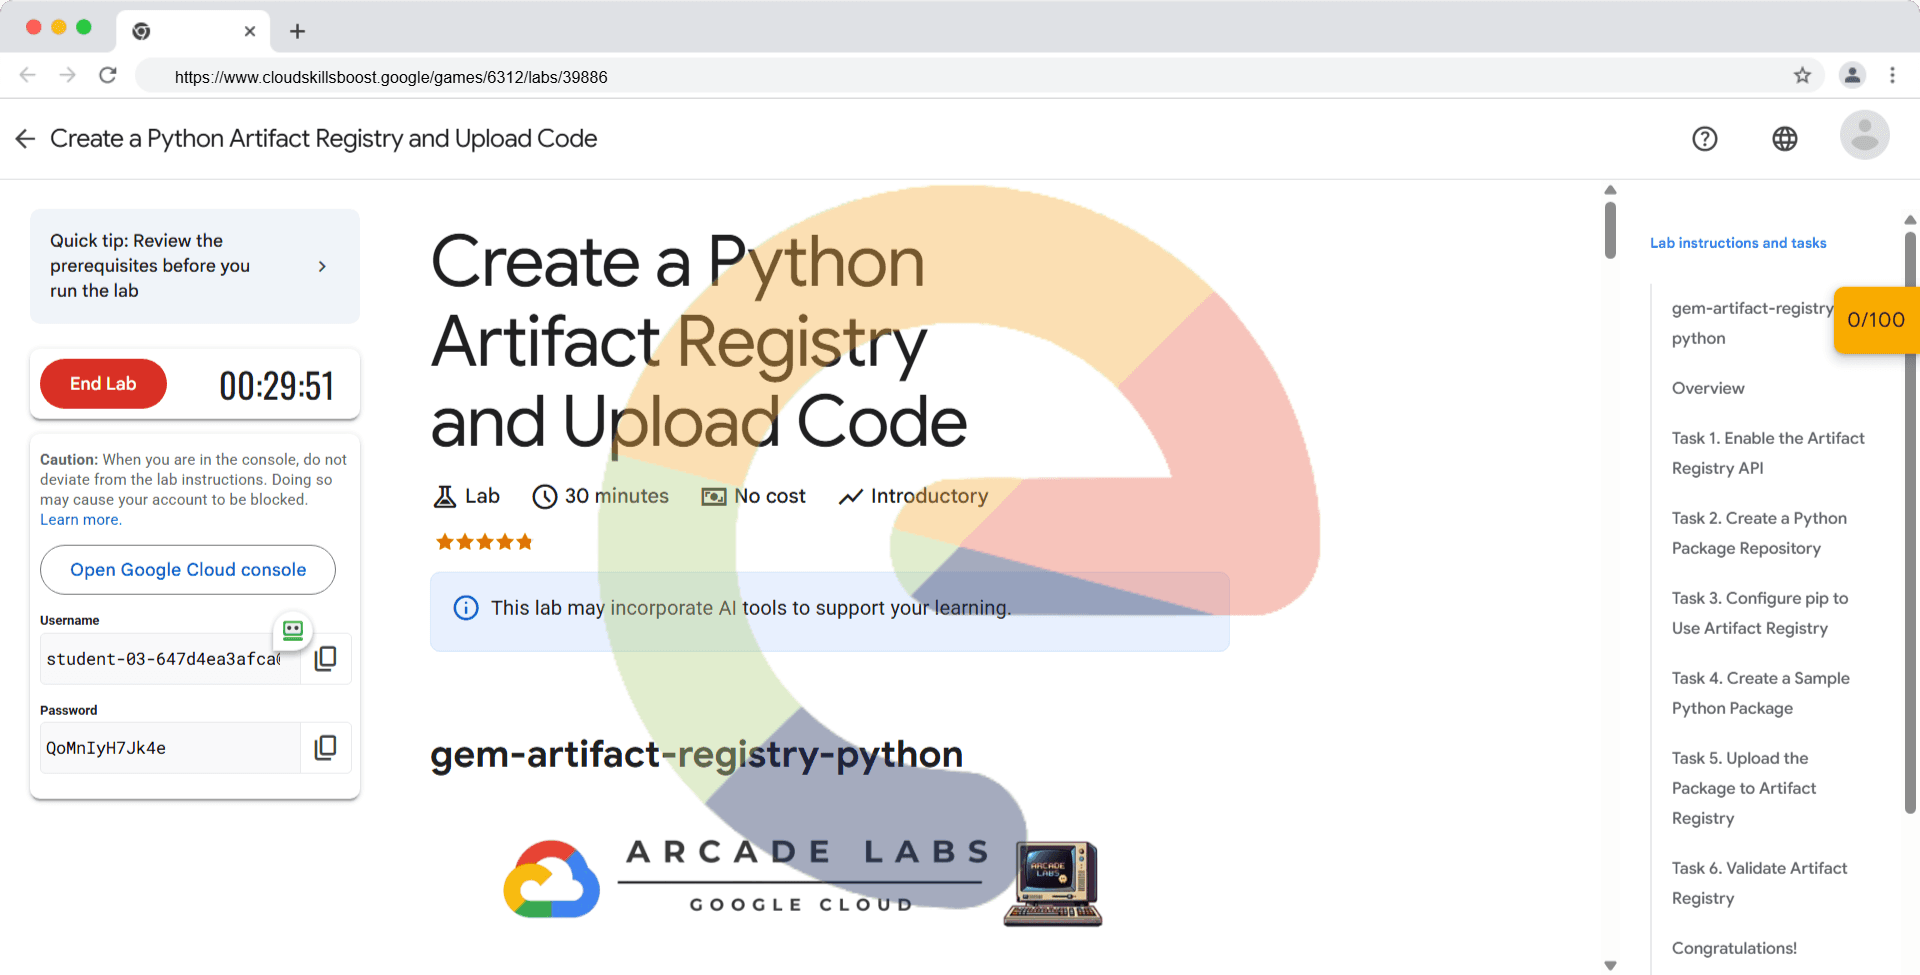
Create a Python Artifact Registry and Upload Code - gem-artifact-registry-python
A passionate full-stack developer from @ePlus.DEV
Activate Cloud Shell
Cloud Shell is a virtual machine that is loaded with development tools. It offers a persistent 5GB home directory and runs on the Google Cloud. Cloud Shell provides command-line access to your Google Cloud resources.
Click Activate Cloud Shell
at the top of the Google Cloud console.

When you are connected, you are already authenticated, and the project is set to your PROJECT_ID. The output contains a line that declares the PROJECT_ID for this session:
Your Cloud Platform project in this session is set to YOUR_PROJECT_ID
gcloud is the command-line tool for Google Cloud. It comes pre-installed on Cloud Shell and supports tab-completion.
- (Optional) You can list the active account name with this command:
gcloud auth list
Click Authorize.
Your output should now look like this:
Output:
ACTIVE: *
ACCOUNT: student-01-xxxxxxxxxxxx@qwiklabs.net

To set the active account, run:
    $ gcloud config set account `ACCOUNT`
- (Optional) You can list the project ID with this command:
gcloud config list project
Output:
[core]
project = <project_ID>
Example output:
[core]
project = qwiklabs-gcp-44776a13dea667a6
Note: For full documentation of gcloud, in Google Cloud, refer to the gcloud CLI overview guide.
Overview
In this lab, you will learn how to create a Python package repository in Artifact Registry and upload a sample Python package. Artifact Registry allows you to manage your private packages and container images in a single location. This lab uses container images for Python packages.
Task 1. Enable the Artifact Registry API
Before you can use Artifact Registry, you need to enable the Artifact Registry API. This task will guide you through the process.
- Enable the Artifact Registry API.
gcloud services enable artifactregistry.googleapis.com
Note:
This command enables the Artifact Registry API for your project.
- Set your Project ID is:
qwiklabs-gcp-01-c65141cf28d1
gcloud config set project qwiklabs-gcp-01-c65141cf28d1
Note:
This command sets your active project identity.
- Set your default region to
us-east1
gcloud config set compute/region us-east1
Note:
This command sets your active compute region.
Task 2. Create a Python Package Repository
Now that the API is enabled, you can create a repository to store your Python packages. You will create a repository with the Python package format.
- Create a new Python repository in Artifact Registry. Replace
us-east1andmy-python-repowith your desired region and repository name.
gcloud artifacts repositories create my-python-repo \
    --repository-format=python \
    --location=us-east1 \
    --description="Python package repository"
Note:
This command creates a Python package repository in Artifact Registry.
Task 3. Configure pip to Use Artifact Registry
To upload and install packages from Artifact Registry, you need to configure pip to authenticate with Artifact Registry.
- Install the
keyrings.google-artifactregistry-authpackage.
pip install keyrings.google-artifactregistry-auth
Note:
This package provides authentication for pip to access Artifact Registry.
- Configure
pipto use Artifact Registry. Replaceus-east1,PROJECT_ID, andmy-python-repowith your region, project ID, and repository name.
pip config set global.extra-index-url https://us-east1-python.pkg.dev/qwiklabs-gcp-01-c65141cf28d1/my-python-repo/simple
Note:
This command configures pip to use your Artifact Registry repository.
Task 4. Create a Sample Python Package
To upload a package, you first need to create one. This task will guide you through creating a simple Python package.
- Create a directory for your package.
mkdir my-package
cd my-package
Note:
This creates a new directory and navigates into it.
- Create a
setup.pyfile with the following content.
from setuptools import setup, find_packages

setup(
    name='my_package',
    version='0.1.0',
    author='cls',
    author_email='student-03-647d4ea3afca@qwiklabs.net',
    packages=find_packages(exclude=['tests']),
    install_requires=[
        # List your dependencies here
    ],
    description='A sample Python package',
)
Note:
This creates a setup file for your Python package.
- Create a
my_package/__init__.pyfile (can be empty).
# my_package/__init__.py
Note:
This creates an empty initialization file for the package.
- Create a
my_package/my_module.pyfile with some sample code.
def hello_world():
    return 'Hello, world!'
Note:
This creates a sample module within the package.
Task 5. Upload the Package to Artifact Registry
Now that you have a package, you can upload it to Artifact Registry. You will use the twine tool to upload the package.
- Install
twine.
pip install twine
Note:
This installs the Twine package. In CloudShell installations are typically user installations meaning python -m will need to prefix the package module.
- Build the package.
python setup.py sdist bdist_wheel
Note:
This builds the source distribution and wheel package.
- Upload the package to Artifact Registry.
python3 -m twine upload --repository-url https://us-east1-python.pkg.dev/qwiklabs-gcp-01-c65141cf28d1/my-python-repo/ dist/*
Note:
This command uploads the package to Artifact Registry. You might need to authenticate.
Task 6. Validate Artifact Registry
Confirm the package has been successfully uploaded to artifact registry
- Verify the artifact was deployed successfully by navigating to your Artifact Registry repository in the Google Cloud Console or by listing the artifacts using the gcloud CLI.
gcloud artifacts packages list --repository=my-python-repo --location=us-east1
Note:
This command lists NPM packages in the Artifact Registry.
- Verify that your package is listed in the Artifact Registry repository.
PACKAGE: my-package
CREATE_TIME: 2025-06-25T06:06:10
UPDATE_TIME: 2025-06-25T06:06:11
ANNOTATIONS:
Solution of Lab
curl -LO raw.githubusercontent.com/Techcps/Google-Cloud-Skills-Boost/master/Create%20a%20Python%20Artifact%20Registry%20and%20Upload%20Code/techcps.sh
sudo chmod +x techcps.sh
./techcps.sh