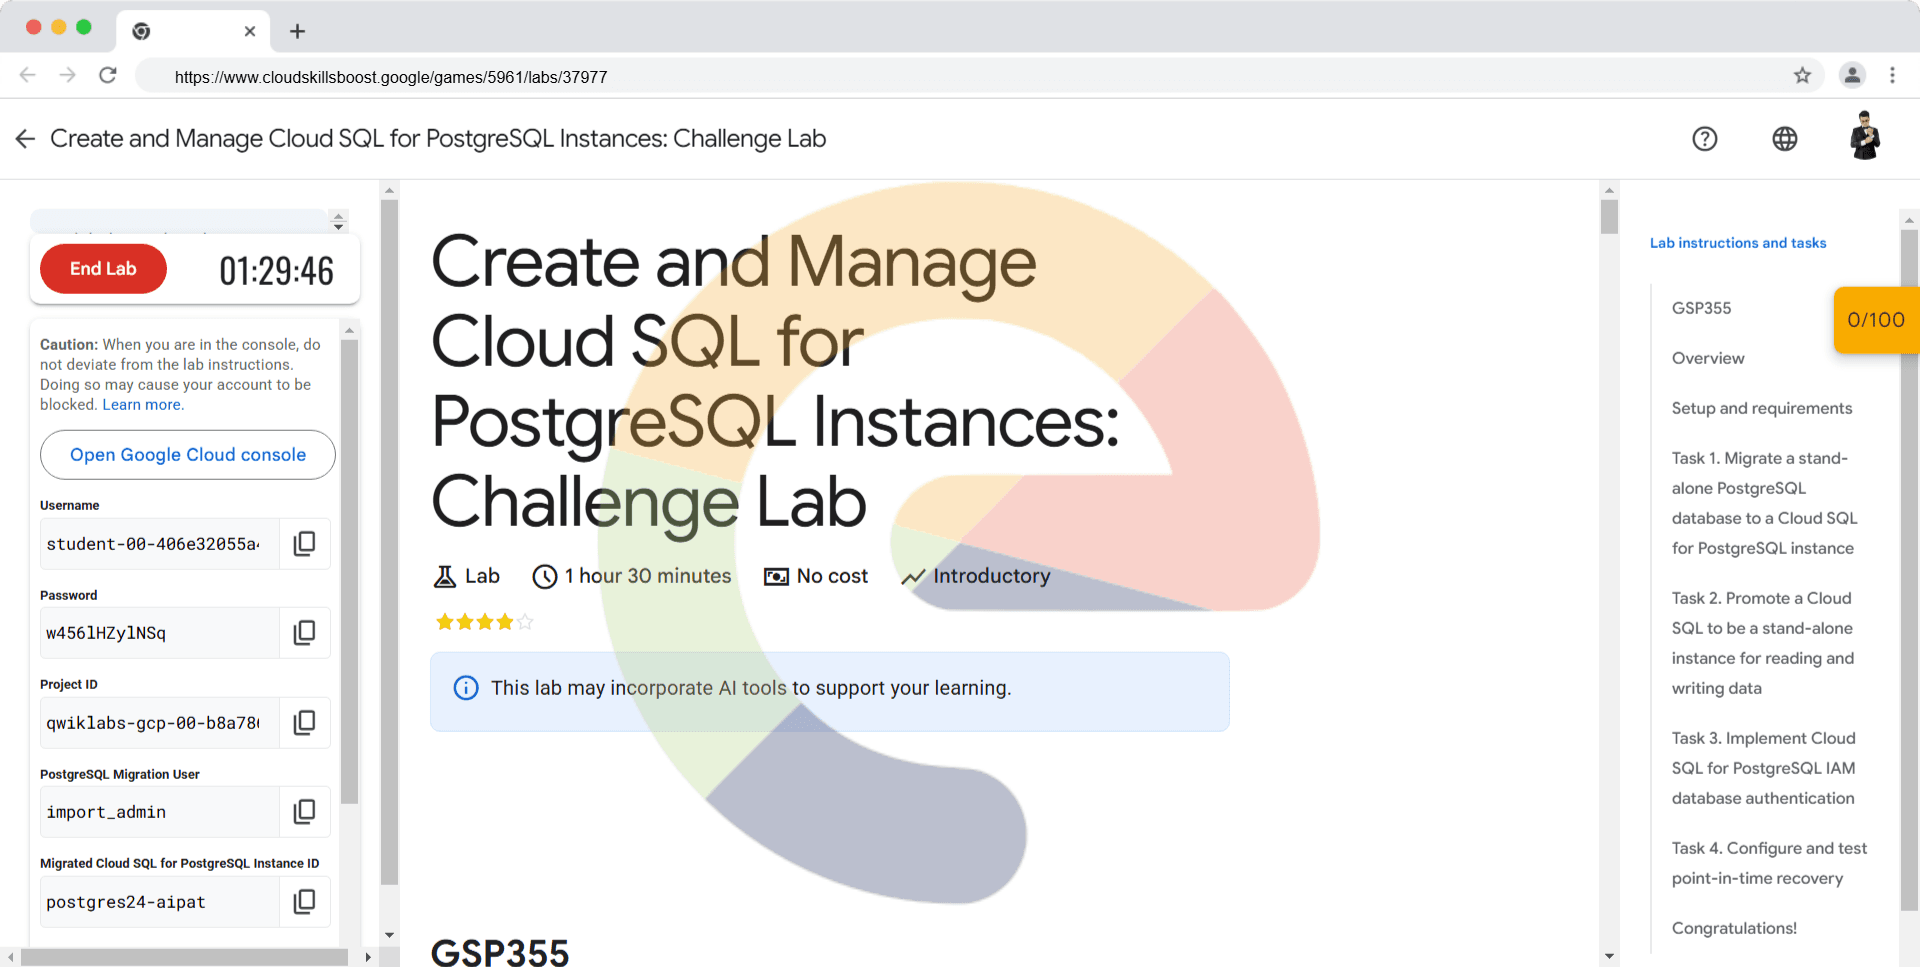
Create and Manage Cloud SQL for PostgreSQL Instances: Challenge Lab - GSP355
A passionate full-stack developer from @ePlus.DEV
Overview
In a challenge lab you’re given a scenario and a set of tasks. Instead of following step-by-step instructions, you will use the skills learned from the labs in the course to figure out how to complete the tasks on your own! An automated scoring system (shown on this page) will provide feedback on whether you have completed your tasks correctly.
When you take a challenge lab, you will not be taught new Google Cloud concepts. You are expected to extend your learned skills, like changing default values and reading and researching error messages to fix your own mistakes.
To score 100% you must successfully complete all tasks within the time period!
This lab is recommended for students who have enrolled in the Create and Manage Cloud SQL for PostgreSQL Instances skill badge. Are you ready for the challenge?
Topics tested
Migrate a stand-alone PostgreSQL database to Cloud SQL for PostgreSQL using Database Migration Services.
Promote the Cloud SQL database to a stand-alone instance for reading and writing.
Secure the database using IAM DB Authentication.
Perform a point-in-time recovery on the database.
Setup and requirements
Before you click the Start Lab button
Read these instructions. Labs are timed and you cannot pause them. The timer, which starts when you click Start Lab, shows how long Google Cloud resources are made available to you.
This hands-on lab lets you do the lab activities in a real cloud environment, not in a simulation or demo environment. It does so by giving you new, temporary credentials you use to sign in and access Google Cloud for the duration of the lab.
To complete this lab, you need:
- Access to a standard internet browser (Chrome browser recommended).
Note: Use an Incognito (recommended) or private browser window to run this lab. This prevents conflicts between your personal account and the student account, which may cause extra charges incurred to your personal account.
- Time to complete the lab—remember, once you start, you cannot pause a lab.
Note: Use only the student account for this lab. If you use a different Google Cloud account, you may incur charges to that account.
How to start your lab and sign in to the Google Cloud console
Click the Start Lab button. If you need to pay for the lab, a dialog opens for you to select your payment method. On the left is the Lab Details pane with the following:
The Open Google Cloud console button
Time remaining
The temporary credentials that you must use for this lab
Other information, if needed, to step through this lab
Click Open Google Cloud console (or right-click and select Open Link in Incognito Window if you are running the Chrome browser).
The lab spins up resources, and then opens another tab that shows the Sign in page.
Tip: Arrange the tabs in separate windows, side-by-side.
Note: If you see the Choose an account dialog, click Use Another Account.
If necessary, copy the Username below and paste it into the Sign in dialog.
student-00-406e32055a40@qwiklabs.netYou can also find the Username in the Lab Details pane.
Click Next.
Copy the Password below and paste it into the Welcome dialog.
w456lHZylNSqYou can also find the Password in the Lab Details pane.
Click Next.
Important: You must use the credentials the lab provides you. Do not use your Google Cloud account credentials.
Note: Using your own Google Cloud account for this lab may incur extra charges.
Click through the subsequent pages:
Accept the terms and conditions.
Do not add recovery options or two-factor authentication (because this is a temporary account).
Do not sign up for free trials.
After a few moments, the Google Cloud console opens in this tab.
Note: To access Google Cloud products and services, click the Navigation menu or type the service or product name in the Search field.

Challenge scenario
Your employer has a stand-alone PostgreSQL database on a Compute Instance VM. You have been tasked with migrating the database to a Cloud SQL for PostgreSQL instance using Database Migration Services and VPC Peering. You are then required to configure and test Cloud SQL IAM Database Authentication on the migrated instance, and finally enable backups and point-in-time recovery so that the database is protected. You are required to confirm that point-in-time recovery works by using it to create a clone of the database to a particular timestamp.
Task 1. Migrate a stand-alone PostgreSQL database to a Cloud SQL for PostgreSQL instance
In this task you must migrate the stand-alone PostgreSQL orders database running on the postgres-vm virtual machine to a Cloud SQL for PostgreSQL instance using a Database Migration Services continuous migration job and VPC Peering connectivity.
Prepare the stand-alone PostgreSQL database for migration
In this sub-task you must prepare the stand-alone PostgreSQL database so that it satisfies the requirements for migration by Database Migration Services.
To complete this sub-task you must complete the following steps:
- Enable the Google Cloud APIs required for Database Migration Services.
Database Migration Services require the Database Migration API and the Service Networking API to be enabled in order to function. You must enable these APIs for your project.
Upgrade the target databases on the
postgres-vmvirtual machine with thepglogicaldatabase extension.You must install and configure the pglogical database extension on the stand-alone PostgreSQL database on the
postgres-vmCompute Instance VM. The pglogical database extension package that you must install is namedpostgresql-13-pglogical.To complete the configuration of the pglogical database extension you must edit the PostgreSQL configuration file
/etc/postgresql/13/main/postgresql.confto enable the pglogical database extension and you must edit the/etc/postgresql/13/main/pg_hba.confto allow access from all hosts.Create a dedicated user for database migration on the stand-alone database.
The new user that you create on the stand-alone PostgreSQL installation on the
postgres-vmvirtual machine must be configured using the following user name and password:
Migration user name :
import_adminMigration user password :
DMS_1s_cool!
- Grant that user the required privileges and permissions for databases to be migrated.
Database Migration Services require that the migration user has privileges to specific schemata and relations of the target databases for migration, in this case that is the orders database.
The Database Migration Service requires all tables to be migrated to have a primary key.
- You must make sure that all of the tables in the
ordersdatabase have a primary key set before you start the migration.
distribution_centersinventory_itemsorder_itemsproductsusers
Note: The detailed pre-requisites for migrating a stand-alone PostgreSQL database to Cloud SQL for PostgreSQL are provided in the suggestion links in the Cloud Console GUI for Database Migration Services.
Should you need some help on the detailed steps you must take, you may refer to that documentation, or you can look at the detailed steps in the migration lab that is part of this course.
Prepare a stand-alone PostgreSQL database for migration to Cloud SQL for PostgreSQL.
Check my progress
Migrate the stand-alone PostgreSQL database to a Cloud SQL for PostgreSQL instance
In this sub-task you must perform the migration using Database Migration Services.
To complete this sub-task you must complete the following steps:
- Create a new Database Migration Service connection profile for the stand-alone PostgreSQL database, using the credentials of the
import_adminmigration user you created earlier.
Username :
import_adminPassword :
DMS_1s_cool!Region must be set to
us-east1
You must configure the connection profile using the internal ip-address of the source compute instance.
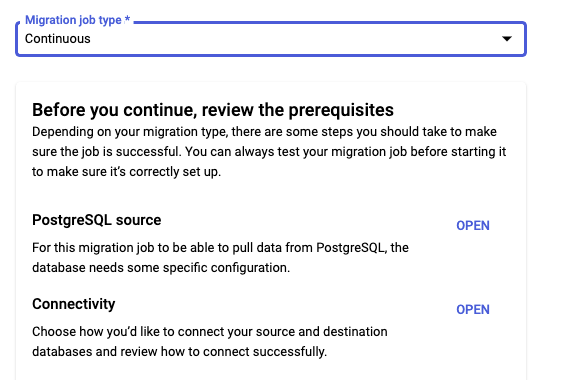
Create a new continuous Database Migration Service job.
As part of the migration job configuration, make sure that you specify the following properties for the destination Cloud SQL instance:
The Destination Instance ID must be set to
postgres24-aipatThe Password for the migrated instance must be set to
supersecret!Database version must be set to Cloud SQL for PostgreSQL 13
Region must be set to
us-east1For Connections both Public IP and Private IP must be set.
For Private IP use an automatically allocated IP range.
Select Enterprise Cloud SQL edition.
Select a dedicated core machine shapes with 2 vCPU and 8GB of memory.
Note: You will need to wait while the private ip-address is allocated. Once the Create & Continue appears, you can proceed.
For the Connectivity Method, you must use VPC peering with the default VPC network.
Test and then start the continuous migration job.
If you do not correctly prepare the source PostgreSQL environment, the migration might fail completely, or it might fail to migrate some individual tables. If some tables are missing, even though the migration appears to be working otherwise, check that you have correctly configured all of the source database tables.
Migrate a stand-alone PostgreSQL database to a Cloud SQL for PostgreSQL instance.
Check my progress
Task 2. Promote a Cloud SQL to be a stand-alone instance for reading and writing data
In this task, you must complete the migration by promoting the Cloud SQL for PostgreSQL instance to a stand-alone instance.
When the promotion is complete, the status of the job updates to Completed.
Promote a Cloud SQL Migration Replica to a stand-alone instance.
Check my progress
Task 3. Implement Cloud SQL for PostgreSQL IAM database authentication
In this task you must configure the newly migrated Cloud SQL for PostgreSQL instance to support Cloud IAM users and IAM database authentication. You are also required to patch the Cloud SQL for PostgreSQL instance, to add the public ip-address of the postgres-vm virtual machine to the list of networks that are allowed to connect to the instance.
To complete this task you must complete the following steps:
Patch the
postgres24-aipatCloud SQL instance to allow connections from the public ip-address of thepostgres-vmvirtual machine.In the
postgres24-aipatCloud SQL instance, go to connections > Networking.Under the Public IP, click on ADD A NETWORK. For the network, use the external IP of the
postgres-vmvirtual machine.
In the
postgres24-aipatCloud SQL instance, create a Cloud SQL IAM user using the lab student ID,student-00-406e32055a40@qwiklabs.net, as the principal account name.- Click Users > Add user account, then select Cloud IAM.
Grant
SELECTpermission to the Cloud IAM user for theorder_itemstable.In the
postgres24-aipatCloud SQL instance, go to Overview. Under Connect to this instance, click on Open Cloud Shell.For the password enter
supersecret!. Then connect to the orders database using\c orders;command.Again for the password enter
supersecret!.Use the following command to grant SELECT permission. Replace the Table_Name and Qwiklabs_User_Account_Name variables with the correct values.
GRANT SELECT ON Table_Name TO "Qwiklabs_User_Account_Name";
Run the following query as the
student-00-406e32055a40@qwiklabs.netuser in the migrated database to confirm that thestudent-00-406e32055a40@qwiklabs.netcan select data from theorder_itemstable.SELECT COUNT(*) FROM order_items;
Secure a Cloud SQL for PostgreSQL database table using Cloud IAM database authentication.
Check my progress
Task 4. Configure and test point-in-time recovery
In this task you must configure point-in-time recovery on a Cloud SQL for PostgreSQL instance and then test it by using point-in-time recovery to create a cloned instance at a point in time that rolls back some changes.
To complete this task you must complete the following steps:
Enable backups on the Cloud SQL for PostgreSQL instance.
In the
postgres24-aipatCloud SQL instance, go to Overview. Click on edit > Data Protection.Enable point-in-time recovery and set the number of retained transaction log days to
6.
Make a note of the timestamp for the point-in-time you wish to restore to using the following command.
date -u --rfc-3339=ns | sed -r 's/ /T/; s/\.([0-9]{3}).*/\.\1Z/'Make some changes to the database after this timestamp.
In the
postgres24-aipatCloud SQL instance, go to Overview. Under Connect to this instance, click on Open Cloud Shell.For the password enter
supersecret!. Then connect to the orders database using\c orders;command.Again for the password enter
supersecret!.You must add a row of data to the
orders.distribution_centerstable.
Use point-in-time recovery to create a clone that replicates the instance state at your chosen timestamp.
Use the following command to clone the instance by replacing the CLOUDSQL_INSTANCE, NEW_INSTANCE_NAME and TIME_STAMP variables with the correct values.
  gcloud sql instances clone $CLOUDSQL_INSTANCE $NEW_INSTANCE_NAME \
   --point-in-time $TIME_STAMP
For the Cloned instance name you must use the name
postgres-orders-pitr.
The new instance will not be used, but do not discard it, as it will be required to confirm that you have correctly completed the lab.
Note: You must specify the point-in-time recovery timestamp in UTC time, specified in RFC 3339 format 'yyyy-MM-ddThh:mm:ss.mmmZ'.
Enable and test point-in-time recovery.
Solution of Lab
Enable the following Google APIs:
Compute Engine > VM instances > Connect the SSH of postgresql-vm
- install the pglogical database extension and jquery
sudo apt install postgresql-13-pglogical
- Download and apply some additions to the PostgreSQL configuration files (to enable pglogical extension)
sudo su - postgres -c "gsutil cp gs://cloud-training/gsp918/pg_hba_append.conf ."
sudo su - postgres -c "gsutil cp gs://cloud-training/gsp918/postgresql_append.conf ."
sudo su - postgres -c "cat pg_hba_append.conf >> /etc/postgresql/13/main/pg_hba.conf"
sudo su - postgres -c "cat postgresql_append.conf >> /etc/postgresql/13/main/postgresql.conf"
sudo systemctl restart postgresql@13-main
- Apply required privileges to postgres and orders databases
sudo su - postgres
psql
\c postgres;
CREATE EXTENSION pglogical;
\c orders;
CREATE EXTENSION pglogical;
CREATE USER migration_admin PASSWORD 'DMS_1s_cool!';
ALTER DATABASE orders OWNER TO migration_admin;
ALTER ROLE migration_admin WITH REPLICATION;


\c orders;

SELECT column_name FROM information_schema.columns WHERE table_name = 'inventory_items' AND column_name = 'id';
ALTER TABLE inventory_items ADD PRIMARY KEY (id);


GRANT USAGE ON SCHEMA pglogical TO migration_admin;
GRANT ALL ON SCHEMA pglogical TO migration_admin;
GRANT SELECT ON pglogical.tables TO migration_admin;
GRANT SELECT ON pglogical.depend TO migration_admin;
GRANT SELECT ON pglogical.local_node TO migration_admin;
GRANT SELECT ON pglogical.local_sync_status TO migration_admin;
GRANT SELECT ON pglogical.node TO migration_admin;
GRANT SELECT ON pglogical.node_interface TO migration_admin;
GRANT SELECT ON pglogical.queue TO migration_admin;
GRANT SELECT ON pglogical.replication_set TO migration_admin;
GRANT SELECT ON pglogical.replication_set_seq TO migration_admin;
GRANT SELECT ON pglogical.replication_set_table TO migration_admin;
GRANT SELECT ON pglogical.sequence_state TO migration_admin;
GRANT SELECT ON pglogical.subscription TO migration_admin;

GRANT USAGE ON SCHEMA public TO migration_admin;
GRANT ALL ON SCHEMA public TO migration_admin;
GRANT SELECT ON public.distribution_centers TO migration_admin;
GRANT SELECT ON public.inventory_items TO migration_admin;
GRANT SELECT ON public.order_items TO migration_admin;
GRANT SELECT ON public.products TO migration_admin;
GRANT SELECT ON public.users TO migration_admin;

ALTER TABLE public.distribution_centers OWNER TO migration_admin;
ALTER TABLE public.inventory_items OWNER TO migration_admin;
ALTER TABLE public.order_items OWNER TO migration_admin;
ALTER TABLE public.products OWNER TO migration_admin;
ALTER TABLE public.users OWNER TO migration_admin;


\c postgres;

GRANT USAGE ON SCHEMA pglogical TO migration_admin;
GRANT ALL ON SCHEMA pglogical TO migration_admin;
GRANT SELECT ON pglogical.tables TO migration_admin;
GRANT SELECT ON pglogical.depend TO migration_admin;
GRANT SELECT ON pglogical.local_node TO migration_admin;
GRANT SELECT ON pglogical.local_sync_status TO migration_admin;
GRANT SELECT ON pglogical.node TO migration_admin;
GRANT SELECT ON pglogical.node_interface TO migration_admin;
GRANT SELECT ON pglogical.queue TO migration_admin;
GRANT SELECT ON pglogical.replication_set TO migration_admin;
GRANT SELECT ON pglogical.replication_set_seq TO migration_admin;
GRANT SELECT ON pglogical.replication_set_table TO migration_admin;
GRANT SELECT ON pglogical.sequence_state TO migration_admin;
GRANT SELECT ON pglogical.subscription TO migration_admin;

TASK 3:- Implement Cloud SQL for PostgreSQL IAM database authentication
When prompted for a password enter
supersecret!
\c orders
When prompted for a password enter
supersecret!
Note change the TABLE_NAME and USER_NAME as given on table page..
GRANT ALL PRIVILEGES ON TABLE [TABLE_NAME] TO "USER_NAME";

\q
Done with Task 3 now to do database Migration tab and check are you able to click on promote tab or not.
TASK 4: Configure and test point-in-time recovery
date --rfc-3339=seconds
Save this timestamp for later task
When prompted for a password enter
supersecret!
\c orders
When prompted for a password enter
supersecret!
insert into distribution_centers values(-80.1918,25.7617,'Miami FL',11);
\q
Go to sql and click on overview
gcloud auth login --quiet

gcloud projects get-iam-policy $DEVSHELL_PROJECT_ID
export INSTANCE_ID=
gcloud sql instances clone $INSTANCE_ID postgres-orders-pitr --point-in-time 'CHANGE_TIMESTAMP'