Deploy and query Google Agentspace (Solution)
A passionate full-stack developer from @ePlus.DEV
Overview
In this lab, you will deploy an Agentspace app connected to a Google Drive data store and use the AI assistant to locate information from within your organization.
For this lab, you’ll take on the role of a scientific conference organizer planning a conference to discuss the discovery of an exciting new exoplanet.
Note: To avoid confusion between your professional Google Identity and any other temporary Qwiklabs student accounts, it is strongly recommended that you utilize a new Incognito window for the Google Cloud console and Google Drive tabs you will use in this lab. To do this easily in Chrome, after starting the lab, right-click on the “Open Google Cloud console” button and select “Open link in incognito window”.
Objectives
In this lab, you learn how to:
Configure Agent Builder authentication
Create a Google Drive data store
Create an Agentspace app
Use the AI assistant to find, summarize, and extract content from a data store
Create a calendar invite with an assistant action
Setup and requirements
Before you click the Start Lab button
Read these instructions. Labs are timed and you cannot pause them. The timer, which starts when you click Start Lab, shows how long Google Cloud resources will be made available to you.
This Qwiklabs hands-on lab lets you do the lab activities yourself in a real cloud environment, not in a simulation or demo environment. It does so by giving you new, temporary credentials that you use to sign in and access Google Cloud for the duration of the lab.
What you need
To complete this lab, you need:
Access to a standard internet browser (Chrome browser recommended).
Time to complete the lab.
Note: If you already have your own personal Google Cloud account or project, do not use it for this lab.
Note: If you are using a Pixelbook, open an Incognito window to run this lab.
How to start your lab and sign in to the Google Cloud Console
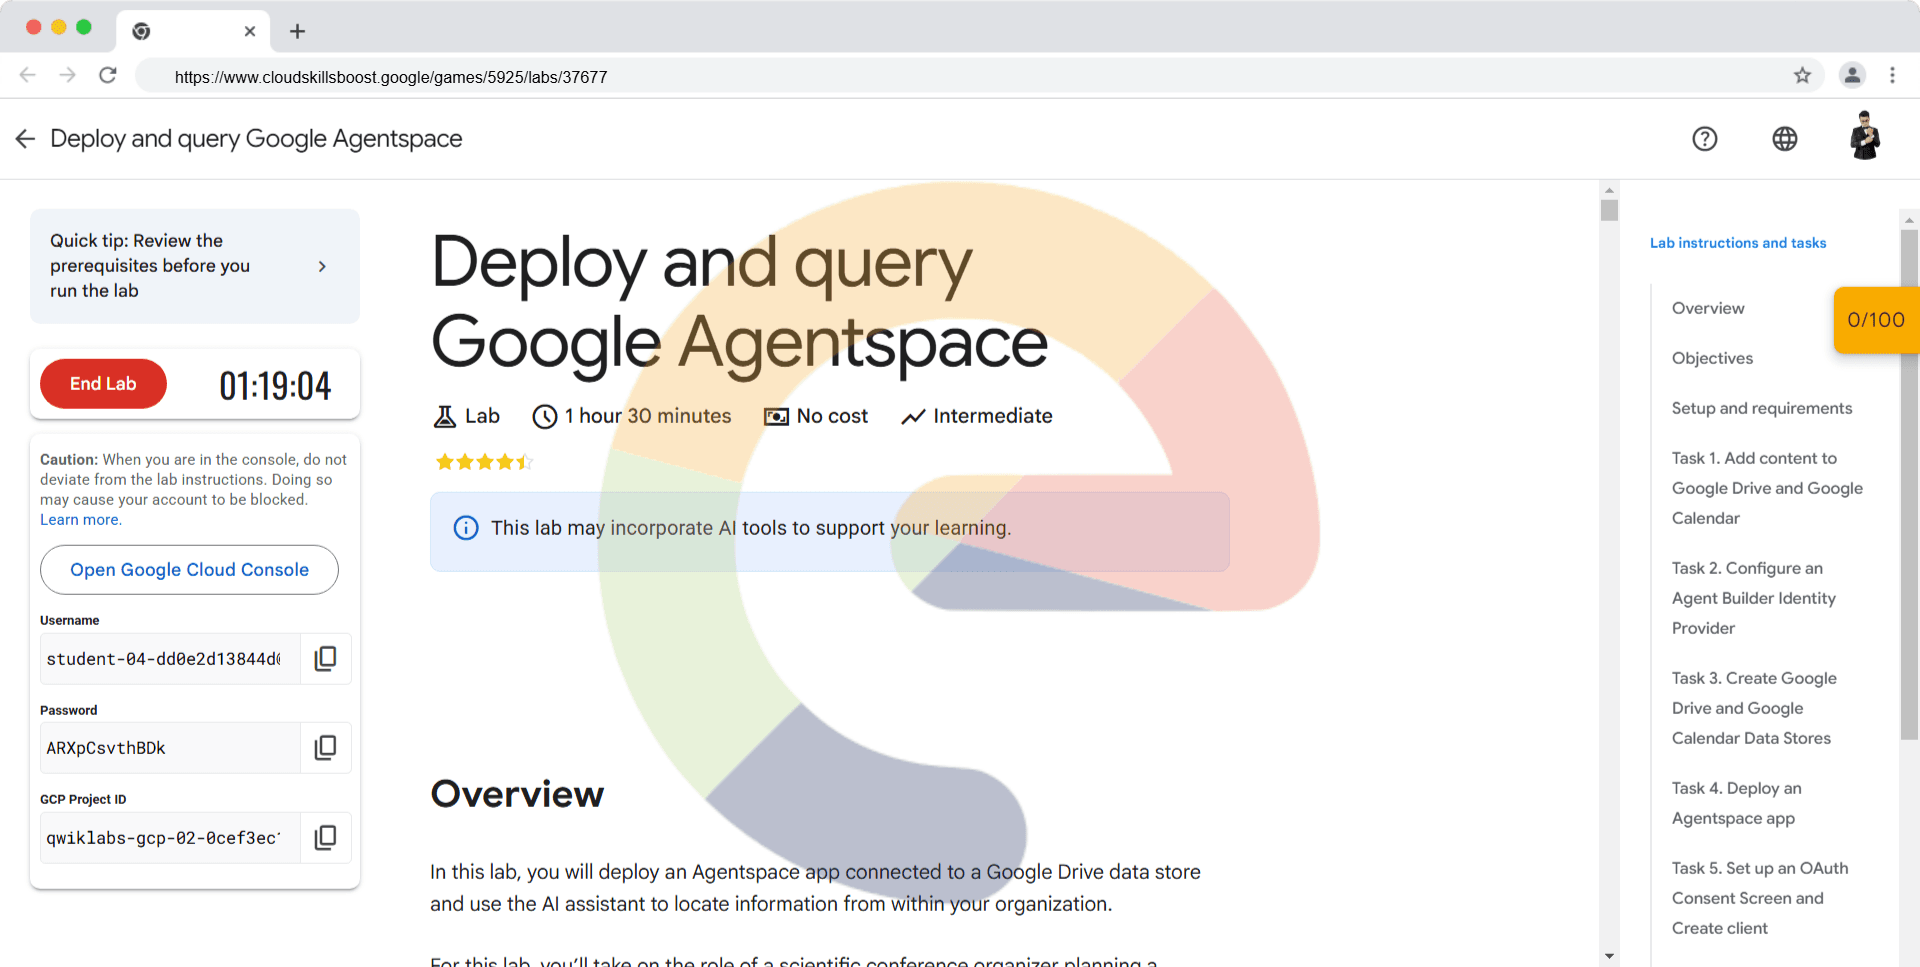
1. Click the Start Lab button. If you need to pay for the lab, a pop-up opens for you to select your payment method. On the left is a panel populated with the temporary credentials that you must use for this lab.

2. Copy the username, and then click Open Google Console. The lab spins up resources, and then opens another tab that shows the Sign in page.

Tip: Open the tabs in separate windows, side-by-side.
If you see the Choose an account page, click Use Another Account.

3. In the Sign in page, paste the username that you copied from the Connection Details panel. Then copy and paste the password.
Important: You must use the credentials from the Connection Details panel. Do not use your Qwiklabs credentials. If you have your own Google Cloud account, do not use it for this lab (avoids incurring charges).
4. Click through the subsequent pages:
Accept the terms and conditions.
Do not add recovery options or two-factor authentication (because this is a temporary account).
Do not sign up for free trials.
After a few moments, the Cloud Console opens in this tab.
Task 1. Add content to Google Drive and Google Calendar
Navigate to Cloud Storage > Buckets and click on the existing bucket with the name:
qwiklabs-gcp-02-0cef3ec1db7e.Download the files listed below to your local system to use as demo data:
PlanetCon_Persephone.docx
Persephone Analysis Report.pdf
In the Incognito window where you have logged into the Google Cloud console, create a new tab and navigate to drive.google.com.
Create a new folder in your Qwiklab student account’s drive and name it
PlanetCon: Persephone.Upload the documents you downloaded from Cloud Storage to the folder you just created in Google Drive named PlanetCon: Persephone. These documents relate to the imaginary discovery of a new planet named "Persephone" and the organization of a conference planned for the scientific community to discuss it.
Open PlanetCon_Persephone.docx and dismiss the pop-ups.
To see how Agentspace can handle multiple versions of a document, click File > Save as Google Docs. This will create a new Google Docs-native version of the file. Select the file’s name and add
v2to the file name, so it appears asPlanetCon_Persephone v2.Find the line
Date: October 26th - 28th, 2028and change it in this version v2 of the file to one month later:Date: November 26th - 28th, 2028In the same Incognito window, create a new tab, and navigate to calendar.google.com. Accept or dismiss any pop-ups.
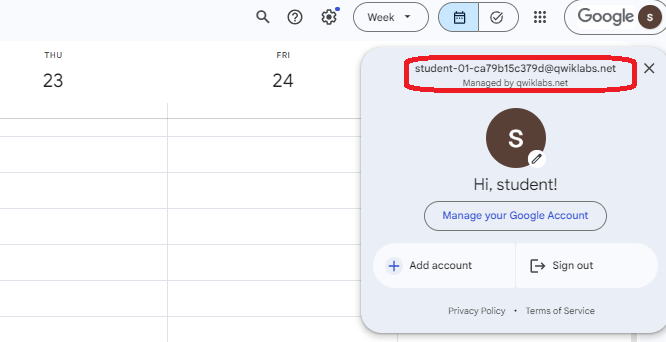
Ensure you are authenticated as your Qwiklabs student account by clicking the “s” in the circle in the upper right corner and confirming it is your student-...@qwiklabs.net account.
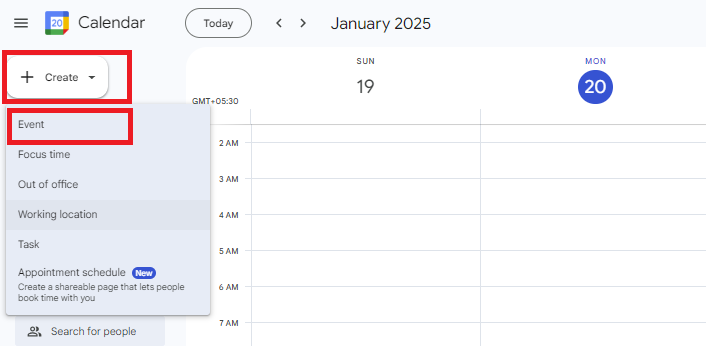
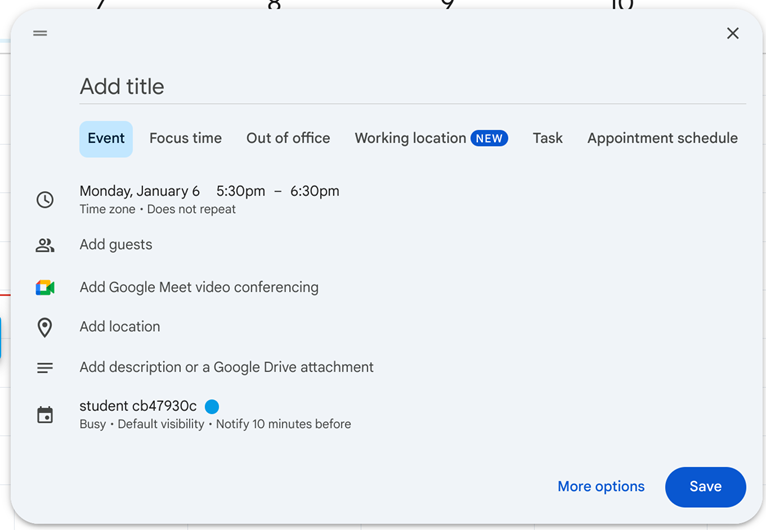
In the upper left, click + Create and select Event from the dropdown menu.
In the event-creation window that appears, name the event as
Astronomers Lunch Planning Meeting, and set a start time of at least one hour from now.Select Save.
Click Check my progress to verify the objective.
Assessment Completed!
Add the downloaded documents to your Drive and an event to your Calendar.
Check my progress
Assessment Completed!
Task 2. Configure an Agent Builder Identity Provider
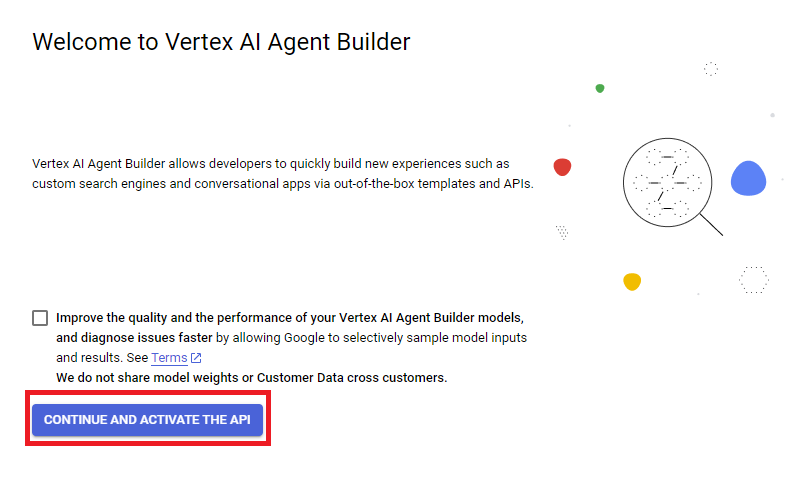
In the Google Cloud Console, navigate to Agent Builder by searching for it at the top of the console and click on the CONTINUE AND ACTIVATE THE API.
Select Settings from the left-hand navigation pane.
On the row for the global location, click the pencil icon .
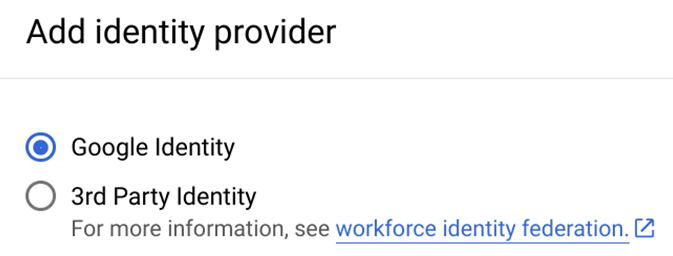
Select Google Identity as your identity provider.
Select SAVE.
Click Check my progress to verify the objective.
Assessment Completed!
Configure an Agent Builder identity provider.
Check my progress
Assessment Completed!
Task 3. Create Google Drive and Google Calendar Data Stores
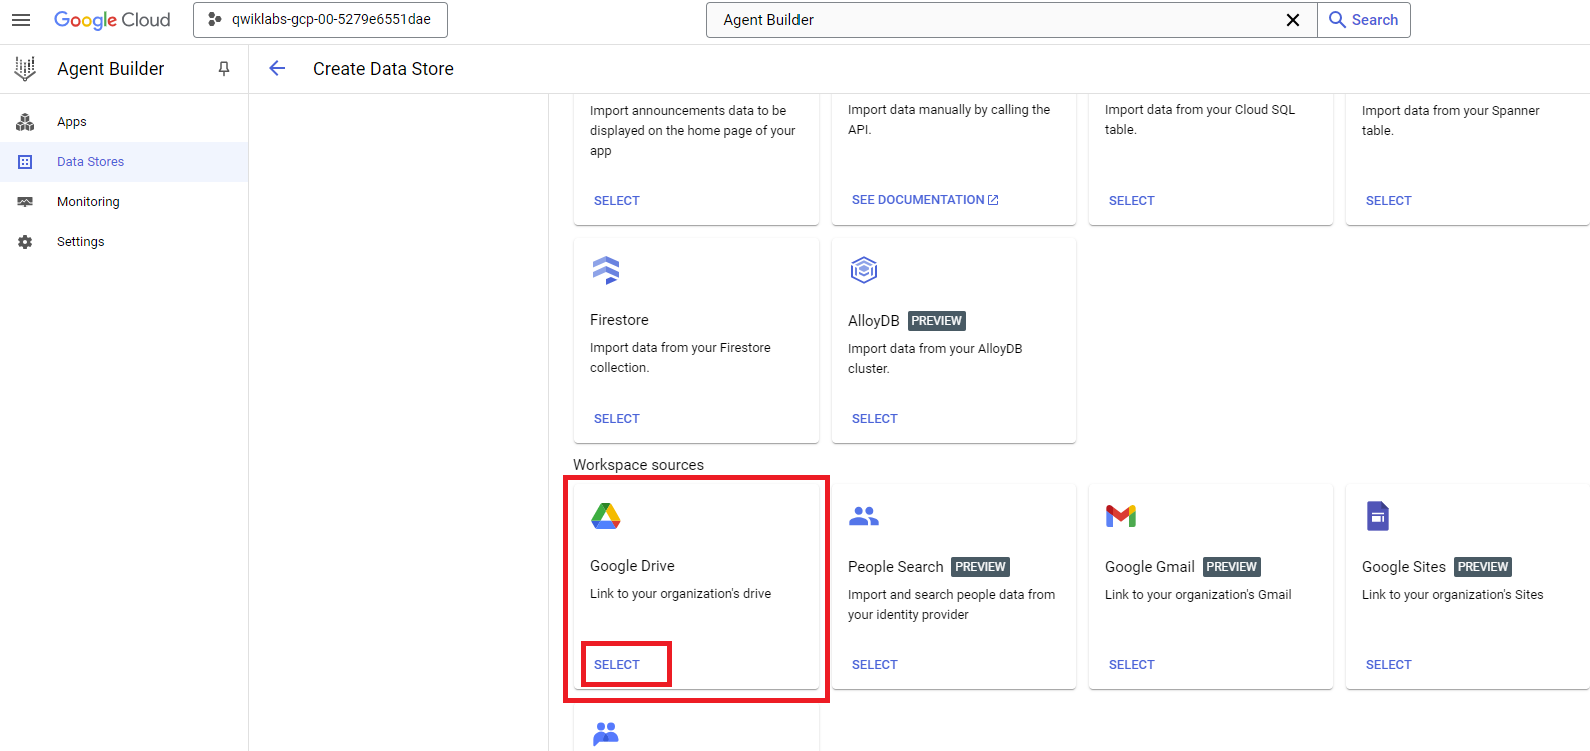
From the Agent Builder menu, select Data Stores from the left-hand navigation pane.
Select + CREATE DATA STORE.
Locate the Google Drive card and click SELECT.
For Choose drives you want to sync, select All.
Note: While Agentspace makes it easier to find information across your data sources, it does not grant additional access. You will still only have access to the documents that have been shared with you via existing Drive permissions, and others will only have access to your documents that you have shared with them.
Click CONTINUE.
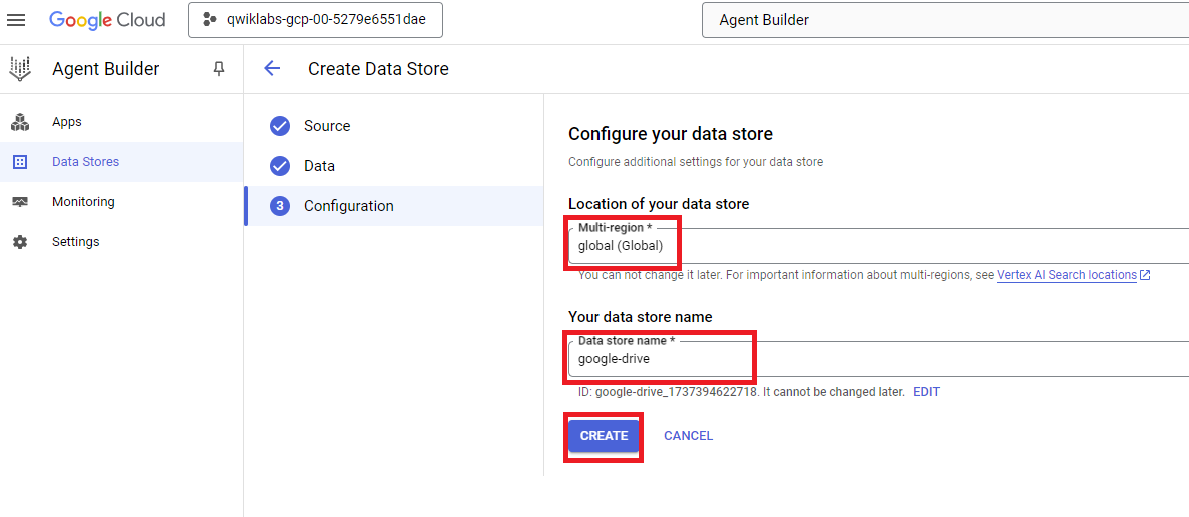
Keep the default region of global, and give the data store the name
google-drive.Select CREATE.
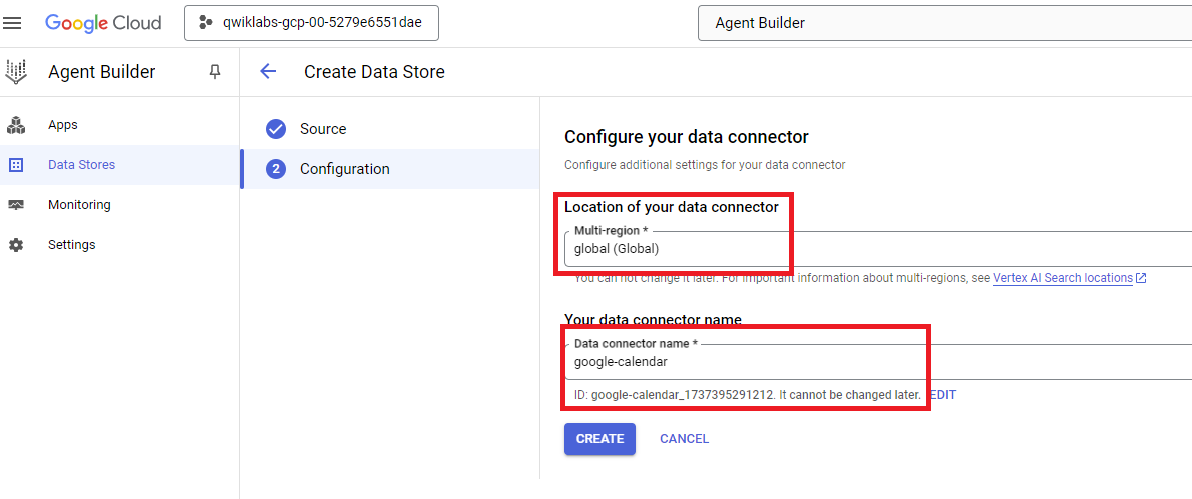
Follow the steps in this task again, only this time create a data store for Google Calendar. Name it
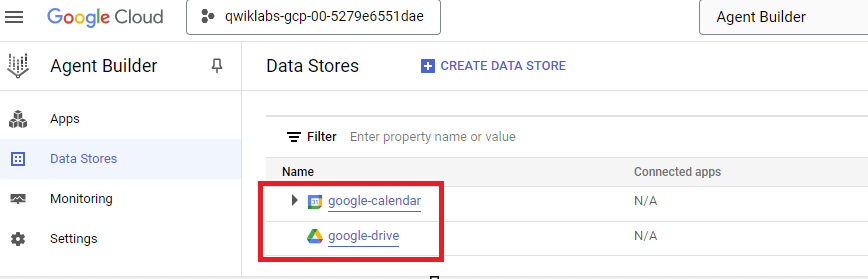
google-calendar.The two data stores should be listed in the Agent Builder > Data Stores panel:

Click Check my progress to verify the objective.
Create Google Drive and Google Calendar data stores.
Check my progress
Task 4. Deploy an Agentspace app
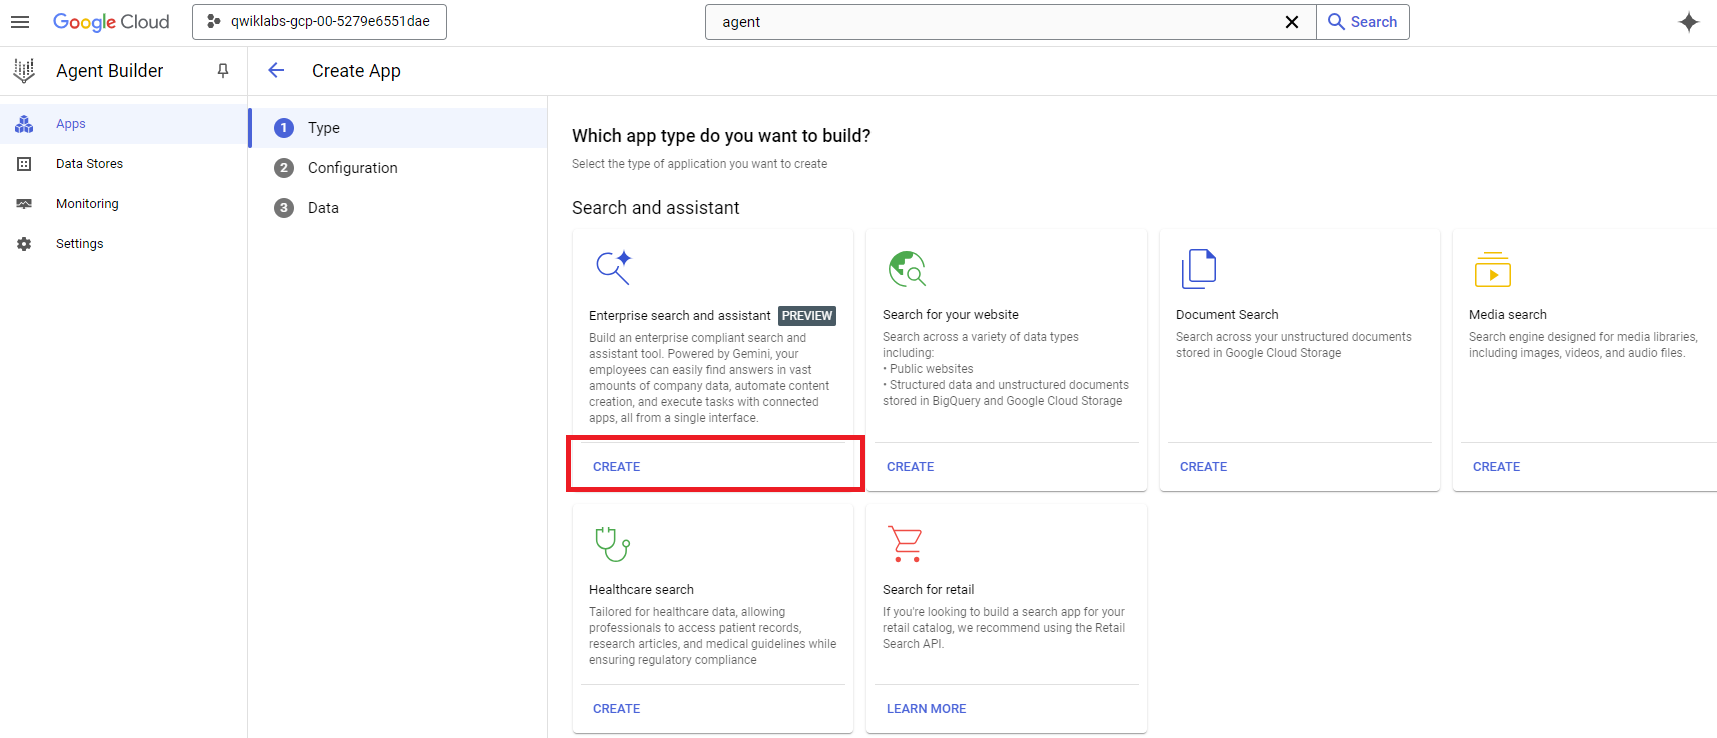
From the Agent Builder menu, select Apps from the left-hand navigation pane.
Select + CREATE APP.
Find the Enterprise Search and assistant card, which represents an Agentspace app, and select CREATE.
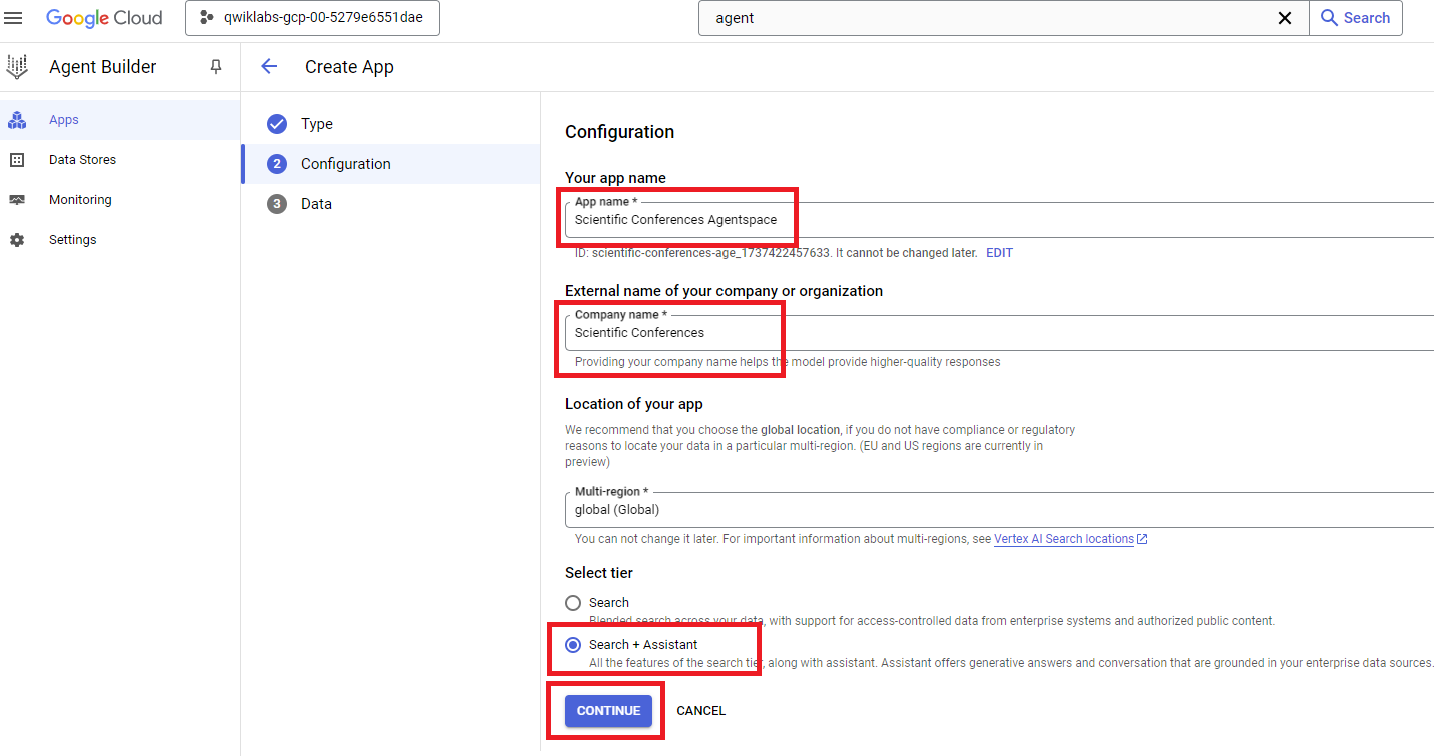
Name your app
Scientific Conferences Agentspace.For a company name, use
Scientific Conferences.Under the “Select tier” header, select Search + Assistant.
Select CONTINUE.
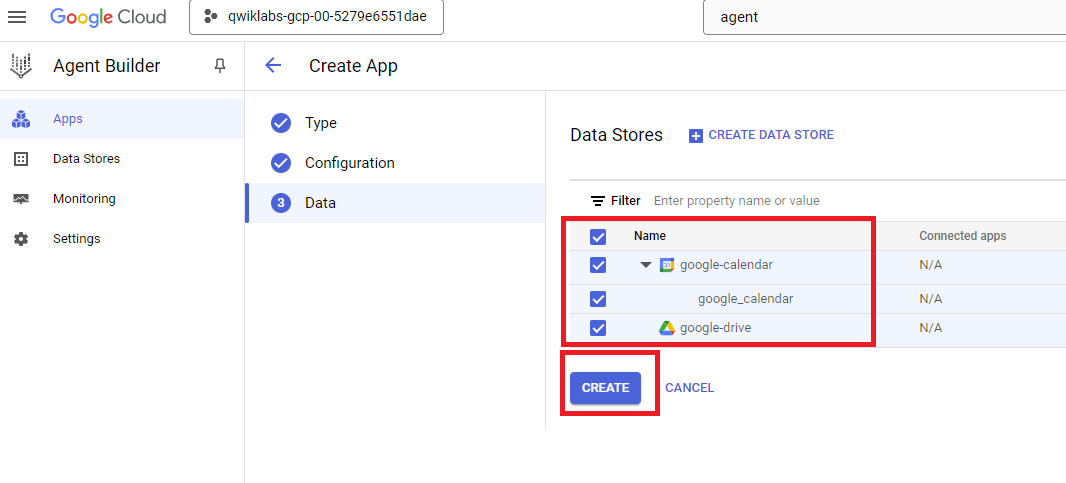
For connected data stores, select the checkbox for the google-drive and google-calendar data stores you created earlier.
Select CREATE.
Click Check my progress to verify the objective.
Deploy an Agentspace app.
Check my progress
Task 5. Set up an OAuth Consent Screen and Create client
In order for the AI assistant to take actions on a user’s behalf, the user must grant access to your enterprise search and assistant app. To configure the OAuth consent screen and client, follow the following steps:
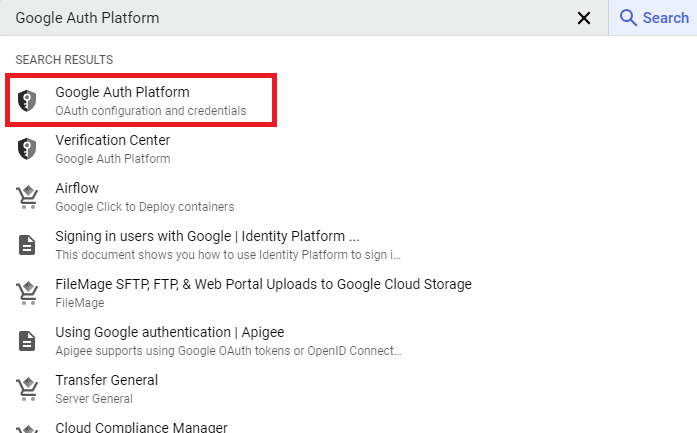
Navigate to the Google Auth Platform.
Click GET STARTED.
For App Name, enter
Scientific Conferences Agentspace.For the user support email, select your Qwiklabs student account.
Select Next.
In the Audience section, select an Internal Audience.
Select Next.
In the Contact Information section, provide an email address, which can be your real professional email address or your Qwiklabs student account.
In the Finish section, agree to the terms.
Select Create to create your OAuth consent screen.
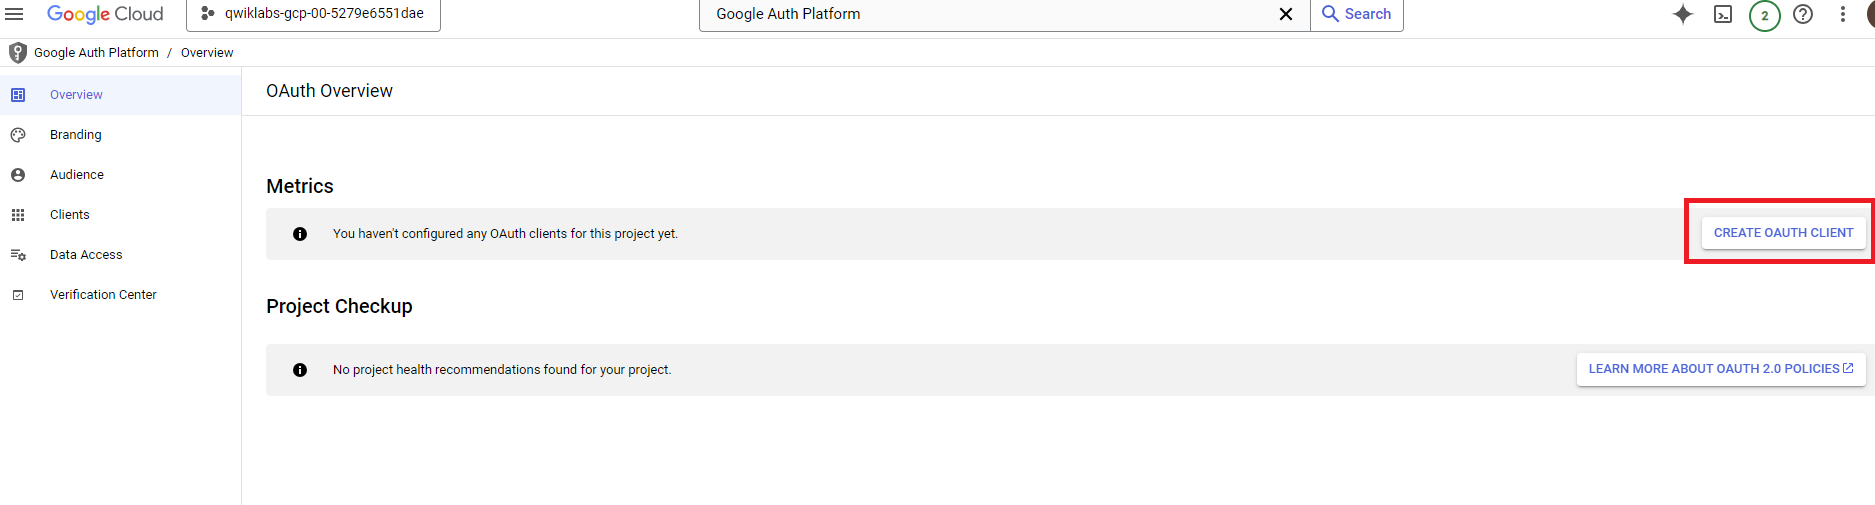
Your Google Auth Platform dashboard will display a banner that you haven’t created any clients yet. Select Create OAuth Client. If you don’t see this banner, select Clients on the left and then + Create Client.
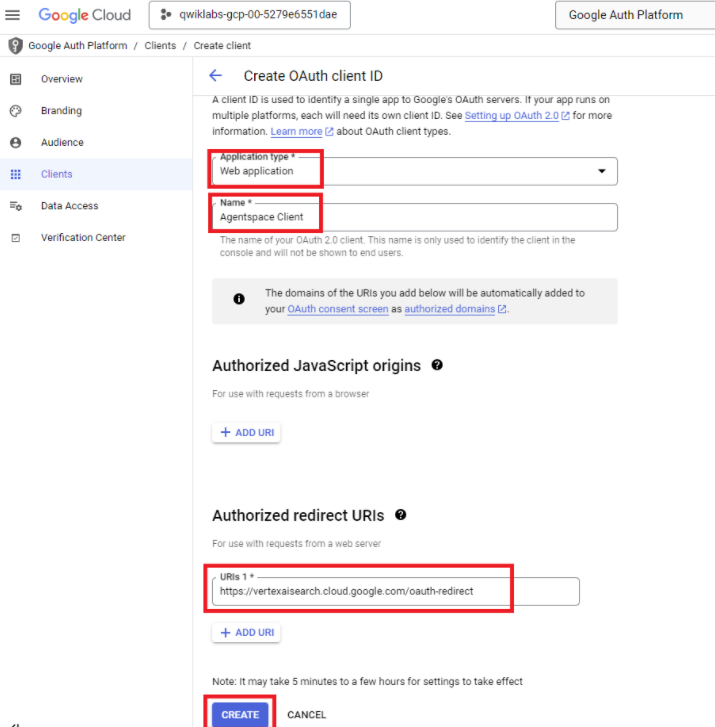
Select an Application type of Web application.
Name the client
Agentspace Client.Under Authorized redirect URIs, add
https://vertexaisearch.cloud.google.com/oauth-redirectClick Create.
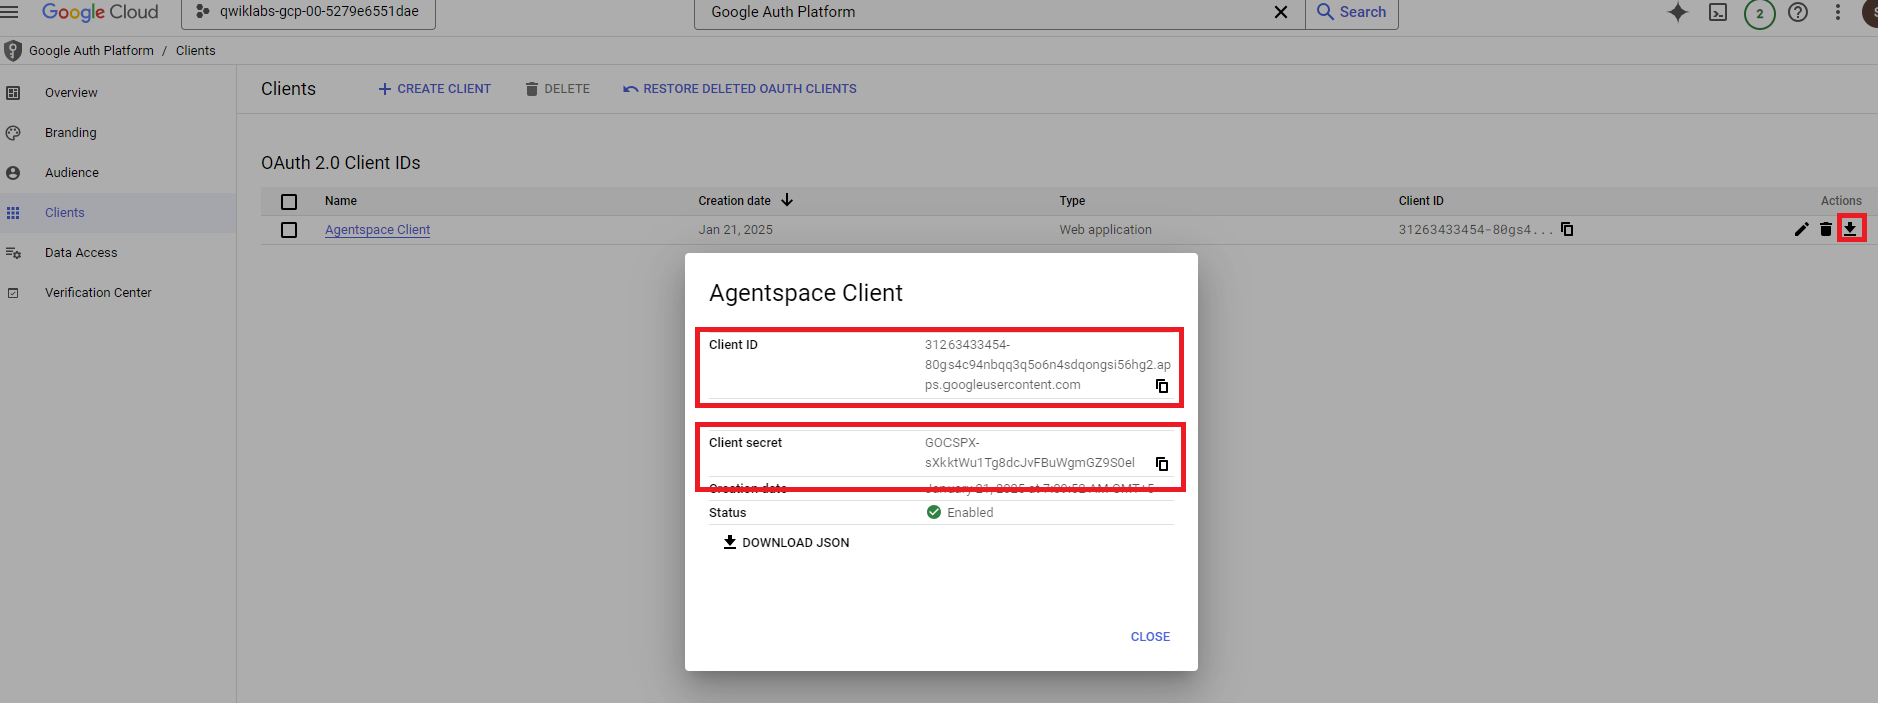
When the client is created, click the Download button at the end of its row to display the Client ID and Client Secret values. Store these in a text document, as you will need them shortly to enable actions.
Click Check my progress to verify the objective.
Set up an OAuth Consent Screen and create a client.
Check my progress
Task 6. Enable a Google Calendar Action
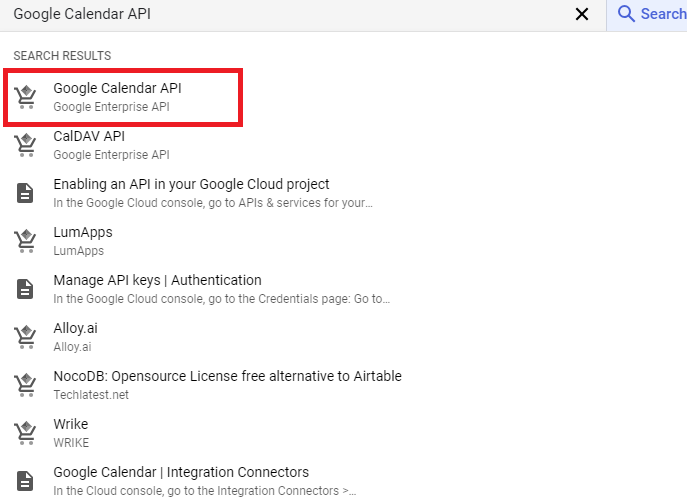
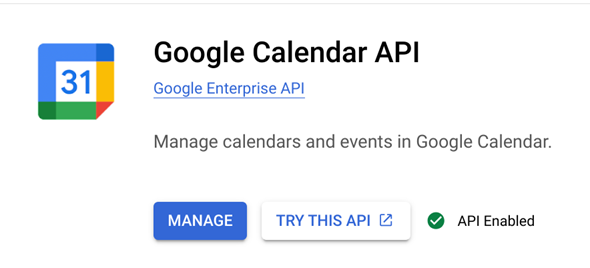
To configure the action, you’ll need to enable the Google Calendar API. To do so:
In the search bar at the top of the Cloud Console, search for the Google Calendar API and select it.
Click Enable if the API is not already enabled.
You can now add the action to your app. Return to the Agent Builder console.
Click on the name of your Agent Builder App:
Scientific Conferences Agentspace.Select Actions from the left-side navigation.
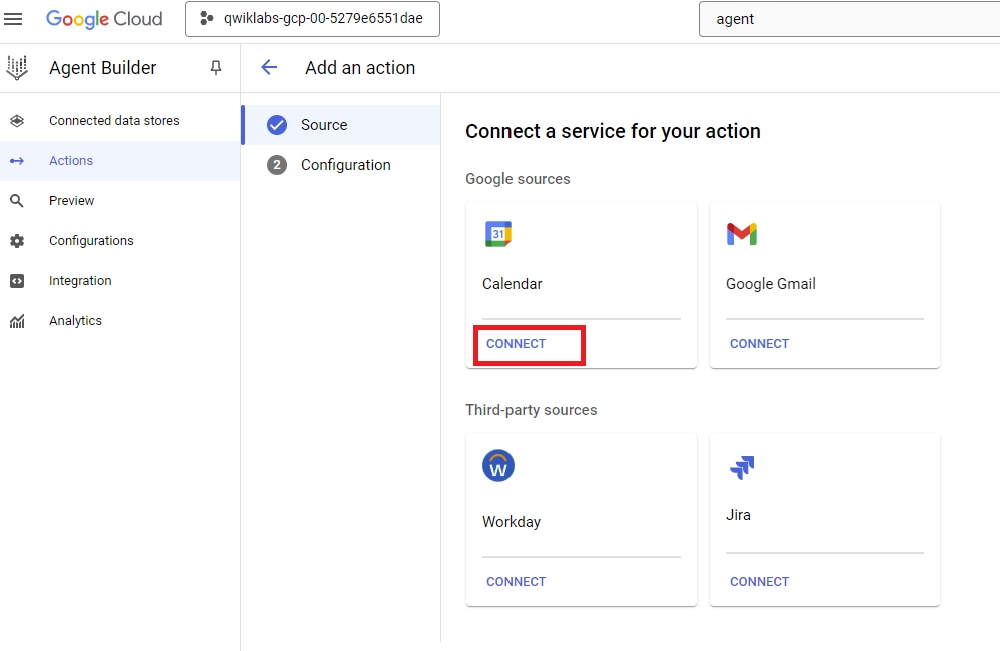
Select ADD ACTION.
Find the Calendar card and click CONNECT.
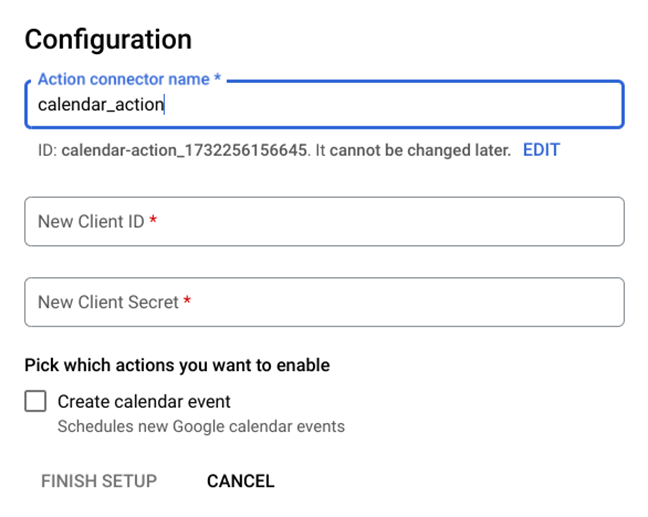
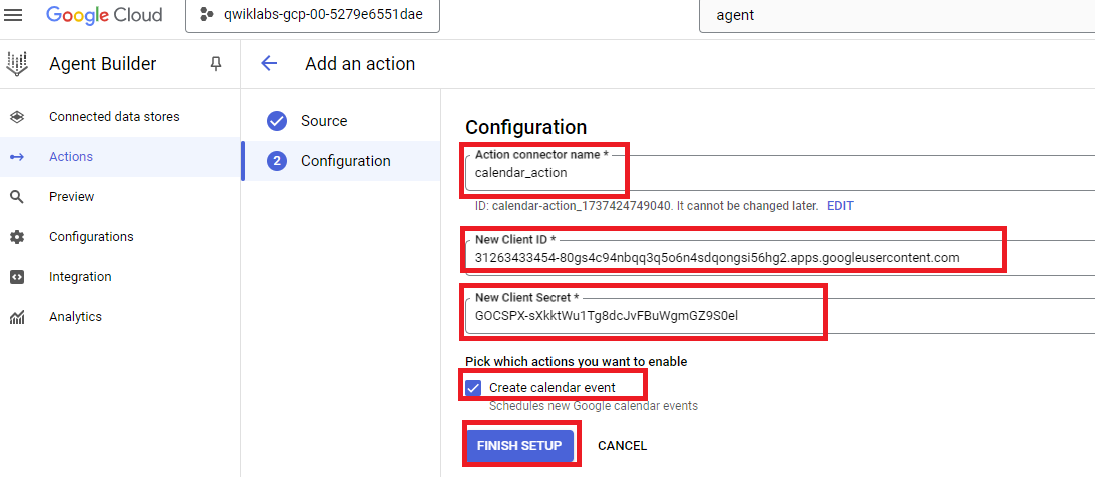
Enter an Action connector name of
calendar_action.Enter the Client ID and Client Secret of the OAuth client you created above.
Select the checkbox to enable the Create calendar event action to allow the assistant to create meetings based on requests in the Agentspace search bar.
Click FINISH SETUP.
Click Check my progress to verify the objective.
Enable a Google Calender action.
Check my progress
Task 7. Query your Agentspace Assistant
Take a 10-minute break for the app, its data stores, and actions to finish creating.
Then, navigate to Agent Builder > Apps > Scientific Conferences Agentspace.
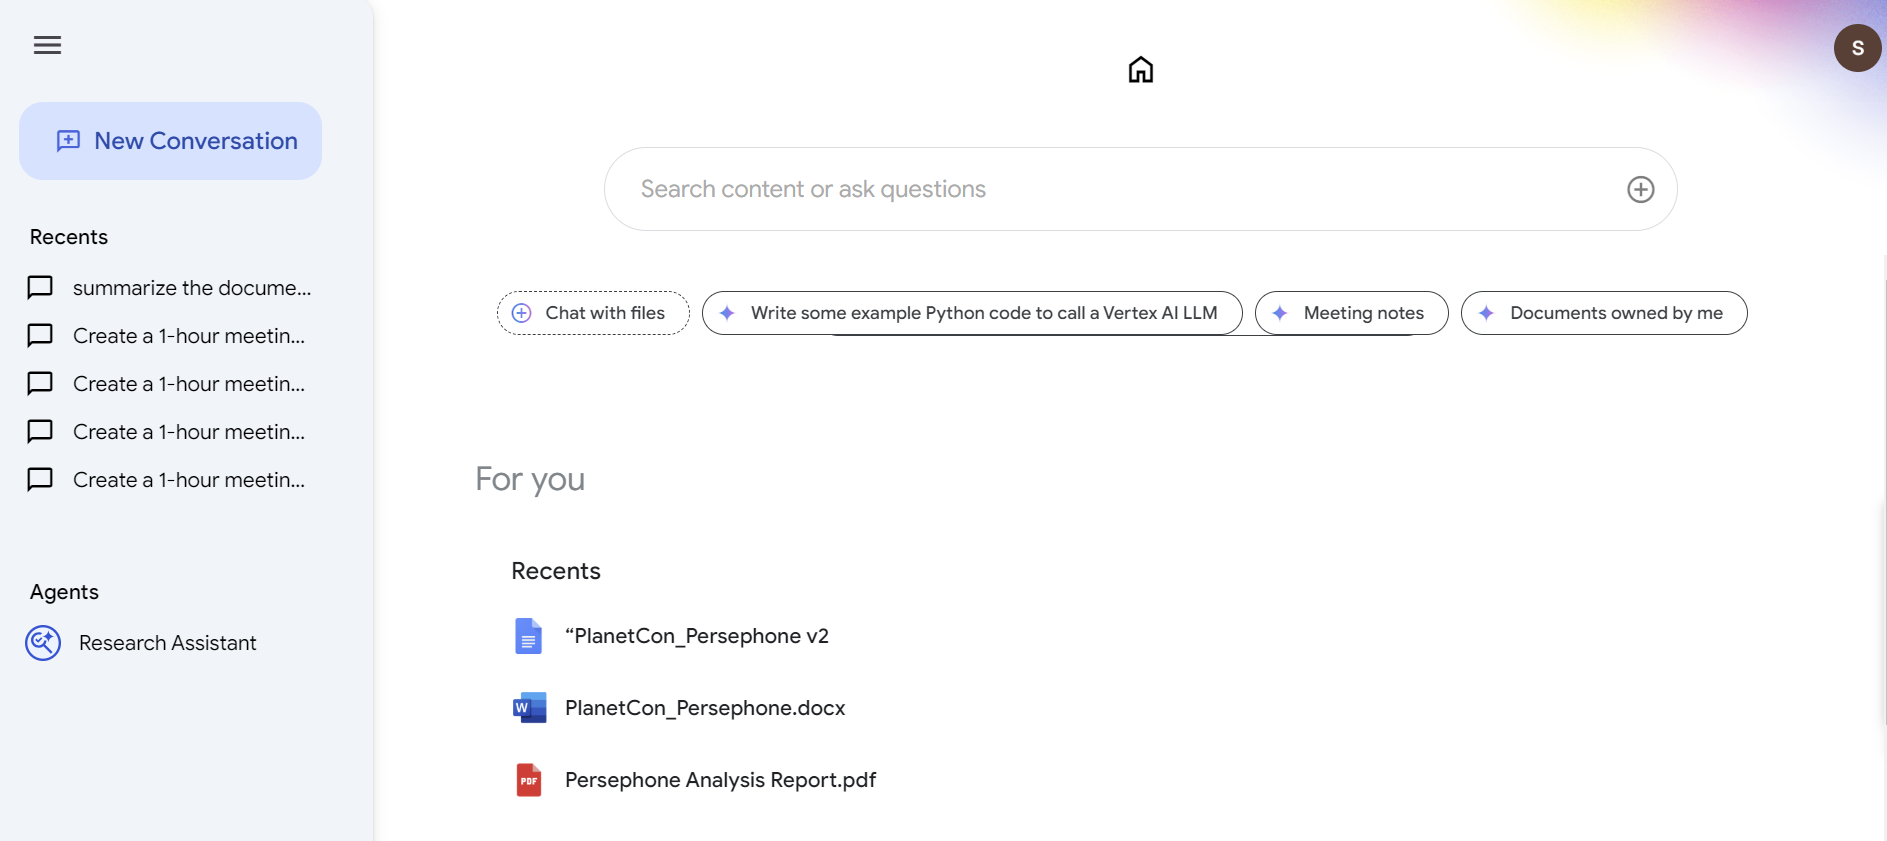
Select Preview from the left-hand navigation pane to view the experience your users will see.
Notice that under the
For youheader, the app shows the files you added to your Drive and the upcoming Astronomers Lunch Planning Meeting you created. This home page is designed to give users easy access to the content and events they will find most useful.Note: Please note that even if the files appear, they may require a little time to become accessible.
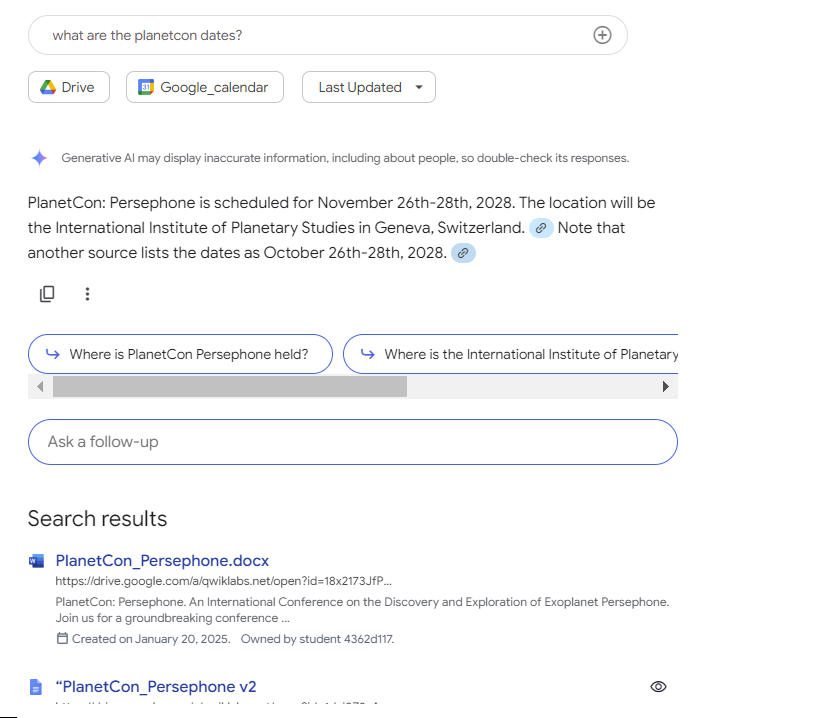
In the search bar, enter the following query:
what are the planetcon dates?You should see a result that not only provides the updated date you edited in the second version of the document (re-scheduling the conference to November), but also provides icons linking to the source documents for reference.
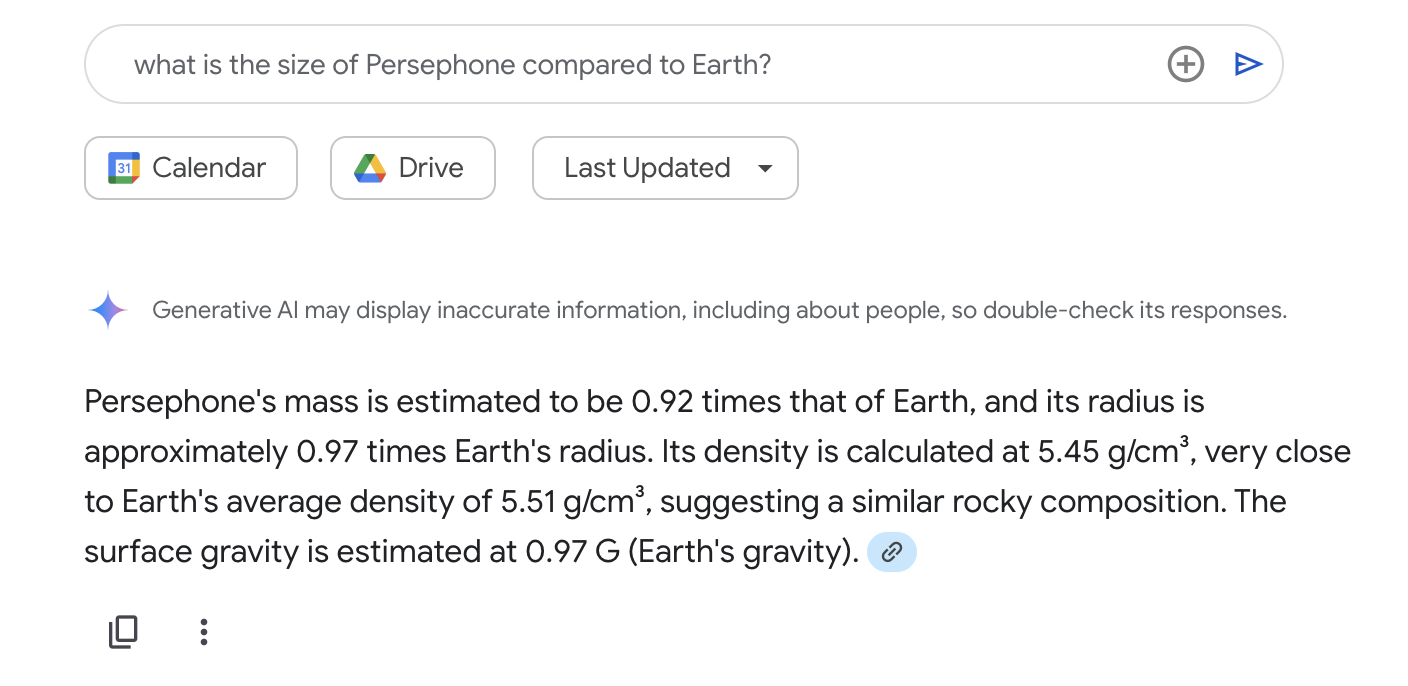
Enter a different prompt in the primary search bar:
what is the size of Persephone compared to Earth?You should see a result that extracts the information you are looking for from the Persephone Analysis Report.pdf document you uploaded to your drive. Remember, there is no real exoplanet Persephone, so you know the model is pulling from your uploaded data. You can further validate this by clicking the link icon and the card that appears below the response to be taken directly to the file that serves as the source of this information.
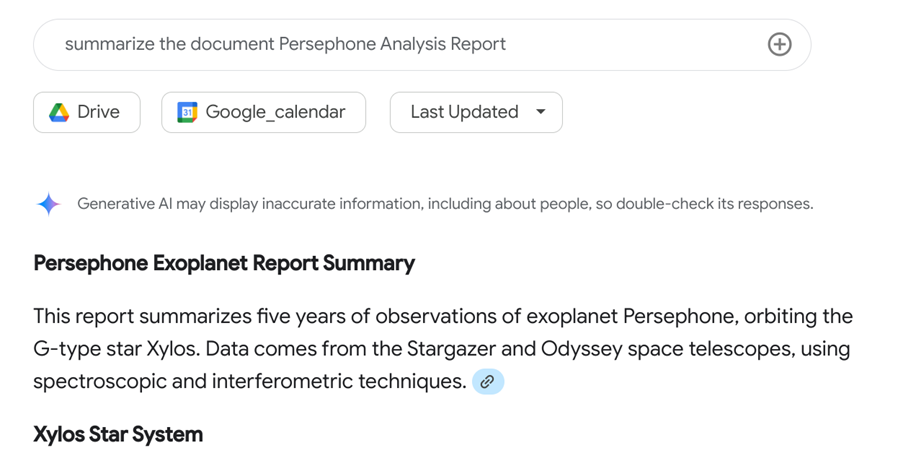
When you don’t have time to review a document, you can use the Agentspace AI assistant to create a useful summary for you. In the search bar, enter the following query:
summarize the document Persephone Analysis Report.Review the assistant’s response.
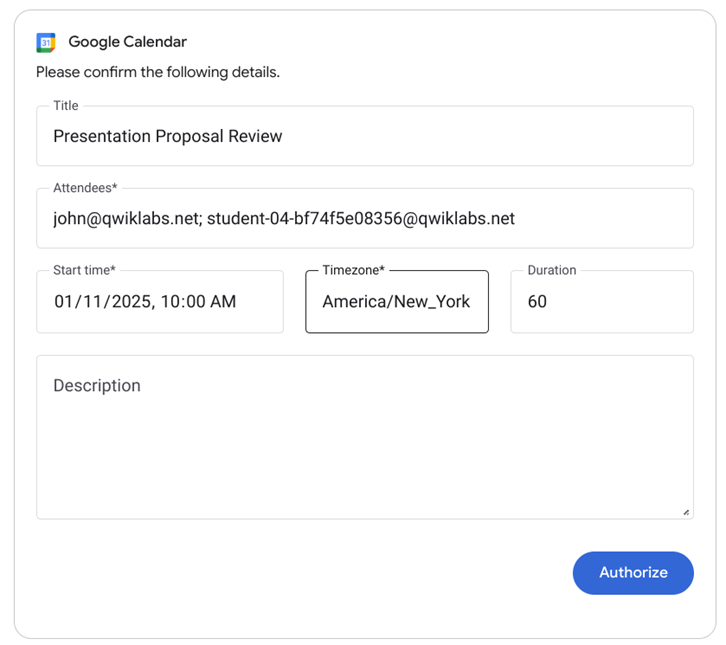
In the search bar, enter the following:
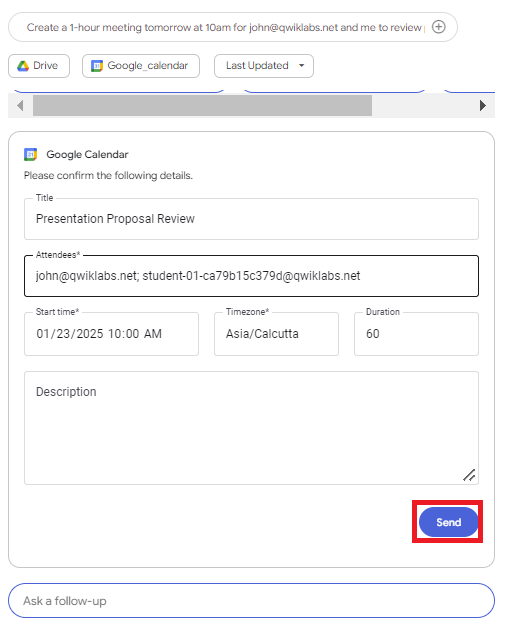
Create a 1-hour meeting tomorrow at 10am for exoplanet-research@qwiklabs.net to review conference presentation proposals.The assistant will prepare a template calendar event for you to approve.
Authorize the application using the OAuth Consent Screen you configured using your Qwiklabs student account.
Confirm the appearance of the event on your Google Calendar tab (or navigate to calendar.google.com in a new tab).
Task 8. Open the hosted link to your application
From your Agent Builder app’s menu, select Integration from the left-hand navigation pane.
Under The link to your web app, click OPEN to preview the hosted application. This is the application for your organization. When configuring Agentspace in production, you could use a DNS record to configure this home page to be accessible from a subdomain of your website, like
agentspace.my-domain.com.
Solution of Lab