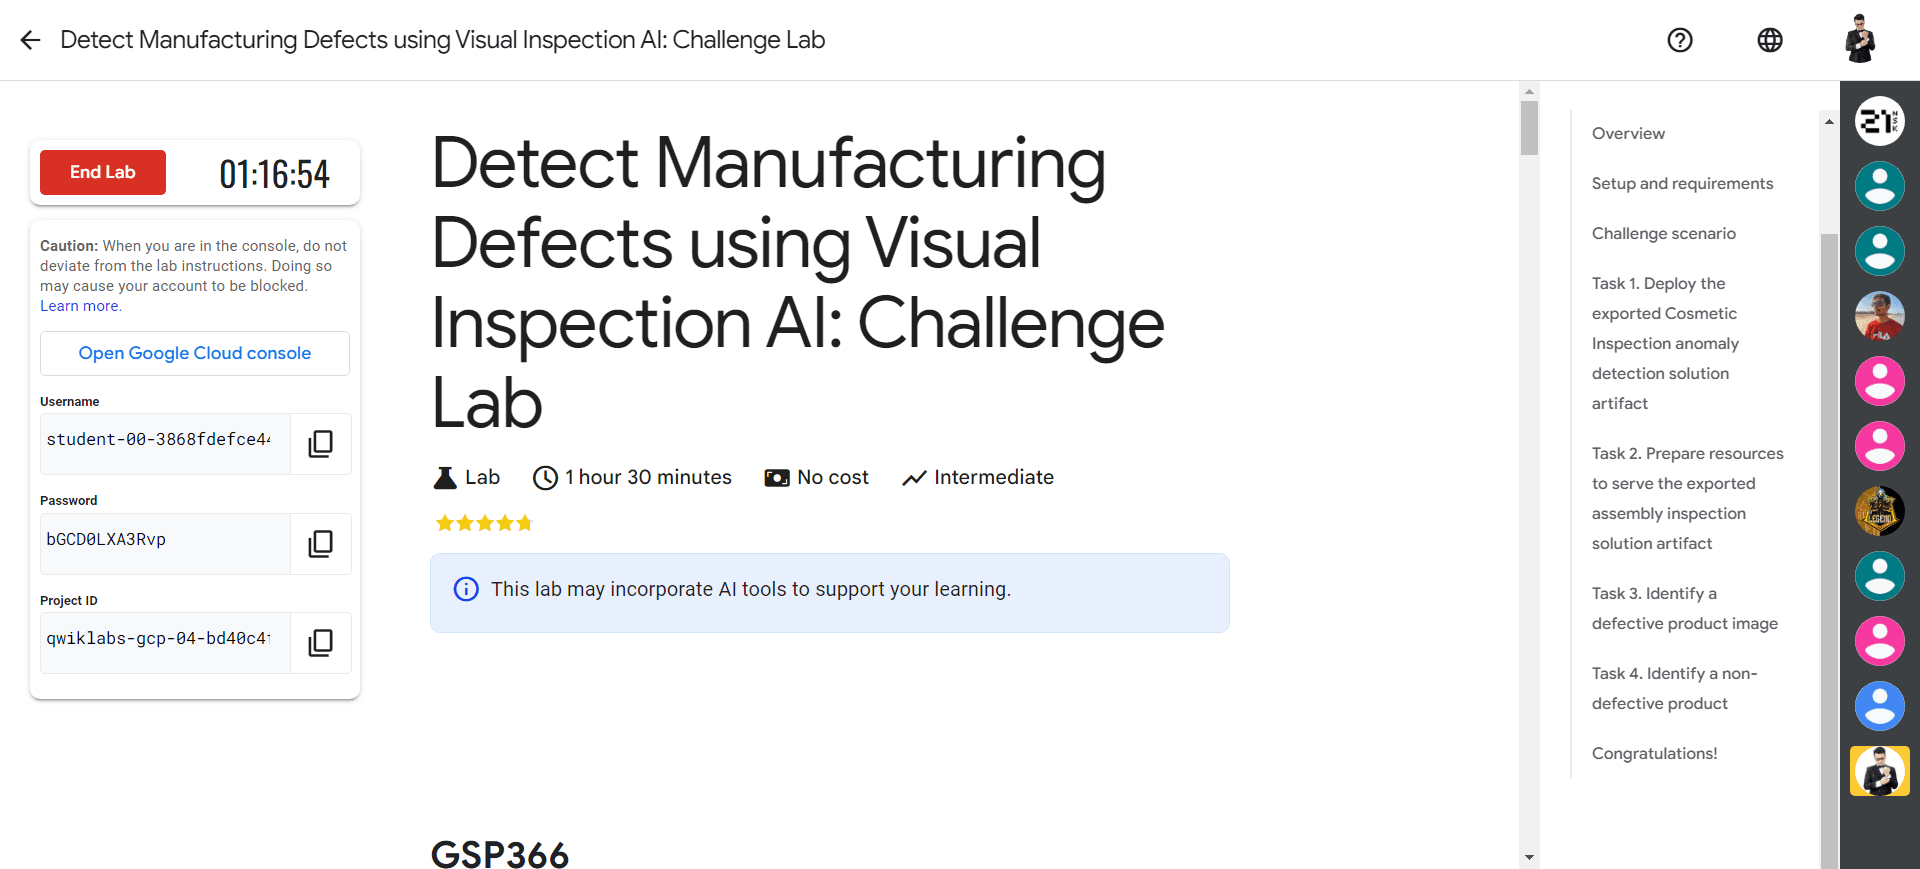
Detect Manufacturing Defects using Visual Inspection AI: Challenge Lab - GSP366
A passionate full-stack developer from @ePlus.DEV
Overview
In a challenge lab you’re given a scenario and a set of tasks. Instead of following step-by-step instructions, you will use the skills learned from the labs in the course to figure out how to complete the tasks on your own! An automated scoring system (shown on this page) will provide feedback on whether you have completed your tasks correctly.
When you take a challenge lab, you will not be taught new Google Cloud concepts. You are expected to extend your learned skills, like changing default values and reading and researching error messages to fix your own mistakes.
To score 100% you must successfully complete all tasks within the time period!
This lab is recommended for students enrolled in the Detect Manufacturing Defects using Visual Inspection AI course. Are you ready for the challenge?
Task 1. Deploy the exported Cosmetic Inspection anomaly detection solution artifact
Your first task is to connect to the Compute Engine virtual machine instance and run the pre-prepared solution artifact container locally inside that virtual machine.
- Connect to the Compute Engine instance called
lab-vmusing SSH. The VM is located in theus-east4-czone.
The Visual Inspection Cosmetic Inspection anomaly detection solution artifact was trained using the Visual Inspection cosmetic defect dataset. This solution artifact identifies cosmetic defects in images. This solution container is stored in the Container Registry (gcr.io) location listed below.
The exported solution artifact container uses port 8601 for grpc traffic, port 8602 for http traffic, and port 8603 for Prometheus metric traffic. You can map these ports to locally available ports in the virtual machine instance environment when starting the container with Docker using the command line switches -v 9000:8602 or -v 3006:8603.
- You must now deploy the exported solution container that was prepared for you in order to test it by downloading and running it locally in the Compute Engine virtual machine instance with the following configurations:
| Name | Value |
| Container name | product_inspection |
| Container Registry location | gcr.io/ql-shared-resources-test/defect_solution@sha256:776fd8c65304ac017f5b9a986a1b8189695b7abbff6aa0e4ef693c46c7122f4c |
Note: You can review the docker run commands used in the Visual Inspection deploy and test labs in the course for the syntax that you should use to deploy the solution artifact.
- Confirm that the container is running in your virtual machine instance:
docker container ls
Deploy the exported Cosmetic Inspection anomaly detection solution artifact
Check my progress
Task 2. Prepare resources to serve the exported assembly inspection solution artifact
Once you have started the solution artifact container in the previous section, you must now process images by sending requests to the running container using the python script named prediction_script.py.
Copy the prediction script
- Copy the file
prediction_script.pyto your virtual machine instance to process images by calling Visual Inspection AI rest APIs via the solution artifact container:
gsutil cp gs://cloud-training/gsp895/prediction_script.py .
The Python script takes the following parameters that must be set correctly when executing it:
| Name | Description |
| --input_image_file | Path to the image file to run predictions against. |
| --port | The port for http traffic. |
| --output_result_file | Path to the output file containing predictions. |
The images of the mobile phones are stored in a shared Cloud Storage bucket. You must create your own Cloud Storage bucket and copy the folder containing the test images to your own Cloud Storage bucket.
Create a Cloud Storage bucket and copy images to it
Create a Cloud Storage bucket named
qwiklabs-gcp-04-bd40c4fb2c20.Copy the folder containing the images of your product to your bucket from the following location: gs://cloud-training/gsp897/cosmetic-test-data into a folder called /cosmetic-test-data in your Cloud Storage bucket.
Prepare the storage bucket to process images
Check my progress
Task 3. Identify a defective product image
In this task, you must identify one defective product using the python script to process images stored in your cloud storage bucket. Store the prediction result that identifies a defective product in a file called defective_product_result.json stored in the HOME directory of your Compute Engine virtual machine.
Note: To find a defective image look for a file that returns at least one annotation object with the property annotationSpecDisplayName equal to scratch or dent. The prepared solution artifact has been trained to identify these defect types and use those labels when a defect is found.
A non-defective image result file will not contain either of those labels.
Two files that you should focus on are IMG_0769.png and IMG_07703.png.
Identify a defective product
Check my progress
Task 4. Identify a non-defective product
- In this task, you should identify one non-defective product using the python script to process images stored in your cloud storage bucket. Store the prediction result that identifies a non-defective product in a file called
non_defective_product.jsonstored in theHOMEdirectory of your Compute Engine virtual machine.
Solution of Lab
export CONTAINER_NAME=
export TASK_3_FILE_NAME=
export TASK_4_FILE_NAME=


curl -LO raw.githubusercontent.com/quiccklabs/Labs_solutions/master/Detect%20Manufacturing%20Defects%20using%20Visual%20Inspection%20AI%20Challenge%20Lab/quicklabgsp366.sh
sudo chmod +x quicklabgsp366.sh
./quicklabgsp366.sh