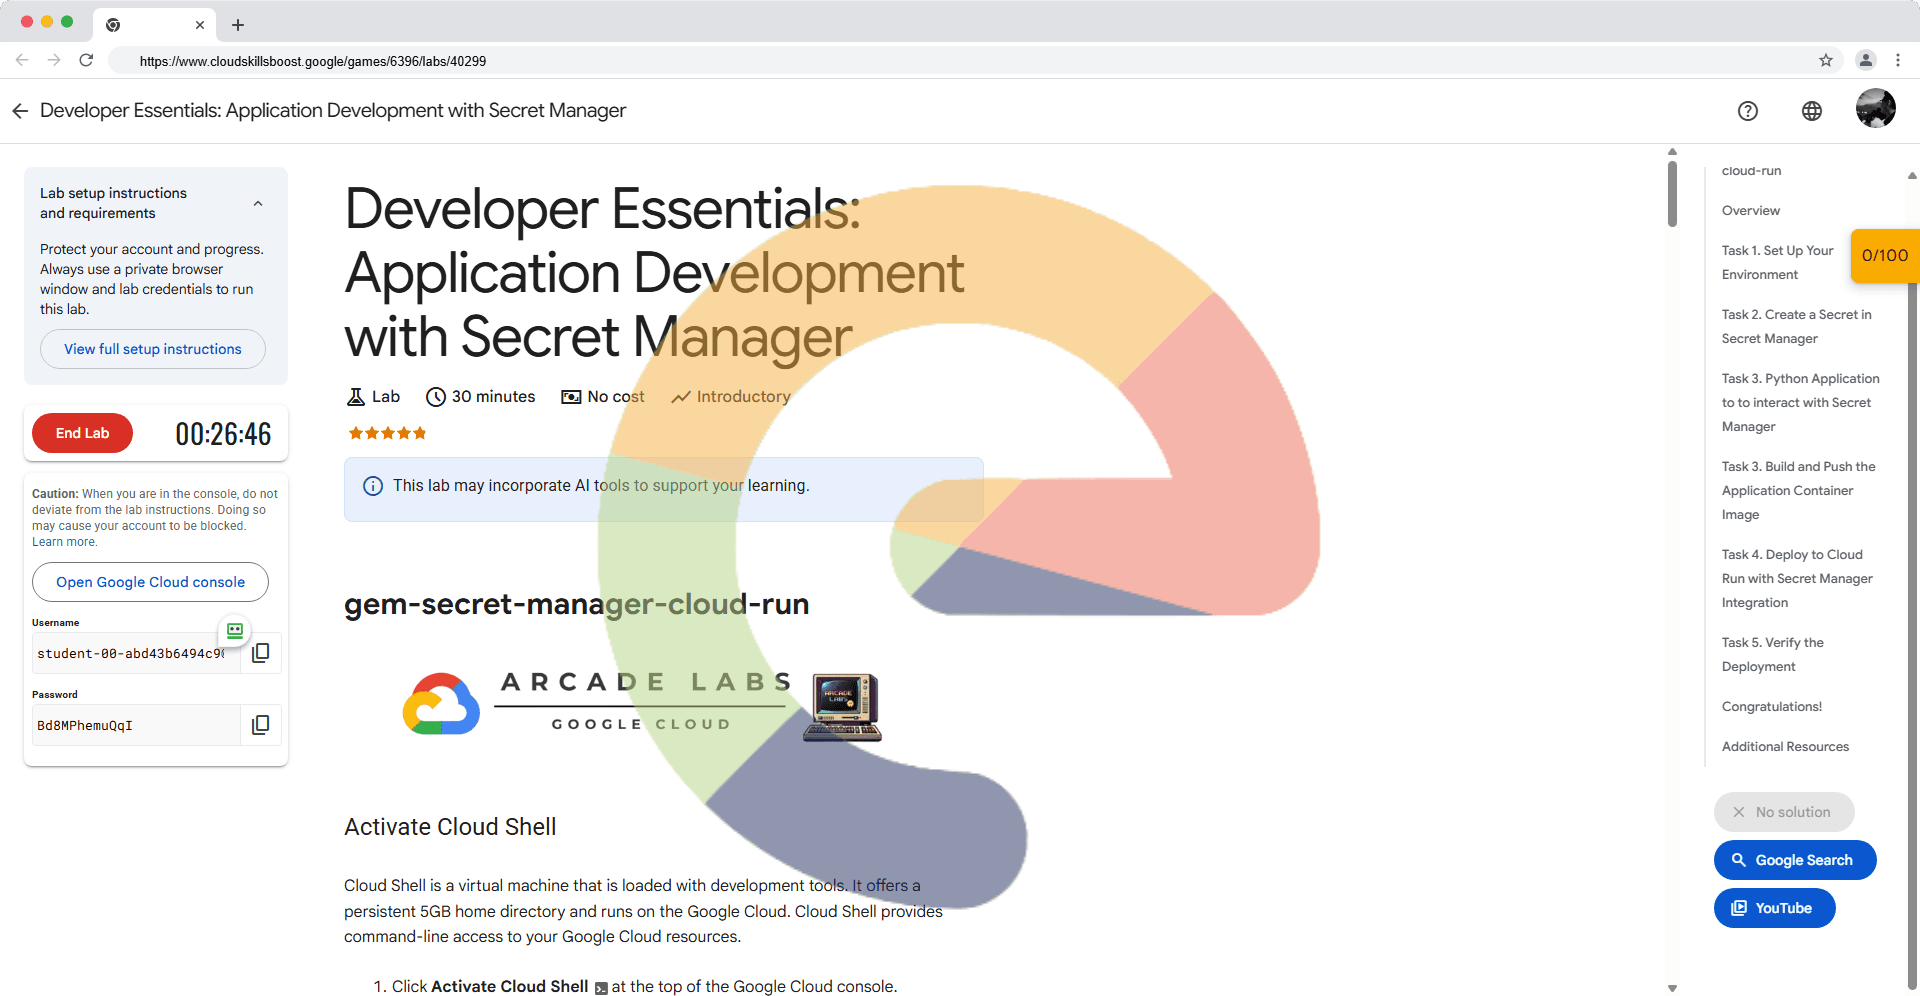
Developer Essentials: Application Development with Secret Manager - gem-secret-manager-cloud-run
A passionate full-stack developer from @ePlus.DEV
Activate Cloud Shell
Cloud Shell is a virtual machine that is loaded with development tools. It offers a persistent 5GB home directory and runs on the Google Cloud. Cloud Shell provides command-line access to your Google Cloud resources.
Click Activate Cloud Shell
at the top of the Google Cloud console.

When you are connected, you are already authenticated, and the project is set to your PROJECT_ID. The output contains a line that declares the PROJECT_ID for this session:
Your Cloud Platform project in this session is set to YOUR_PROJECT_ID
gcloud is the command-line tool for Google Cloud. It comes pre-installed on Cloud Shell and supports tab-completion.
- (Optional) You can list the active account name with this command:
gcloud auth list
Click Authorize.
Your output should now look like this:
Output:
ACTIVE: *
ACCOUNT: student-01-xxxxxxxxxxxx@qwiklabs.net

To set the active account, run:
    $ gcloud config set account `ACCOUNT`
- (Optional) You can list the project ID with this command:
gcloud config list project
Output:
[core]
project = <project_ID>
Example output:
[core]
project = qwiklabs-gcp-44776a13dea667a6
Note: For full documentation of gcloud, in Google Cloud, refer to the gcloud CLI overview guide.
Overview
This lab guides you through developing and deploying a secure application on Google Cloud Run using Secret Manager to store and manage sensitive information. You will learn how to integrate Secret Manager with Cloud Run to inject secrets into your application at runtime, enhancing security and simplifying configuration management. This lab assumes familiarity with Docker, Cloud Run, and basic application development concepts. We'll be using Artifact Registry to store container images.
Task 1. Set Up Your Environment
Configure your Google Cloud environment for this lab by setting the project ID and enabling the necessary APIs.
Set your Project ID:
gcloud config set project qwiklabs-gcp-03-264ec8f513e4Note:
This command configures thegcloudtool to use your project.Set your default region:
gcloud config set run/region us-central1Note:
This command sets your active cloud run region.Enable the Secret Manager, Cloud Run, and Artifact Registry APIs:
gcloud services enable secretmanager.googleapis.com run.googleapis.com artifactregistry.googleapis.comNote:
This command enables the required Google Cloud services for the lab.
Task 2. Create a Secret in Secret Manager
Create a secret in Secret Manager to store your sensitive data (e.g., API key, password).
Create a new secret. Replace
arcade-secretwith the desired name for your secret.gcloud secrets create arcade-secret --replication-policy=automaticNote:
This command creates a new secret in Secret Manager. Theautomaticreplication policy ensures high availability.Add a secret version with your sensitive data.
echo -n "t0ps3cr3t!" | gcloud secrets versions add arcade-secret --data-file=-Note:
This command adds a new version to your secret, storing your sensitive data. Ensure the data is properly encoded.
Task 3. Python Application to to interact with Secret Manager
Create a file
app.pyfile to retrieve a secretimport os from flask import Flask, jsonify, request from google.cloud import secretmanager import logging app = Flask(__name__) # Configure logging logging.basicConfig(level=logging.INFO) # Initialize Secret Manager client # The client will automatically use the service account credentials of the Cloud Run service secret_manager_client = secretmanager.SecretManagerServiceClient() # Hardcoded Project ID and Secret ID as per your request PROJECT_ID = "qwiklabs-gcp-03-264ec8f513e4" # Project ID SECRET_ID = "arcade-secret" # Secret Identifier @app.route('/') def get_secret(): """ Retrieves the specified secret from Secret Manager and returns its payload. The SECRET_ID and PROJECT_ID are now hardcoded in the application. """ if not SECRET_ID or not PROJECT_ID: logging.error("SECRET_ID or PROJECT_ID not configured (should be hardcoded).") return jsonify({"error": "Secret ID or Project ID not configured."}), 500 secret_version_name = f"projects/{PROJECT_ID}/secrets/{SECRET_ID}/versions/latest" try: logging.info(f"Accessing secret: {secret_version_name}") # Access the secret version response = secret_manager_client.access_secret_version(request={"name": secret_version_name}) secret_payload = response.payload.data.decode("UTF-8") # IMPORTANT: In a real application, you would process or use the secret # here, not return it directly in an HTTP response, especially if the # secret is sensitive. This example is for demonstration purposes only. return jsonify({"secret_id": SECRET_ID, "secret_value": secret_payload}) except Exception as e: logging.error(f"Failed to retrieve secret '{SECRET_ID}': {e}") return jsonify({"error": f"Failed to retrieve secret: {str(e)}"}), 500 if __name__ == '__main__': # When running locally, Flask will use the hardcoded values directly. # In Cloud Run, these values are used without needing environment variables. app.run(host='0.0.0.0', port=int(os.environ.get('PORT', 8080)))Note:
This is an example Python application to retrieve a secret.Create a
requirements.txtFlask==3.* google-cloud-secret-manager==2.*Note:
Thisrequirements.txtfile should list your application's Python dependencies.
Task 3. Build and Push the Application Container Image
Create a simple application (e.g., a basic web server) that utilizes the secret from Secret Manager. Build a Docker image for the application and push it to Artifact Registry.
Create a Dockerfile for your application. This example assumes a simple Python Flask app. Ensure your application code is in the same directory as your Dockerfile.
 FROM python:3.9-slim-buster

 WORKDIR /app

 COPY requirements.txt .
 RUN pip3 install -r requirements.txt

 COPY . .

 CMD ["python3", "app.py"]
Note:
This is an example Dockerfile. Adjust it based on your application's needs. Arequirements.txtfile should list your application's Python dependencies.Initialize Artifact Registry as a Docker registry.
gcloud artifacts repositories create arcade-images --repository-format=docker --location=us-central1 --description="Docker repository"Note:
Creates an Artifact Registry repository to store Docker images. Choose a meaningful name for the repository.Build the Container image.
docker build -t us-central1-docker.pkg.dev/qwiklabs-gcp-03-264ec8f513e4/arcade-images/arcade-secret:latest .Note:
Builds a Docker image from the Dockerfile in the current directory. The tag includes the Artifact Registry path.Test the Container image.
docker run --rm -p 8080:8080 us-central1-docker.pkg.dev/qwiklabs-gcp-03-264ec8f513e4/arcade-images/arcade-secret:latestAccess the running container using the Cloudshell web preview on the port 8080.
Note:
Verify the Container image is working as specified.Stop the running container using
ctrl-c.Push the Container image to Artifact Registry.
docker push us-central1-docker.pkg.dev/qwiklabs-gcp-03-264ec8f513e4/arcade-images/arcade-secret:latestNote:
Pushes the built Docker image to your Artifact Registry repository. Ensure you have Docker installed and configured.
Task 4. Deploy to Cloud Run with Secret Manager Integration
Deploy your application to Cloud Run and configure it to access the secret from Secret Manager.
Create a Service Account for Secret Manager application.
 gcloud iam service-accounts create arcade-service \
   --display-name="Arcade Service Account" \
   --description="Service account for Cloud Run application"
Note:
This command creates a service account for the Cloud Run application.Grant the Cloud Run service account access to the Secret Manager secret.
 gcloud secrets add-iam-policy-binding arcade-secret \
 --member="serviceAccount:arcade-service@qwiklabs-gcp-03-264ec8f513e4.iam.gserviceaccount.com" \
 --role="roles/secretmanager.secretAccessor"
Note:
This command grants the Cloud Run service account permission to access the secret.Deploy the application to Cloud Run.
 gcloud run deploy arcade-service \
   --image=us-central1-docker.pkg.dev/qwiklabs-gcp-03-264ec8f513e4/arcade-images/arcade-secret:latest \
   --region=us-central1 \
   --set-secrets SECRET_ENV_VAR=arcade-secret:latest \
   --service-account arcade-service@qwiklabs-gcp-03-264ec8f513e4.iam.gserviceaccount.com \
   --allow-unauthenticated
Note:
This command deploys the Container image to Cloud Run. The--set-secretsflag injects the secret from Secret Manager into your application as an environment variable (`SECRET_ENV_VAR`). i
Task 5. Verify the Deployment
Access the deployed application and verify that it can successfully retrieve the secret from Secret Manager.
Get the URL of your deployed Cloud Run service.
gcloud run services describe arcade-service --region=us-central1 --format='value(status.url)'Note:
This command retrieves the URL where your service is accessible.Access the URL in your browser or using
curland verify that the application can access the secret.curl $(gcloud run services describe arcade-service --region=us-central1 --format='value(status.url)') | jqNote:
Verify that the application output includes the value of the secret you stored in Secret Manager. The exact output depends on how you implemented secret retrieval in your application.
Solution of Lab
curl -LO raw.githubusercontent.com/ePlus-DEV/storage/refs/heads/main/labs/gem-secret-manager-cloud-run/lab.sh
sudo chmod +x lab.sh
./lab.shScript alternative
Script alternative
curl -LO raw.githubusercontent.com/gcpsolution99/GCP-solution/refs/heads/main/GSP/Abhi_Secret_Manager.sh

sudo chmod +x Abhi_Secret_Manager.sh

./Abhi_Secret_Manager.sh