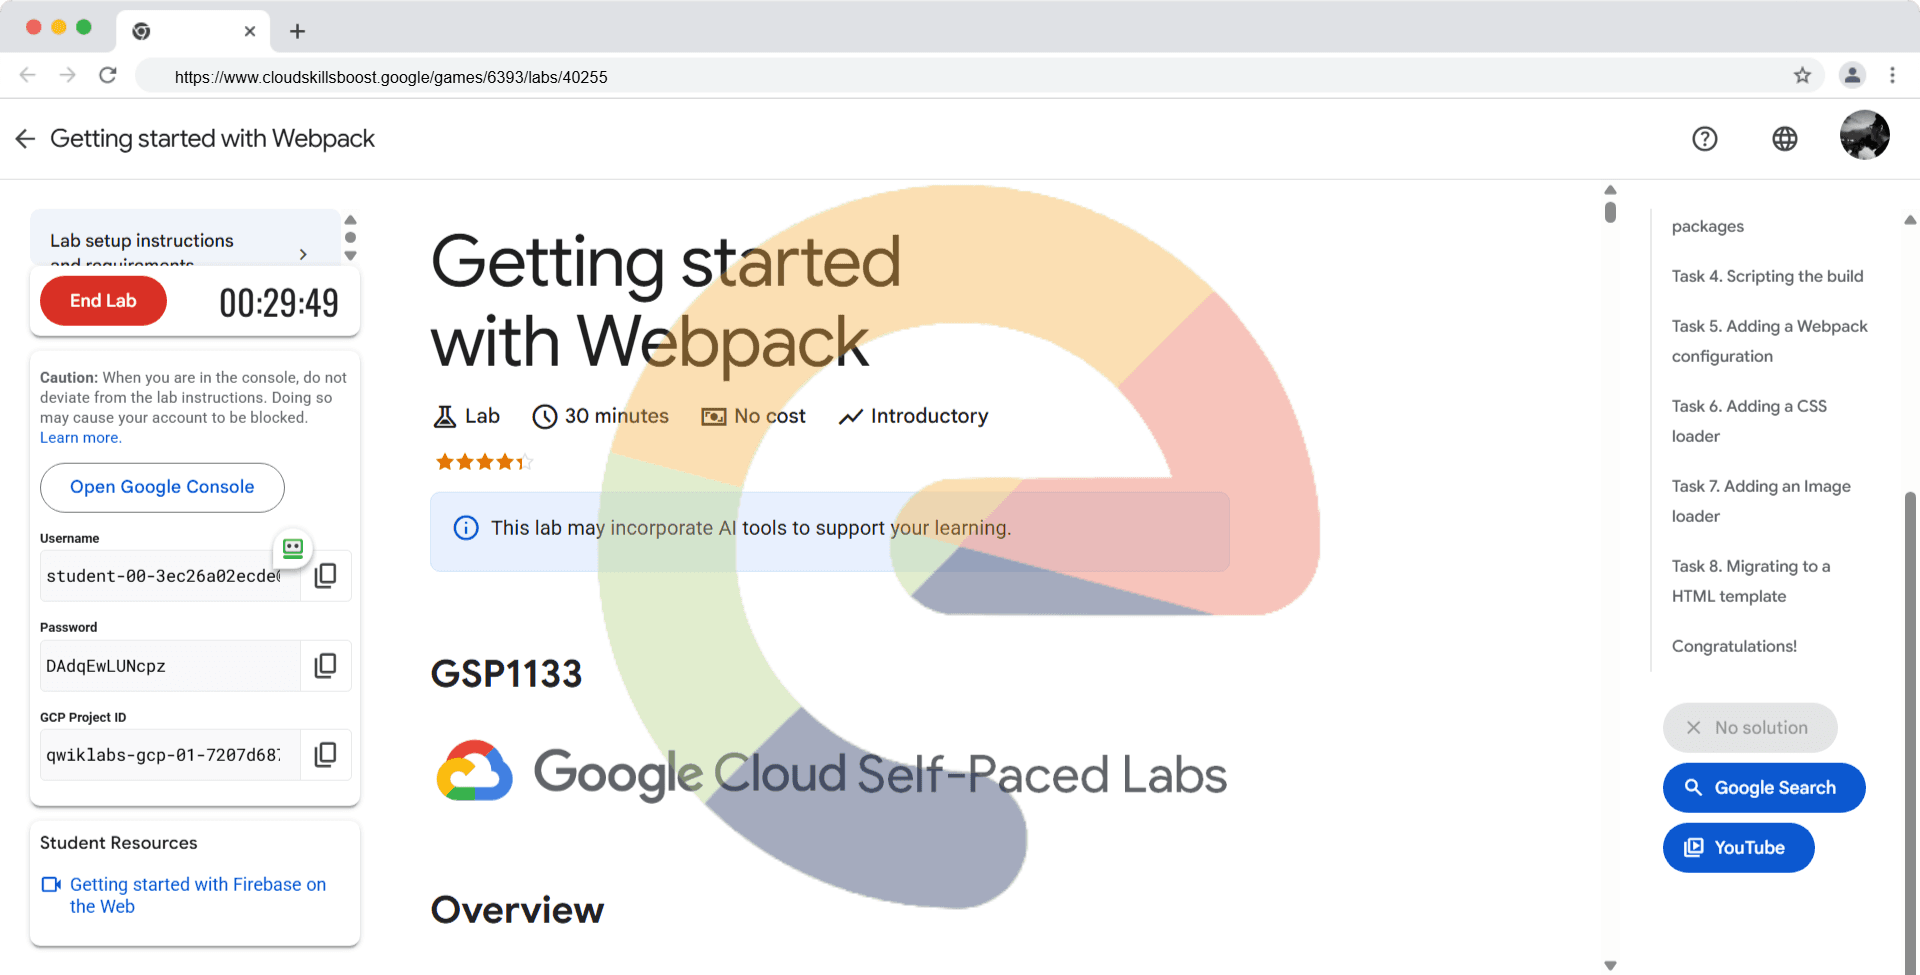
Getting started with Webpack - GSP1133
A passionate full-stack developer from @ePlus.DEV
Overview
In this lab you will learn the fundamentals of Webpack development for the web. If you are new to web development or looking for an overview of how to get started, you are in the right place.
Read on to learn about the specifics of this lab and areas that you will get hands-on practice with.
What you'll learn
In this lab, you will learn about the following:
Creating a boilerplate HTML page
Adding JavaScript to the page
Initializing Webpack using npm
Adding a Webpack configuration
Enhancing HTML with CSS
Incorporating an image loader
Transitioning to a HTML template
Prerequisites
This is an introductory-level lab and the first lab you should take if you're unfamiliar with Webpack.
If you have a personal or corporate Google Cloud account or project, sign out of that account. If you stay logged in to your personal/corporate account and run the lab in the same browser, your credentials could get confused, resulting in getting logged out of the lab accidentally.
If you use ChromeOS, please run your lab using an Incognito window.
Over the course of this lab the following elements are required:
Basic knowledge of HTML and CSS
An understanding of Node.js
Before you click the Start Lab button
Read these instructions. Labs are timed and you cannot pause them. The timer, which starts when you click Start Lab, shows how long Google Cloud resources are made available to you.
This hands-on lab lets you do the lab activities in a real cloud environment, not in a simulation or demo environment. It does so by giving you new, temporary credentials you use to sign in and access Google Cloud for the duration of the lab.
To complete this lab, you need:
- Access to a standard internet browser (Chrome browser recommended).
Note: Use an Incognito (recommended) or private browser window to run this lab. This prevents conflicts between your personal account and the student account, which may cause extra charges incurred to your personal account.
- Time to complete the lab—remember, once you start, you cannot pause a lab.
Note: Use only the student account for this lab. If you use a different Google Cloud account, you may incur charges to that account.
How to start your lab and sign in to the Google Cloud console
Click the Start Lab button. If you need to pay for the lab, a dialog opens for you to select your payment method. On the left is the Lab Details pane with the following:
The Open Google Cloud console button
Time remaining
The temporary credentials that you must use for this lab
Other information, if needed, to step through this lab
Click Open Google Cloud console (or right-click and select Open Link in Incognito Window if you are running the Chrome browser).
The lab spins up resources, and then opens another tab that shows the Sign in page.
Tip: Arrange the tabs in separate windows, side-by-side.
Note: If you see the Choose an account dialog, click Use Another Account.
If necessary, copy the Username below and paste it into the Sign in dialog.
student-00-3ec26a02ecde@qwiklabs.netYou can also find the Username in the Lab Details pane.
Click Next.
Copy the Password below and paste it into the Welcome dialog.
DAdqEwLUNcpzYou can also find the Password in the Lab Details pane.
Click Next.
Important: You must use the credentials the lab provides you. Do not use your Google Cloud account credentials.
Note: Using your own Google Cloud account for this lab may incur extra charges.
Click through the subsequent pages:
Accept the terms and conditions.
Do not add recovery options or two-factor authentication (because this is a temporary account).
Do not sign up for free trials.
After a few moments, the Google Cloud console opens in this tab.
Note: To access Google Cloud products and services, click the Navigation menu or type the service or product name in the Search field.

Activate Cloud Shell
Cloud Shell is a virtual machine that is loaded with development tools. It offers a persistent 5GB home directory and runs on the Google Cloud. Cloud Shell provides command-line access to your Google Cloud resources.
Click Activate Cloud Shell at the top of the Google Cloud console.
Click through the following windows:
Continue through the Cloud Shell information window.
Authorize Cloud Shell to use your credentials to make Google Cloud API calls.
When you are connected, you are already authenticated, and the project is set to your Project_ID, qwiklabs-gcp-01-7207d68747bc. The output contains a line that declares the Project_ID for this session:
Your Cloud Platform project in this session is set to qwiklabs-gcp-01-7207d68747bc
gcloud is the command-line tool for Google Cloud. It comes pre-installed on Cloud Shell and supports tab-completion.
- (Optional) You can list the active account name with this command:
gcloud auth list
- Click Authorize.
Output:
ACTIVE: *
ACCOUNT: student-00-3ec26a02ecde@qwiklabs.net

To set the active account, run:
    $ gcloud config set account `ACCOUNT`
- (Optional) You can list the project ID with this command:
gcloud config list project
Output:
[core]
project = qwiklabs-gcp-01-7207d68747bc
Note: For full documentation of gcloud, in Google Cloud, refer to the gcloud CLI overview guide.
Task 1. Creating a HTML page
HTML can be used to quickly create an online application. In this section create a basic HTML web form that will be enhanced to perform a conversion calculation Hectares and Acres.
To get started create the environment setup needed to host the source files.
Right click on the Cloud Shell link
Select Open link in an incognito window
Use gcloud to set the project configuration
gcloud config set project qwiklabs-gcp-01-7207d68747bc
- Make a folder for the application named webpack-lab
mkdir ~/webpack-lab && cd $_
- Within the webpack-lab folder, create a new folder named dist
mkdir dist
- Create a new file named dist/index.html
cat << EOF > dist/index.html
<!DOCTYPE html>
<html lang="en">
<head>
        <meta charset="UTF-8">
        <meta name="viewport" content="width=device-width, initial-scale=1.0">
        <title>Webpack Lab</title>
</head>
<body>
  <div class="main-content">
    <img id="imgBrand" alt="Brand Image"/>
    <header>
      <h3>Hectares to Acres<h3>
    <header>
    <form>
      <input placeholder="Hectares" type="number" maxlength="255">
      <button>Convert</button>
    </form>
    <p id=conversion></p>
  </div>
</body>
</html>
EOF
- Run the application from the webpack-lab/dist folder
python3 -m http.server 8080 --directory dist
- Use web preview on port 8080 to view the application html page
Note: We will use Cloud Shell Web Preview throughout the lab to view the html render. Cloud Shell will default to port 8080, so no change is required to access the page used.
The basic html page is up and running. In the next section learn how to add interactivity to the page by adding JavaScript.
Task 2. Enhancing HTML with JavaScript
A HTML page provides static content which can be enhanced with the addition of JavaScript. In this example JavaScript will be added to perform the calculation on the number entered by the user.
To achieve this, add a script element to the HTML page that will call some JavaScript code.
Add a small script to perform the calculation needed to change hectares into acres.
- Within the webpack-lab folder, create a new folder named src
mkdir src
- Create a new file src/index.js with the following contents:
// Use the values from the HTML page
const formControl = document.querySelector('form');
const inputControl = document.querySelector('input');
const outputControl = document.querySelector('#conversion');

// Set the output to blank when the screen starts
outputControl.textContent = '';

// Handle form processing
formControl.addEventListener('submit', (event) => {
  event.preventDefault();

  if (parseInt(inputControl.value)) {
    const calcResult = (inputControl.value * 2.4711).toFixed(2);
    outputControl.textContent = inputControl.value.toString() + " Hectares is " + calcResult.toString() + " Acres";
  }
})
- Edit the dist/index.html file to amend the index.js file reference
<body>
  <div class="main-content">
  ...
  </div>
  <script src="../src/index.js"></script>
</body>
- The file dist/index.html should now look similar to below:
<!DOCTYPE html>
<html lang="en">
<head>
        <meta charset="UTF-8">
        <meta name="viewport" content="width=device-width, initial-scale=1.0">
        <title>Webpack Lab</title>
</head>
<body>
  <div class="main-content">
    <header>
      <h3>Hectares to Acres<h3>
    <header>
    <form>
      <input placeholder="Hectares" type="number" maxlength="255">
      <button>Convert</button>
    </form>
    <p id=conversion></p>
  </div>
  <script src="../src/index.js"></script>
</body>
</html>
- Run the application from the webpack-lab/dist folder
python3 -m http.server 8080 --directory dist
- Use web preview on port 8080 to view the application html page
The index.html will now perform a calculation when a number is entered on the form.
The page now includes both html and JavaScript, however there are a lot of components to manage. In the next section introduce Webpack functionality to the existing application and use that to manage component functionality.
Task 3. Adding Webpack packages
According to the webpack.js.org site "...webpack is a static module bundler for modern JavaScript applications. When webpack processes your application, it internally builds a dependency graph from one or more entry points and then combines every module your project needs into one or more bundles, which are static assets to serve your content from."
While the initial setup can seem intimidating, the functionality it provides makes the development workflow more consistent. To transition from the original code to webpack, use Node.js to managed the packages as outlined below:
- From the webpack-lab folder, initialize the environment
npm init -y
Note: The node initialization process will add a node_modules folder as well as package.json file to the current folder.
- Install the webpack packages
npm install webpack webpack-cli --save-dev
- Edit the package.json file and add the following below the line containing "main": "index.js":
"private": "true",
- Edit the package.json file and remove the following line:
  "main": "index.js",
  "type": "commonjs",
The application has now been initialized to use Node.js and webpack development packages. In the next section learn how to use Webpack to transpile code for the application.
Task 4. Scripting the build
Webpack can do a lot of the work to generate files. The original application configuration was set to use the dist folder for the working directory. With the addition of webpack, a build can now be used to generate the
Use webpack to perform some of the application management duties. Start with telling webpack we are using a development mode.
Edit the package.json file
Add a build script to call the webpack component and set the mode to development
  "scripts": {
    "test": "echo \"Error: no test specified\" && exit 1",
    "build": "webpack --mode development"
  },
- Run the build script for the application from the command line
npm run build
Note: The above command will request webpack to perform a build on the current folder. As part of this process, it will bundle the index.js located in the src folder. On successful completion of the build, the file main.js will be placed into the dist folder. The main.js incorporates the functionality associated with index.js.
A main.js is now present in the webpack-lab/dist folder.
Run the application from the webpack-lab/dist folder.
python3 -m http.server 8080 --directory dist
- The application will generate a new main.js in the webpack-lab/dist folder.
Note: The name of the script to be used has changed to dist/main.js. The dist/index.html is still referencing the src/index.js file.
- Edit the dist/index.html and amend the JavaScript filename to use webpack generated main.js.
<script src="main.js"></script>
- The dist/index.html file will be similar to below:
Example Output
<!DOCTYPE html>
<html lang="en">
<head>
        <meta charset="UTF-8">
        <meta name="viewport" content="width=device-width, initial-scale=1.0">
        <title>Webpack Lab</title>
</head>
<body>
  <div class="main-content">
    <img id="imgBrand" alt="Brand Image"/>
    <header>
      <h3>Hectares to Acres<h3>
    <header>
    <form>
      <input placeholder="Hectares" type="number" maxlength="255">
      <button>Convert</button>
    </form>
    <p id=conversion></p>
  </div>
  <script src="main.js"></script>
</body>
</html>
- Run the application from the webpack-lab/dist folder
python3 -m http.server 8080 --directory dist
Now webpack is generating a compiled main.js, the application components are created in the dist folder. Webpack can provide more help with the build process, but will require a configuration file.
In the next section learn how to start using a Webpack configuration.
Task 5. Adding a Webpack configuration
Enhancing the project with Webpack configuration setting
In the webpack-lab folder, create a file webpack.config.js
Add the following content to the webpack.config.js file
const path = require('path')

module.exports = {
  mode : 'development',
  entry: path.resolve(__dirname, 'src/index.js'),
  output: {
    path: path.resolve(__dirname, 'dist'),
    filename: 'bundle.js',
  },
}
Note: The configuration defines a module object. First we indicate that the mode of operation is development. The entry for the application is defined as a path to the src/index.js. Finally the output is set to the dist folder with a filename of bundle.js.
- Run the build for the application from the command line
npm run build
Note: In the dist folder a file named bundle.js is now generated rather than main.js. The entry line in the webpack.config.js can be set as an object. Doing this will allow multiple source references to be accepted in the application.
- Update the webpack.config.js and set the output filename as main.js.
const path = require('path')

module.exports = {
  mode : 'development',
  entry: {
    main: path.resolve(__dirname, 'src/index.js'),
  },
  output: {
    path: path.resolve(__dirname, 'dist'),
    filename: '[name].js',
  },
}
- Amend the package.json file to use the webpack.config.js
  "scripts": {
    "test": "echo \"Error: no test specified\" && exit 1",
    "build": "webpack"
  },
- Run the build for the application from the command line
npm run build
- Run the application from the webpack-lab/dist folder
python3 -m http.server 8080 --directory dist
The basic Webpack configuration is now active.
In the next section learn how to add CSS styling to the application using a Webpack loader.
Task 6. Adding a CSS loader
Enable the use of file extensions using CSS functionality.
In the webpack-lab folder, edit the webpack.config.js file
Add a loader section for using CSS and SCSS
const path = require('path')

module.exports = {
  mode : 'development',
  entry: {
    main: path.resolve(__dirname, 'src/index.js'),
  },
  output: {
    path: path.resolve(__dirname, 'dist'),
    filename: '[name].js',
  },
  module: {
    rules: [
      {
        test: /\.css$/i,
        use: ['style-loader', 'css-loader'],
      },
      {
        test: /\.js$/,
        exclude: /node_modules/,
        use: {
          loader: 'babel-loader',
          options: {
            presets: ['@babel/preset-env']
          }
        }
      },
    ],
  },
};
- Add the style-loader and css-loader modules for loading css
npm install --save-dev html-webpack-plugin style-loader css-loader @babel/core @babel/preset-env babel-loader
- Create a src/style.css file
* {
  box-sizing: border-box;
}

body {
  background-color: #ffffff;
  font-family: 'Roboto', sans-serif;
  display: flex;
  flex-direction: column;
  align-items: center;
  justify-content: center;
  height: 100vh;
  overflow: hidden;
  margin: 0;
  padding: 20px;
}

.main-content {
  background-color: #f4f4f4;
  border-radius: 10px;
  box-shadow:  0 10px 20px rgba(0, 0, 0, 0.1), 0 6px 6px rgba(0, 0, 0, 0.1);
  padding: 50px 20px;
  text-align: center;
  max-width: 100%;
  width: 800px;
}


h1 {
  font-size: 32px;
  margin-bottom: 16px;
}

h3 {
  margin: 0;
  opacity: 0.5;
  letter-spacing: 2px;
}

img {
  width: 100px;
  margin-bottom: 20px;
}

.btn {
  background-color: #2fa8cc;
  color: #f4f4f4;
  border: 0;
  border-radius: 10px;
  box-shadow: 0 5px 15px rgba(0, 0, 0, 0.1), 0 6px 6px rgba(0, 0, 0, 0.1);
  padding: 14px 40px;
  font-size: 16px;
  cursor: pointer;

  &:active {
    transform: scale(0.98);
  }

  &:focus {
    outline: 0;
  }
}

footer {
  color: #888888;
  border-top: 1px solid #eeeeee;
  padding: 16px 0;
}
- Edit the src/index.js to include an import to the style.css
import './style.css';

// Use the values from the HTML page
const formControl = document.querySelector('form');
const inputControl = document.querySelector('input');
const outputControl = document.querySelector('#conversion');

// Set the output to blank when the screen starts
outputControl.textContent = '';

// Handle form processing
formControl.addEventListener('submit', (event) => {
  event.preventDefault();

  if (parseInt(inputControl.value)) {
    const calcResult = (inputControl.value * 2.4711).toFixed(2);
    outputControl.textContent = inputControl.value.toString() + " Hectares is " + calcResult.toString() + " Acres";
  }
})
- Run the build for the application from the command line
npm run build
- Run the application from the webpack-lab/dist folder
python3 -m http.server 8080 --directory dist
The application will now automatically incorporate changes made to both the JavaScript and CSS content when the bundle is built.
In the next section learn how to add an image to the application using a Webpack loader.
Task 7. Adding an Image loader
Move the html file to a template, so the entire application can be generated.
- Create a new folder src/assets within the existing src folder
mkdir src/assets
- Download the application icon
gsutil cp gs://spls/gsp1133/blueprint.png src/assets/house-design.png
- Update the src/index.js to reference the image asset
import measure from './assets/house-design.png'

const imgBrand = document.getElementById('imgBrand');
imgBrand.src = measure
- Add assetModuleFilename output in the webpack.config.js
  output: {
    path: path.resolve(__dirname, 'dist'),
    filename: '[name].js',
    assetModuleFilename: '[name][ext]',
  },
- Add a loader for the image to webpack.config.js
  module: {
    rules: [
      {
        test: /\.css$/i,
        use: ['style-loader', 'css-loader'],
      },
      {
        test: /\.js$/,
        exclude: /node_modules/,
        use: {
          loader: 'babel-loader',
          options: {
            presets: ['@babel/preset-env']
          }
        }
      },
      {
        test: /\.(png|svg|jpg|jpeg)$/i,
        type: 'asset/resource',
      },
    ],
  },
Note: In the test for images, a regex is used to add support for png, svg, jpg and jpeg image variations.
- Run the build for the application from the command line
npm run build
- Run the application from the webpack-lab/dist folder
python3 -m http.server 8080 --directory dist
Adding an image via a reference provides a lot of flexibility to the configuration. Changes to the image can be applied without making changes to the HTML template or JavaScript. Keeping a consistent naming strategy can save effort using the above approach.
In the next section learn how to add HTML to the application using a Webpack plugin.
Task 8. Migrating to a HTML template
So far in this lab we have concentrated on generating assets and code. However we are still reliant on the index.html present in the dist folder. Ideally we should also be able to generate this file as part of the Webpack build process.
Use the html-webpack-plugin to generate the file index.html from a template within the src folder.
In the webpack-lab folder, edit the webpack.config.js file
Add a const for the HtmlWebpackPlugin
const path = require('path')
const HtmlWebpackPlugin = require('html-webpack-plugin')
- Add a plugins statement for the template declaration:
module: {
  rules: [
   ...
  ],
}
plugins: [
  new HtmlWebpackPlugin({
    template: 'src/template.html',
    filename: 'index.html',
    inject: false
  })
],
- The webpack.config.js file should look similar to below:
Example Output
const path = require('path')
const HtmlWebpackPlugin = require('html-webpack-plugin')

module.exports = {
  mode : 'development',
  entry: {
    main: path.resolve(__dirname, 'src/index.js'),
  },
  output: {
    path: path.resolve(__dirname, 'dist'),
    filename: '[name].js',
    assetModuleFilename: '[name][ext]',
  },
  module: {
    rules: [
      {
        test: /\.css$/i,
        use: ['style-loader', 'css-loader'],
      },
      {
        test: /\.js$/,
        exclude: /node_modules/,
        use: {
          loader: 'babel-loader',
          options: {
            presets: ['@babel/preset-env']
          }
        }
      },
      {
        test: /\.(png|svg|jpg|jpeg)$/i,
        type: 'asset/resource',
      },
    ],
  },
  plugins: [
    new HtmlWebpackPlugin({
      template: 'src/template.html',
      filename: 'index.html',
      inject: false
    })
  ],
};
- Copy the existing dist/index.html to src/template.html
cp dist/index.html src/template.html
- Edit the src/template.html to match below:
<!DOCTYPE html>
<html lang="en">
<head>
        <meta charset="UTF-8">
        <meta name="viewport" content="width=device-width, initial-scale=1.0">
        <title>Webpack Lab</title>
</head>
<body>
  <div class="main-content">
    <img id="imgBrand" alt="Brand Image"/>
    <header>
      <h3>Hectares to Acres<h3>
    <header>
    <form>
      <input placeholder="Hectares" type="number" maxlength="255">
      <button>Convert</button>
    </form>
    <p id=conversion></p>
  </div>
  <script src="main.js"></script>
</body>
</html>
- Install the html-webpack-plugin package
npm install --save-dev html-webpack-plugin
- Move the dist folder to a backup
mv dist backup
- Run the build for the application from the command line
npm run build
- Run the application from the webpack-lab/dist folder
python3 -m http.server 8080 --directory dist
The dist folder now contains fully generated code. Try deleting the dist folder and running the build command.
Our application is now consistent with the source code and can be built based on the contents of the src folder. In this lab you have learned about the basics of Webpack. To learn more about Webpack, visit the webpack site and follow the documentation to learn more sophisticated ways to build code.
Solution of Lab