
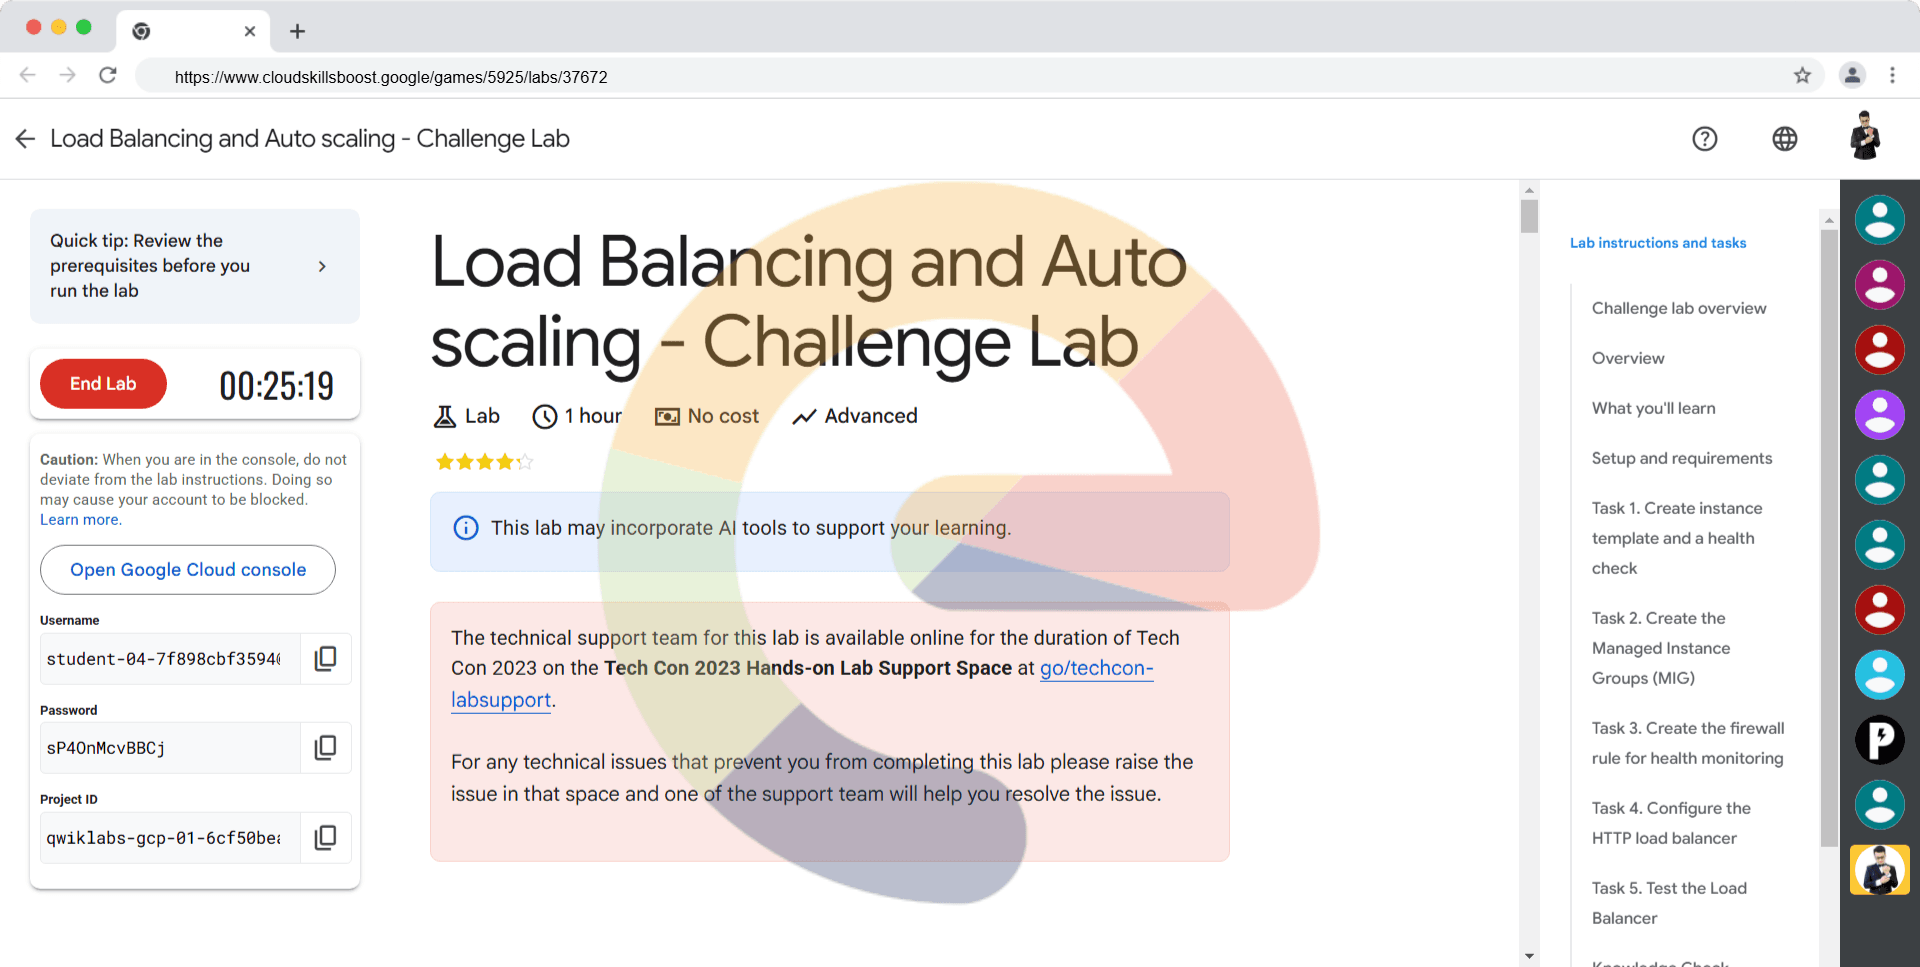
Load Balancing and Auto scaling - Challenge Lab (Solution)
A passionate full-stack developer from @ePlus.DEV
Challenge lab overview
This lab challenges you to perform actions and automation across products. Instead of following step-by-step instructions, you are given a common business scenario and a set of tasks – you then figure out how to complete them on your own. An automated scoring system provides feedback on whether you have completed your tasks correctly.
Note: When you take a Challenge Lab, you are not taught Google Cloud concepts. You need to use your skills to assess how to build the solution to the challenge presented. This lab is only recommended for students who have those skills. Are you up for the challenge?
Overview
Scenario

You work for Cymbal Videogames, where their main task is to develop games on different operating system (OS) applications. They want to create an interactive lobby for their video games where their users can upload and share their images or videos from their game-plays through their web browsers.
Cymbal Videogames needs to have low latency among their users around the world, who are mainly located in Europe and America. Additionally, they want to be able to process all the video data in one backend and all the image data in the other backend.
Cymbal Videogames doesn’t want downtime. They would like their backend to have healthy instances at all times and be able to serve all the users without manual intervention in case their backend needs to scale out their resources. You are tasked to define an architechture ready for the requirements. As a best practice, you might test your infrastructure to verify that it can handle the traffic spikes.
What you'll learn
Create 2 Managed Instances Groups (MIGs)
Setup a Load balancer for the two MIGs
Setup the required architecture for the load balancer and two MIGs
Setup and requirements
Before you click the Start Lab button
Read these instructions. Labs are timed and you cannot pause them. The timer, which starts when you click Start Lab, shows how long Google Cloud resources will be made available to you.
This hands-on lab lets you do the lab activities yourself in a real cloud environment, not in a simulation or demo environment. It does so by giving you new, temporary credentials that you use to sign in and access Google Cloud for the duration of the lab.
To complete this lab, you need:
- Access to a standard internet browser (Chrome browser recommended).
Note: Use an Incognito or private browser window to run this lab. This prevents any conflicts between your personal account and the Student account, which may cause extra charges incurred to your personal account.
- Time to complete the lab---remember, once you start, you cannot pause a lab.
Note: If you already have your own personal Google Cloud account or project, do not use it for this lab to avoid extra charges to your account.
How to start your lab and sign in to the Google Cloud console
Click the Start Lab button. If you need to pay for the lab, a pop-up opens for you to select your payment method. On the left is the Lab details pane, which is populated with the temporary credentials that are needed for this lab.
Copy the Password and then click Open Google Cloud console. The lab spins up resources, then opens another tab that shows the Sign in page.
Tip: Open the tabs in separate windows, side by side.
Note: If you see the Choose an account page, click Use another account.
On the Sign in page, verify that the username from the Lab details pane is auto-filled. Click Next.
Paste the password in the Enter your password field. Click Next.
Important: Use the credentials from the Lab details pane. Using your personal Google Cloud account may incur charges to your account.
Click through the subsequent pages:
Understand your account management.
Accept the terms and conditions.
After a few moments, the console opens.
Note: You can view the menu with a list of Google Cloud products and services by clicking the Navigation menu in the top left.

Activate Cloud Shell
Cloud Shell is a virtual machine (VM) that is loaded with development tools. It offers a persistent 5GB home directory and runs on the Google Cloud. Cloud Shell provides command-line access to your Google Cloud resources.
- In the Cloud Console, in the top-right toolbar, click the Activate Cloud Shell button.

- Click Continue.

It takes a few moments to provision and connect to the environment. When you are connected, you are already authenticated, and the project is set to your PROJECT_ID. For example:

gcloud is the command-line tool for Google Cloud. It comes pre-installed on Cloud Shell and supports tab-completion.
- You can list the active account name with this command:
gcloud auth list
Output:
Credentialed accounts:
 - <myaccount>@<mydomain>.com (active)
Example output:
Credentialed accounts:
 - google1623327_student@qwiklabs.net
- You can list the project ID with this command:
gcloud config list project
Output:
[core]
project = <project_ID>
Example output:
[core]
project = qwiklabs-gcp-44776a13dea667a6
Note: For full documentation of gcloud see the gcloud command-line tool overview.
Task 1. Create instance template and a health check
- Create an instance template. The instances that will be created with this template must install apache2 at the start, use an startup_script to do so. They also must have the http-health-check Network tag.
NOTE:
This template will be referred as your-instance-template on later tasks.
- Create a health check with the following properties:
| Property | Value |
| Name | http-health-check |
| Protocol | TCP |
| Port | 80 |
Click Check my progress to verify your performed task.
Check Health Check
Check my progress
Task 2. Create the Managed Instance Groups (MIG)
- Create a managed instance group on
europe-west1with the following configuration:
| Property | Value |
| Name | europe-west1-mig |
| Instance template | your-instance-template |
| Location | Multiple zones |
| Region | europe-west1 |
| Zones | All zones |
| Target distribution shape: | even |
| Autoscaling min. Number of instances | 1 |
| Autoscaling max. Number of instances | 2 |
| Autoscaling signal type | HTTP load balancing utilization |
| Target HTTP load balancing utilization | 80 |
| Initialization period | 60 |
| health check | http-health-check (TCP) |
| Initial delay | 60 |
- Create a managed instance group on
us-central1with the following configuration:
| Property | Value |
| Name | us-central1-mig |
| Instance template | your-instance-template |
| Location | Multiple zones |
| Region | us-central1 |
| Zones | All zones |
| Target distribution shape: | even |
| Autoscaling min. Number of instances | 1 |
| Autoscaling max. Number of instances | 2 |
| Autoscaling signal type | HTTP load balancing utilization |
| Target HTTP load balancing utilization | 80 |
| Initialization period | 60 |
| health check type | http-health-check |
| health check | http-health-check (TCP) |
| Initial delay | 60 |
Click Check my progress to verify your performed task.
Check MIGs creation
Check my progress
Task 3. Create the firewall rule for health monitoring
- Create a firewall rule with the following configuration:
| Property | Value |
| Name | lb-firewall-rule |
| Network | default |
| Priority | 1000 |
| Direction of traffic | Ingress |
| Action on match | Allow |
| Targets | Specified target tags |
| Target tags | http-health-check |
| Source IPv4 Ranges | 35.191.0.0/16 |
| Protocols | TCP |
| Port | 80 |
Click Check my progress to verify your performed task.
Verify health check firewall rule
Check my progress
Task 4. Configure the HTTP load balancer
- Create a HTTP load balancer. The load balancer must be a Global HTTP(s) load balancer. Also Consider the following while creating the Load balancer:
| Property | Value |
| Frontends | One for IPv4 and one for IPv6 |
| Port | 80 |
The Load balancer must have one backend service with two backends.
- Backend one configuration:
| Property | Value |
| instance group | europe-west1-mig |
| Port numbers | 80 |
| Balancing mode | Rate |
| Maximum RPS | 50 |
| Capacity | 100 |
- Backend two configuration:
| Property | Value |
| instance group | us-central1-mig |
| Port numbers | 80 |
| Balancing mode | Rate |
| Maximum RPS | 50 |
| Capacity | 100 |
Click Check my progress to verify your performed task.
Check the load balancer
Check my progress
Task 5. Test the Load Balancer
- Use the Load balancer Ip to test it with your browser: http://Loadbalancer_IPv4_Ip
Use the following command on cloud shell to find your Load balancer IPv4_IP
gcloud compute forwarding-rules list
- Create a new Ubuntu or Debian virtual machine named as
stress-test-vminus-east4-czone and install siege in it.
sudo apt-get -y install siege
NOTE:
It wil take up to 5 minutes to install siege.
- Stress test the architecture.
siege -c 150 -t120s http://Loadbalancer_IPv4_IP
Inspect the Load balancer on the Network Services.
Stop the siege command on the stress test virtual machine with CTRL+C.
Click Check my progress to verify your performed task.
Check the creation of the 'stress-test-vm'
Check my progress
- Finish the lab.
Knowledge Check
What do you need to make a MIG
A cloud router
An instance template
A custom image
A kubernetes instance
Note that you can create multiple types of VMs but you will not be able to use autoscaling
The load balancer has a health check that validates the backend is working?
False
True
Besides a VPC, firewall and subnetwork what else is needed for the load balancer architecture?
Managed instance group
A single VM instance
Multiple Backends
An App Engine App
Solution of lab
curl -LO raw.githubusercontent.com/quiccklabs/Labs_solutions/refs/heads/master/Load%20Balancing%20and%20Auto%20scaling%20Challenge%20Lab/quicklab.sh
sudo chmod +x quicklab.sh
./quicklab.sh


