
Merging Results from Different Explores in Looker - GSP856
A passionate full-stack developer from @ePlus.DEV
Overview
Explores in Looker are designed by your Looker developers to combine the data from your database tables in the best way, using defined relationships between data fields and tables. Because of this, it is best to use a single Explore to examine your data.
However, there may be times when your Looker developers haven’t created the relationships you need, or they faced technical limitations. In these cases, Looker lets you combine data from different Explores (even from different models or projects) to create data tables and visualizations.
Using the Merged Results feature, you can create a query from an Explore and then add queries from other Explores to display the merged results in a single table. From there, you can examine the data, pivot fields, and create visualizations.
Note: The Merged Results feature has a limit of 5,000 rows of data for each of the merged queries. If you include queries that return more than 5,000 rows of data, only the first 5,000 rows returned are included in the merged results.
When you merge queries, you start out by creating a single query from a single Explore, and then you combine other queries with that first query.
By default, that first query is considered the primary query. This is an important concept because when Looker matches the data to create the merged results, it matches each added query to the primary query (not to any other added query).
So, whenever you add a query, you need to include a dimension that can be matched to a dimension in the primary query.
Learn more about merged results from the Merging results from different Explores documentation.
Objectives
In this lab, you learn how to merge results from different explores by doing the following:
Create a primary query and a next source query
Check merge results and run a merge
Edit the merged results
Save your merged results to a dashboard
Setup
Before you click the Start Lab button
Read these instructions. Labs are timed and you cannot pause them. The timer, which starts when you click Start Lab, shows how long Google Cloud resources are made available to you.
This hands-on lab lets you do the lab activities yourself in a real cloud environment, not in a simulation or demo environment. It does so by giving you new, temporary credentials that you use to sign in and access Google Cloud for the duration of the lab.
To complete this lab, you need:
- Access to a standard internet browser (Chrome browser recommended).
Note: Use an Incognito or private browser window to run this lab. This prevents conflicts between your personal account and the Student account, which may cause extra charges incurred to your personal account.
- Time to complete the lab—remember, once you start, you cannot pause a lab.
Note: If you already have a personal Google Cloud account or project, do not use it for this lab to avoid extra charges to your account.
How to start your lab and sign in to Looker
When ready, click Start Lab.
The Lab Details pane appears with the temporary credentials that you must use for this lab.
If you need to pay for the lab, a pop-up opens for you to select your payment method.
Notice your lab credentials in the Lab details pane. You use them to sign in to the Looker instance for this lab.
Note: If you use other credentials, you will get errors or incur charges.
Click Open Looker.
Enter the provided Username and Password in the Email and Password fields.
Username:
looker-developer@qwiklabs.netPassword:
YyzQk8yhmFv01Oo37BLSHrLjW4Iparf49u9KUFmqPck=Important: You must use the credentials from the Lab Details pane on this page. Do not use your Google Cloud Skills Boost credentials. If you have a personal Looker account, do not use it for this lab.
Click Log In.
After a successful login, you see the Looker instance for this lab.
Task 1. Create a primary query
To merge the results from multiple queries, you start with a beginning query, which is considered the primary query.
In the Looker navigation menu, click Explore. Under FAA, click Flights.
In the left pane, under All Fields, expand Flight Details.
Click Carrier and Flight Num.
You can reorder selected fields in the right pane by dragging and dropping the field name.
Expand Aircraft Origin and click City.
Expand Flight Details and in MEASURES, click Cancelled Count.
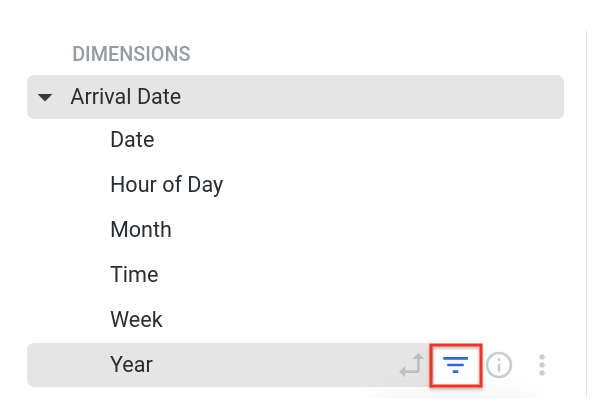
Expand Arrival Date, hover over Year, and click Filter by field.
In the Filters pane, set Flights Details Arrival Year to is in the year, and enter
2000.Click Run to see the results of the primary query.
You'll see the results of flight details and total cancellations for flights in the year 2000.
Task 2. Add the next source query
Once you've created your primary query, you can add another source query. Now that we have flight data, let's merge it with airport information for the flight airport of origin.
In the top right pane of the Explore for your primary query, click Settings ().
Click Merge Results. This will open the Choose an Explore window.
Looker opens the Explore in the Edit Query window, where you can build the new query to be merged into your primary query.
Note: To merge queries, Looker finds dimensions in the queries whose values can be matched. Be sure that your queries contain at least one common dimension whose values can be matched exactly.
For example, if both queries have a Date dimension, but one query uses “2017-10-01” as a value and the other query uses “October 2017” as a value, Looker can’t use that dimension to merge the queries.
In the Choose an Explore window, click Airports.
In the All Fields pane, click City and Average Elevation.
Note: When creating a source query for merged results, be sure to include at least one dimension that will exactly match a dimension in the primary query.
Click Run to see the results of the source query.
The results show the City and Average Elevation for airports.
Click Save to merge the query into your primary query.
Task 3. Check the merge rules and run the merge
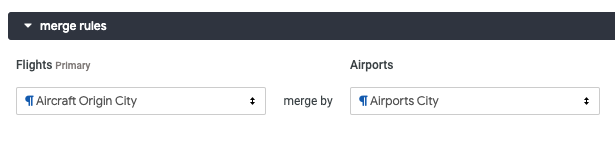
Looker automatically finds the best dimensions to use for matching the queries and displays these matches in the Merge Rules section. Looker shows how each query will be merged with the primary query.
Review the dimensions that Looker used to match the queries. Your Primary search on Flights should be using Aircraft Origin City to merge by the Secondary search of Airports on Airports City.
Change the dropdowns so that the correct dimensions are used in the merge rule.
Click Run to view the results of your merged results.
Click on Airports Average Elevation to sort the values in descending order.
Expand the Visualization pane and click on the different chart options to explore useful visualizations for your merged results.
Task 4. Edit the merged results
Once you have your merged results, you still have the flexibility to edit the merged queries and the rules used to merge the queries.
Edit the primary source query
Let's add information about the destination airports to the source query.
In the Source Queries pane, click the gear icon next to Flights and then click Edit.
There should be a label Primary next to the gear icon.
In the left pane, click All Fields.
Expand Aircraft Destination and click City.
Click Run to view the results of your modified primary query.
Click Save to save the primary source query.
Task 5. Save your merged results to a dashboard
Expand the Visualization pane and select Table.
In the top right pane of the Explore for your Merged Results, click the gear icon.
Click Save to Dashboard.
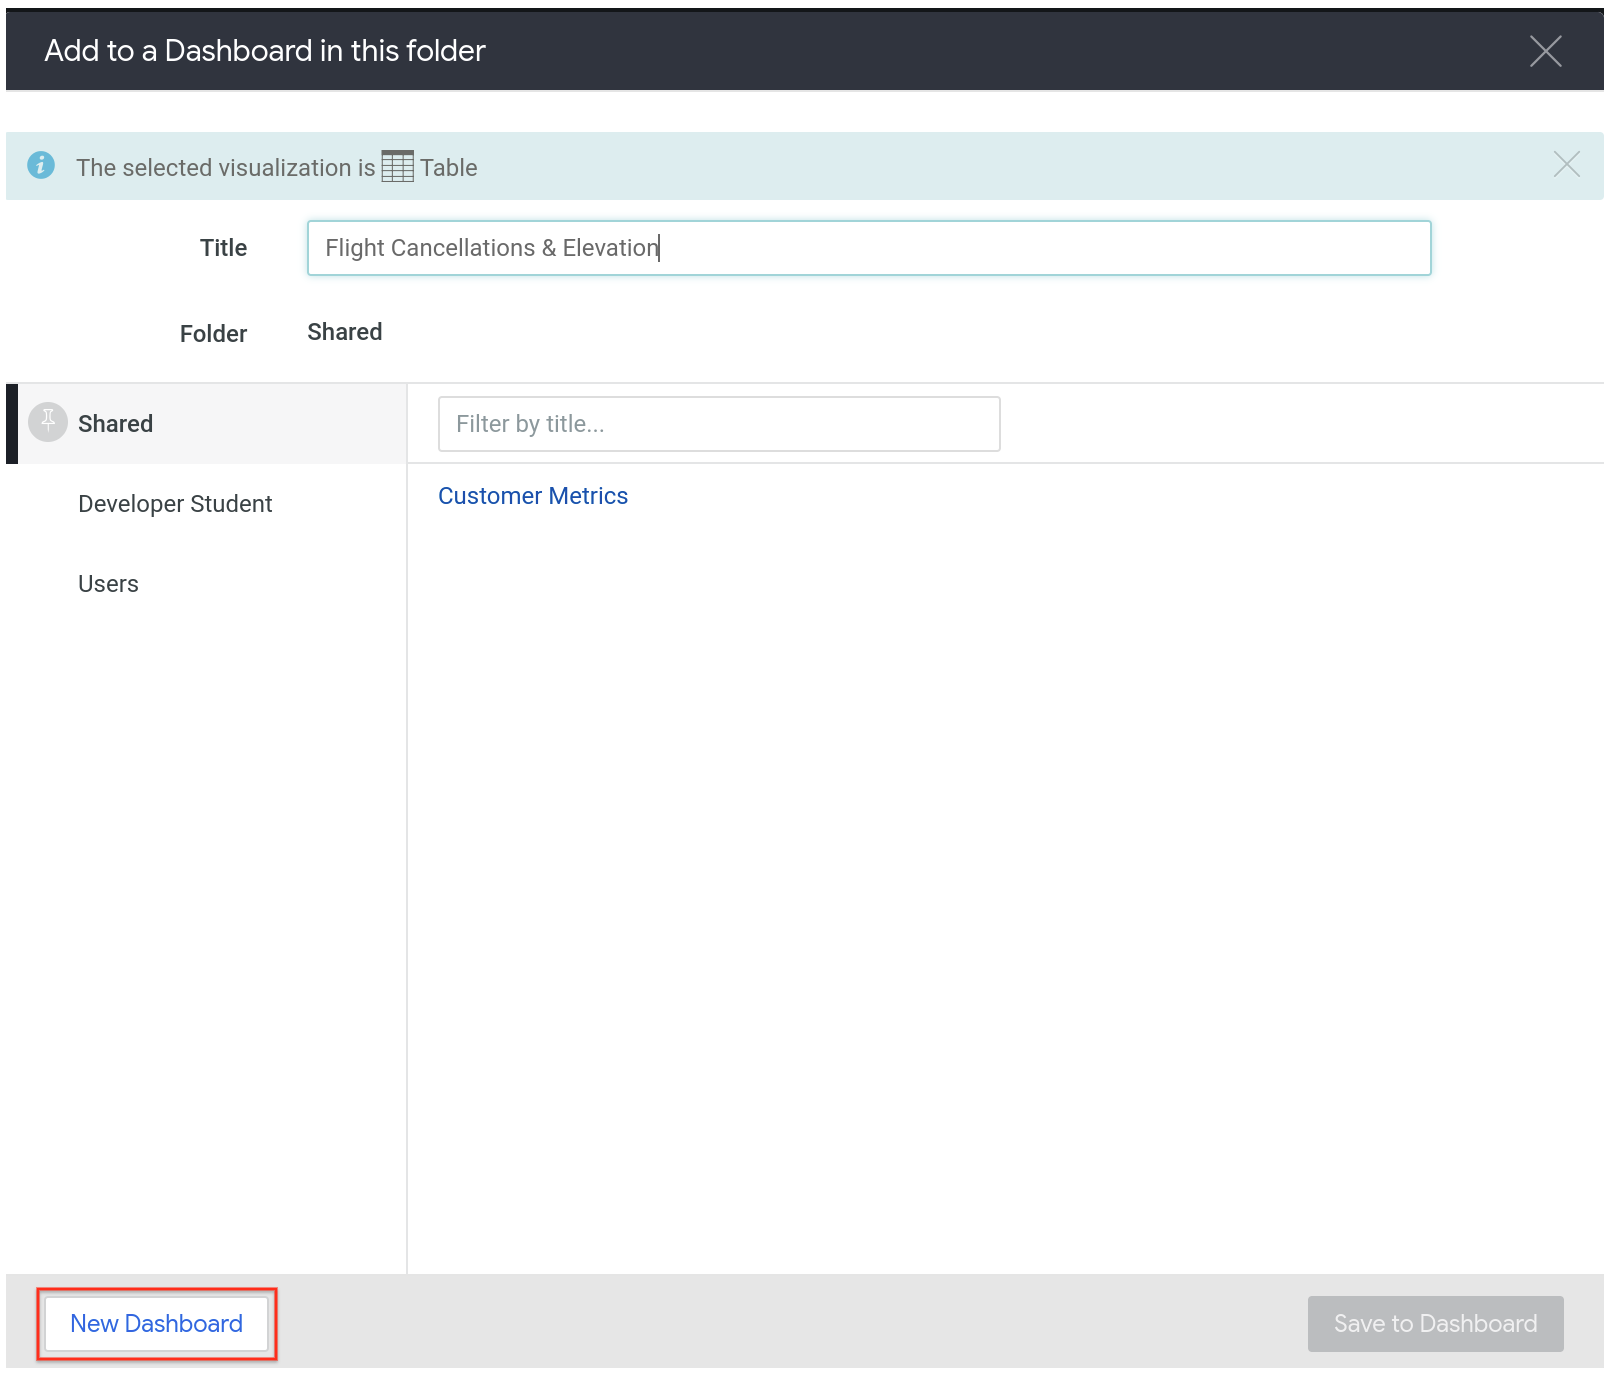
For Title, type
Flight Cancellations & Elevation.Click New Dashboard.
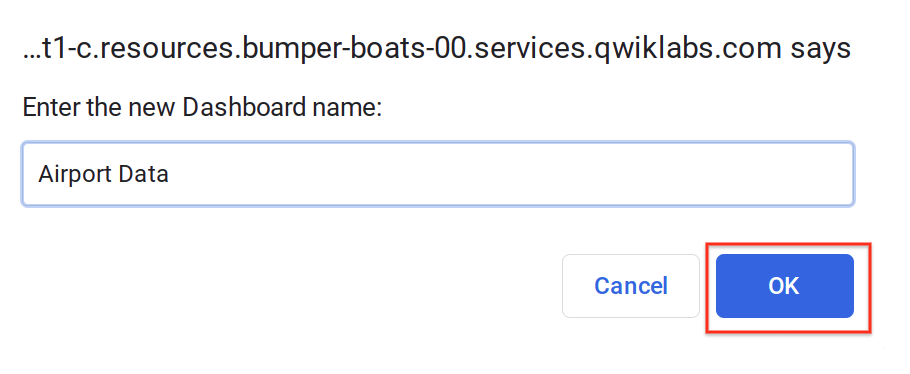
For the dashboard name, type
Airport Dataand click OK.Click Save to Dashboard.
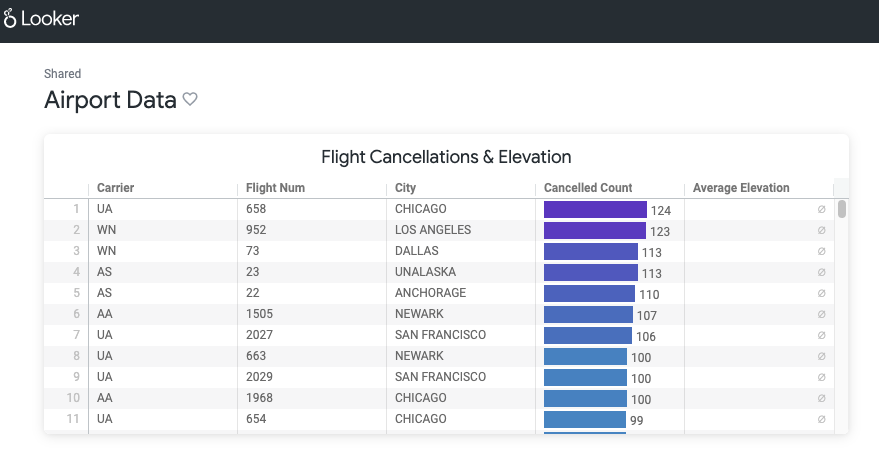
In the green banner in the top pane, click the link to Airport Data to access your new dashboard.
You can also get to your new dashboard by clicking Folders > Shared Folders and clicking your dashboard.
Click Check my progress to verify the objective.
Create Dashboard along with the Merged Results
Check my progress

Solution of Lab
✅ Task 1 – Create a Primary Query
Go to Explore → select FAA > Flights.
In the left field panel:
Expand Flight Details → select ✅ Carrier and ✅ Flight Num.
Expand Aircraft Origin → select ✅ City.
Under Flight Details > MEASURES → select ✅ Cancelled Count.
Expand Arrival Date, hover over Year → click Filter by field.
In the Filters section:
- Set Flights Details Arrival Year to is in the year 2000.
Click Run to execute the primary query.
📊 Result: A table showing carriers, flight numbers, origin city, and total cancellations for flights in the year 2000.

✅ Task 2 – Add the Next Source Query (Merge Results)
In the top-right corner of the Explore page, click the ⚙️ Settings icon → select Merge Results.
In the Choose an Explore window → select Airports.
In the All Fields panel:
Select ✅ City
Select ✅ Average Elevation
Click Run to execute the secondary query.
Click Save to add this query to the merge.
📌 Important: Ensure that there is at least one matching dimension (e.g., City) in both queries so Looker can merge them.

✅ Task 3 – Check Merge Rules & Run the Merge
In the Merge Rules section:
Make sure the matching fields are:
Flights → Aircraft Origin City
Airports → Airports City
Click Run to see the merged results.
Click the Airports Average Elevation column header to sort in descending order.
Expand the Visualization pane and try different chart types to explore your merged data visually.
📊 Result: A merged table showing flight details combined with airport elevation data by city.

✅ Task 4 – Edit the Merged Results (Add Destination Info)
In the Source Queries section:
- Click the ⚙️ icon next to Flights (Primary) → select Edit.
In the All Fields panel:
- Expand Aircraft Destination → select ✅ City.
Click Run → then Save to update your primary query.
📊 Result: The merged table now includes the Destination City field.


✅ Task 5 – Save Merged Results to a Dashboard
Open the Visualization pane → select the Table visualization.
In the top-right corner → click the ⚙️ Settings icon → choose Save to Dashboard.
In the save dialog:
Title:
Flight Cancellations & ElevationChoose New Dashboard
Dashboard Name:
Airport Data→ click OK
Click Save to Dashboard.
📁 To view the dashboard:
Click the green Airport Data link at the top, or
Go to Folders > Shared Folders → open the
Airport Datadashboard.

Flight Cancellations & Elevation


