Migrating to Cloud SQL from Amazon RDS for MySQL Using Database Migration Service - GSP859
A passionate full-stack developer from @ePlus.DEV
Overview
Database Migration Service provides options for one-time and continuous jobs to migrate data to Cloud SQL. It offers various connectivity methods, including IP allowlists, reverse SSH tunnels, VPC peering, and Private Service Connect interfaces. Learn more about connectivity options from the configure connectivity guide.
In this lab, you migrate a MySQL database from an Amazon RDS instance for MySQL to Cloud SQL for MySQL. You use a one-time Database Migration Service job and an IP allowlist for connectivity. After you create and run the migration job, you check that the database has been successfully migrated to your Cloud SQL for MySQL instance.
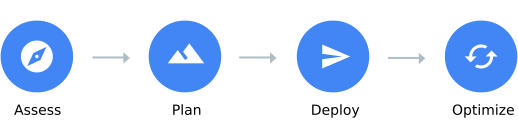
What you'll learn
In this lab, you learn how to configure a one-time Database Migration Service job to migrate databases from a cloud-based MySQL instance to Cloud SQL for MySQL.
Create a profile for a source connection to a cloud-based MySQL instance (Amazon RDS for MySQL).
Configure connectivity between source and destination instances using an IP allowlist.
Create and run a one-time migration job using Database Migration Service.
Verify that the migration job has completed successfully.
When you start the lab, it can take up to 10 minutes to fully provision the Google Cloud and Amazon RDS resources.
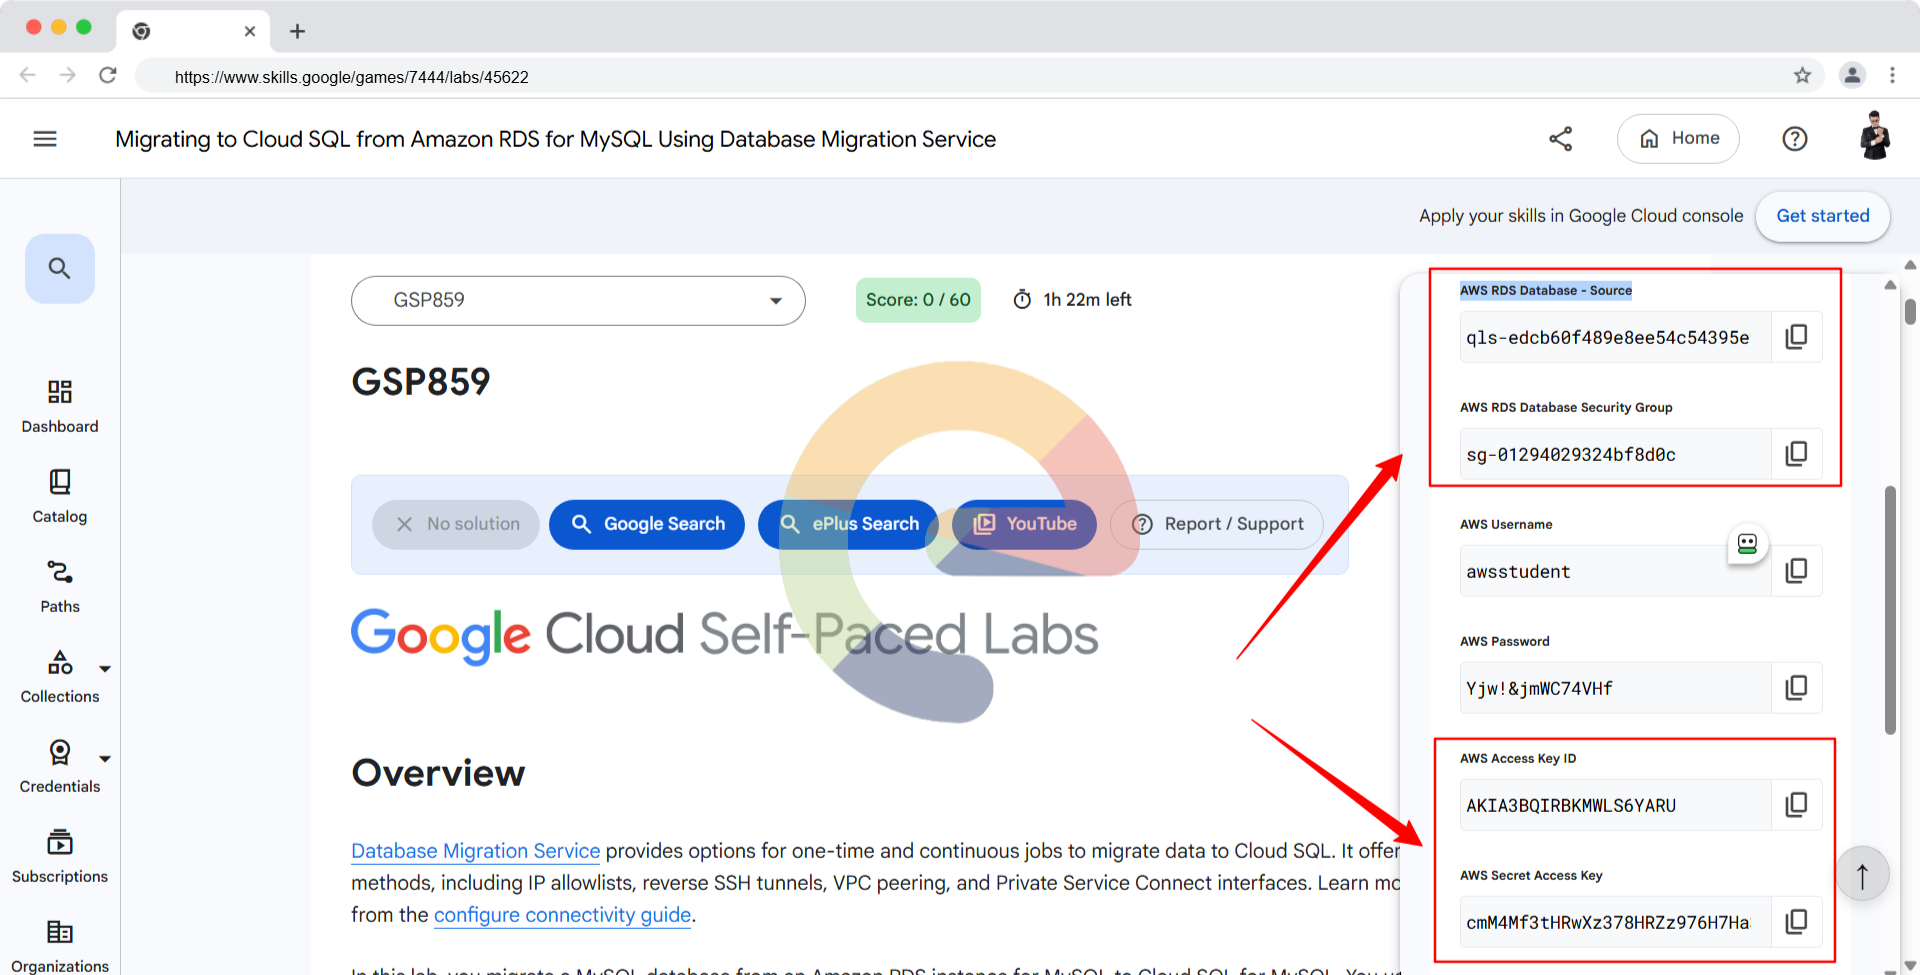
The Amazon RDS resources are fully provisioned when a value is generated for AWS RDS Database - Source (such as qmflvsilronjc8.cyla72gcy8zl.us-east-1.rds.amazonaws.com) within the AWS access information in the Lab details pane.
When you see values for the Google Cloud Username and Password, you may proceed to the setup tasks.
Setup and requirements
Before you click the Start Lab button
Read these instructions. Labs are timed and you cannot pause them. The timer, which starts when you click Start Lab, shows how long Google Cloud resources are made available to you.
This hands-on lab lets you do the lab activities in a real cloud environment, not in a simulation or demo environment. It does so by giving you new, temporary credentials you use to sign in and access Google Cloud for the duration of the lab.
To complete this lab, you need:
- Access to a standard internet browser (Chrome browser recommended).
Note: Use an Incognito (recommended) or private browser window to run this lab. This prevents conflicts between your personal account and the student account, which may cause extra charges incurred to your personal account.
- Time to complete the lab—remember, once you start, you cannot pause a lab.
Note: Use only the student account for this lab. If you use a different Google Cloud account, you may incur charges to that account.
How to start your lab and sign in to the Google Cloud console
Click the Start Lab button. If you need to pay for the lab, a dialog opens for you to select your payment method. On the right is the Lab setup and access panel with the following:
The Open Google Cloud console button
The temporary credentials (username and password) that you must use for this lab
Other information, if needed, to step through this lab
Note that the lab timer is located near the top of the page, showing the remaining time.
Click Open Google Cloud console (or right-click and select Open Link in Incognito Window if you are running the Chrome browser).
The lab spins up resources, and then opens another tab that shows the Sign in page.
Tip: Arrange the tabs in separate windows, side-by-side.
Note: If you see the Choose an account dialog, click Use Another Account.
If necessary, copy the Username below and paste it into the Sign in dialog.
"Username"Copied!
You can also find the Username in the Lab setup and access panel.
Click Next.
Copy the Password below and paste it into the Welcome dialog.
"Password"Copied!
You can also find the Password in the Lab setup and access panel.
Click Next.
Important: You must use the credentials the lab provides you. Do not use your Google Cloud account credentials.
Note: Using your own Google Cloud account for this lab may incur extra charges.
Click through the subsequent pages:
Accept the terms and conditions.
Do not add recovery options or two-factor authentication (because this is a temporary account).
Do not sign up for free trials.
After a few moments, the Google Cloud console opens in this tab.
Note: To access Google Cloud products and services, click the Navigation menu or type the service or product name in the Search field.

Activate Cloud Shell
Cloud Shell is a virtual machine that is loaded with development tools. It offers a persistent 5GB home directory and runs on the Google Cloud. Cloud Shell provides command-line access to your Google Cloud resources.
Click Activate Cloud Shell at the top of the Google Cloud console.
Click through the following windows:
- Continue through the Cloud Shell information window.
- Authorize Cloud Shell to use your credentials to make Google Cloud API calls.
When you are connected, you are already authenticated, and the project is set to your Project_ID, PROJECT_ID. The output contains a line that declares the Project_ID for this session:
Your Cloud Platform project in this session is set to "PROJECT_ID" gcloud is the command-line tool for Google Cloud. It comes pre-installed on Cloud Shell and supports tab-completion.
(Optional) You can list the active account name with this command: gcloud auth list Copied! Click Authorize. Output:
ACTIVE: * ACCOUNT: "ACCOUNT"
To set the active account, run: $ gcloud config set account ACCOUNT (Optional) You can list the project ID with this command: gcloud config list project Copied! Output:
[core] project = "PROJECT_ID" Note: For full documentation of gcloud, in Google Cloud, refer to the gcloud CLI overview guide.
Verify that the Database Migration API is enabled
- In the Google Cloud console title bar, enter Database Migration API in the Search field and then click Database Migration API in the search results.
The Manage button is visible when the API is enabled.
- If necessary, click Enable to enable the API.
Install a command-line utility to identify IP addresses
Amazon RDS instance hostnames are often longer than the MySQL limit of 60 characters for hostnames. To configure a successful migration connection for MySQL, you provide the IP address of the Amazon RDS instance, instead of the hostname.
In this setup task, you install and use dig, a command-line utility, to obtain the IP address.
- In Cloud Shell, run the following command to install dig:
sudo apt-get update && sudo apt-get install dnsutils -y
Copied!
For the next step, identify the hostname from the AWS RDS Database - Source within the AWS access information on this page.
- To obtain the IP address of the Amazon RDS instance, run the following command in Cloud Shell (replace [HOSTNAME] with the Amazon RDS database - source, which is found in the Lab details pane in the lab instructions):
dig HOSTNAME
Copied!
The IP address is provided in the last line of the Answer output section, such as 54.84.181.60.
;; ANSWER SECTION:
qls-43123050feb97e21add454a6fa74bc9c-mydb-oocs9qo4aem6.ct0brribqcxe.us-east-1.rds.amazonaws.com. 5 IN CNAME ec2-54-84-181-60.compute-1.amazonaws.com.
ec2-54-84-181-60.compute-1.amazonaws.com. 21600 IN A 54.84.181.60
- Record this IP address for use throughout this lab.
Task 1. Install and configure the AWS CLI tool in Cloud Shell
Although AWS configuration tasks can be completed in the AWS console, this lab uses the AWS CLI to complete these tasks in Cloud Shell. In this task, you install the AWS CLI tool in Cloud Shell to access the AWS resources from Google Cloud.
- In Cloud Shell, run the following commands to install the AWS CLI tool in Cloud Shell:
curl "https://awscli.amazonaws.com/awscli-exe-linux-x86_64.zip" -o "awscliv2.zip"
unzip awscliv2.zip
sudo ./aws/install
Copied!
- To configure the AWS CLI tool in Cloud Shell, run the following command:
aws configure
Copied!
- Enter the required information to configure the AWS CLI tool:
| Property | Value |
|---|---|
| AWS Access Key ID [None] | Enter the provided value for AWS Access Key ID |
| AWS Secret Access Key [None] | Enter the provided value for AWS Secret Access Key |
| Default region name [None] | us-east-1 |
| Default output format [None] | Do not enter a value to accept the default |
Note: The default region us-east-1, is an exception and uses one more hyphen than the standard gcloud region naming convention. Use this exact string when copying.
You have now configured the AWS CLI tool.
Task 2. Create a one-time migration job
In this task to create a new migration job, you first define the source database instance using a connection profile. Then, you configure a new destination database instance and configure connectivity between the source and destination instances.
Create a new migration job
In the Google Cloud console, on the Navigation menu (
), click View all products.
Under Databases, click Database migration.
On the left pane, click Migration jobs, and then click Create migration job.
Note: The migration job wizard loads on the left showing the next configuration steps.
Get started
- In the Get started tab, use the following values below, and then leave the remaining settings as their defaults:
| Property | Value |
|---|---|
| Migration job name | rds-to-cloudsql |
| Migration job ID | Keep the auto-generated value |
| Source database engine | Amazon RDS for MySQL |
| Destination region | REGION |
| Migration job type | One-time |
Leave all other settings as default.
- Click Save & continue.
Define a source
In the Define a source tab, for Select source connection profile, select Create a connection profile.
In the Create connection profile dialog, use the values below, leave all others at the defaults:
| Property | Value |
|---|---|
| Connection profile name | mysql-rds-source |
| Connection profile ID | Keep the auto-generated value |
| Hostname or IP address | Enter the IP address for the AWS RDS Database you recorded earlier. |
| Port | 3306 |
| Username | admin |
| Password | changeme |
| Region | REGION |
| Encryption type | None |
When using IP allowlist as the connectivity option in a production environment, you can use SSL/TLS certificates to encrypt the data migrating from the source to the destination instance. Learn more about using an IP allowlist from the Cloud SQL documentation.
Click Create.
Click Save & continue.
Click Check my progress to verify the objective.
Define a destination
In the Define a destination tab, for Type of destination instance, select Existing instance.
For Instance ID, select mysql-cloudsql.
Click Select & continue.
If prompted to confirm, confirm by typing the instance name and click Confirm & continue.
This step may take several minutes to finish executing. When complete, the dialog window proceeds to the next section titled Define connectivity method.
Define connectivity method
In Define connectivity method, for Connectivity method, select IP allowlist.
Copy all of the Destination outgoing IP addresses (such as
35.239.140.158and34.172.105.39) to configure the IP allowlist on the Amazon RDS instance.Click Save & continue.
Configure migration databases
For Select objects to migrate, leave the default value of All databases.
Click Save & continue.
This action saves the migration job in a draft state.
Leave this window open. You modify the IP allowlist on the Amazon RDS instance in the next task, before returning to this page to start the migration job.
Click Check my progress to verify the objective.
Task 3. Configure the IP allowlist on source instance
To allow connections between the source and destination instances, you need to modify the IP allowlist on the source. For Amazon RDS, you accomplish this by modifying a Database Security Group with the public IP address of the destination instance (such as Cloud SQL).
In Cloud Shell, you use the AWS CLI to complete this task.
In Cloud Shell, run the following command to modify the IP allowlist on the Amazon RDS instance:
Replace
[a.b.c.d]with the first Destination outgoing IP address of your Cloud SQL instance (such as35.239.140.158).
aws ec2 authorize-security-group-ingress \
    --group-id AWS RDS Database Security Group \
    --protocol tcp \
    --port 3306 \
    --cidr [a.b.c.d]/32
Copied!
- Repeat step 1 for all Destination outgoing IP address of your Cloud SQL instance (such as
34.172.105.39).
Note that it's only the --cidr [a.b.c.d]/32 line that needs to be updated for the remaining outgoing IP addresses (such as --cidr 34.172.105.39/32).
The IP addresses for the Cloud SQL instance have now been added to the IP allowlist on the Amazon RDS instance.
Click Check my progress to verify the objective.
Configure the IP allowlist on the source instance.
Task 4. Test and run a one-time migration job
In this task, you test the migration job settings first, and then start the migration job.
- Return to the migration job window and review the summary.
If you previously closed the window, you can return to the migration job by opening the Navigation menu (

), and clickingView all products. UnderDatabases, clickDatabase migration, and on the left side menu, clickMigration jobs. Click on the draft migration job namedrds-to-cloudsqlunder theDraftstab of the table.
Click Test job.
After a successful test, click Create & start job.
In the Create & start migration job dialog, click Create & start.
Review status of the one-time migration job in Database Migration Service
In the Google Cloud console action bar, in the breadcrumbs, click Database Migration, and then on the left pane, click Migration jobs.
Click the migration job rds-to-cloudsql to see the details page.
Review the migration job status.
- If you have not started the job, the status shows as Not started. You can choose to start or delete the job.
- After the job has started, the status shows as Starting and then transitions to Running.
- When the job status changes to Completed, the migration job has completed successfully, and you can move on to the next task.
Click Check my progress to verify the objective.
Task 5. Confirm the data in Cloud SQL for MySQL
Check MySQL databases in Cloud SQL
In the Google Cloud console, on the Navigation menu (
), click View all products. Under Databases, click Cloud SQL.
Click the Instance ID called mysql-cloudsql.
In the Primary instance menu, click Databases.
Notice that the databases called customers_data and sales_data have been migrated to Cloud SQL.
Connect to MySQL database
In the Primary instance menu, click Overview.
In the Connect to this instance panel, copy the public IP address of the Cloud SQL instance (for example,
34.73.36.34).In Cloud Shell, run the following command to connect to the MySQL interactive console, replacing
PUBLIC_IP_ADDRESSwith the public IP address you copied in the previous step.
mysql -h PUBLIC\_IP\_ADDRESS -u root -p --get-server-public-key
When prompted for a password, enter:
supersecret
You have now activated the MySQL interactive console.
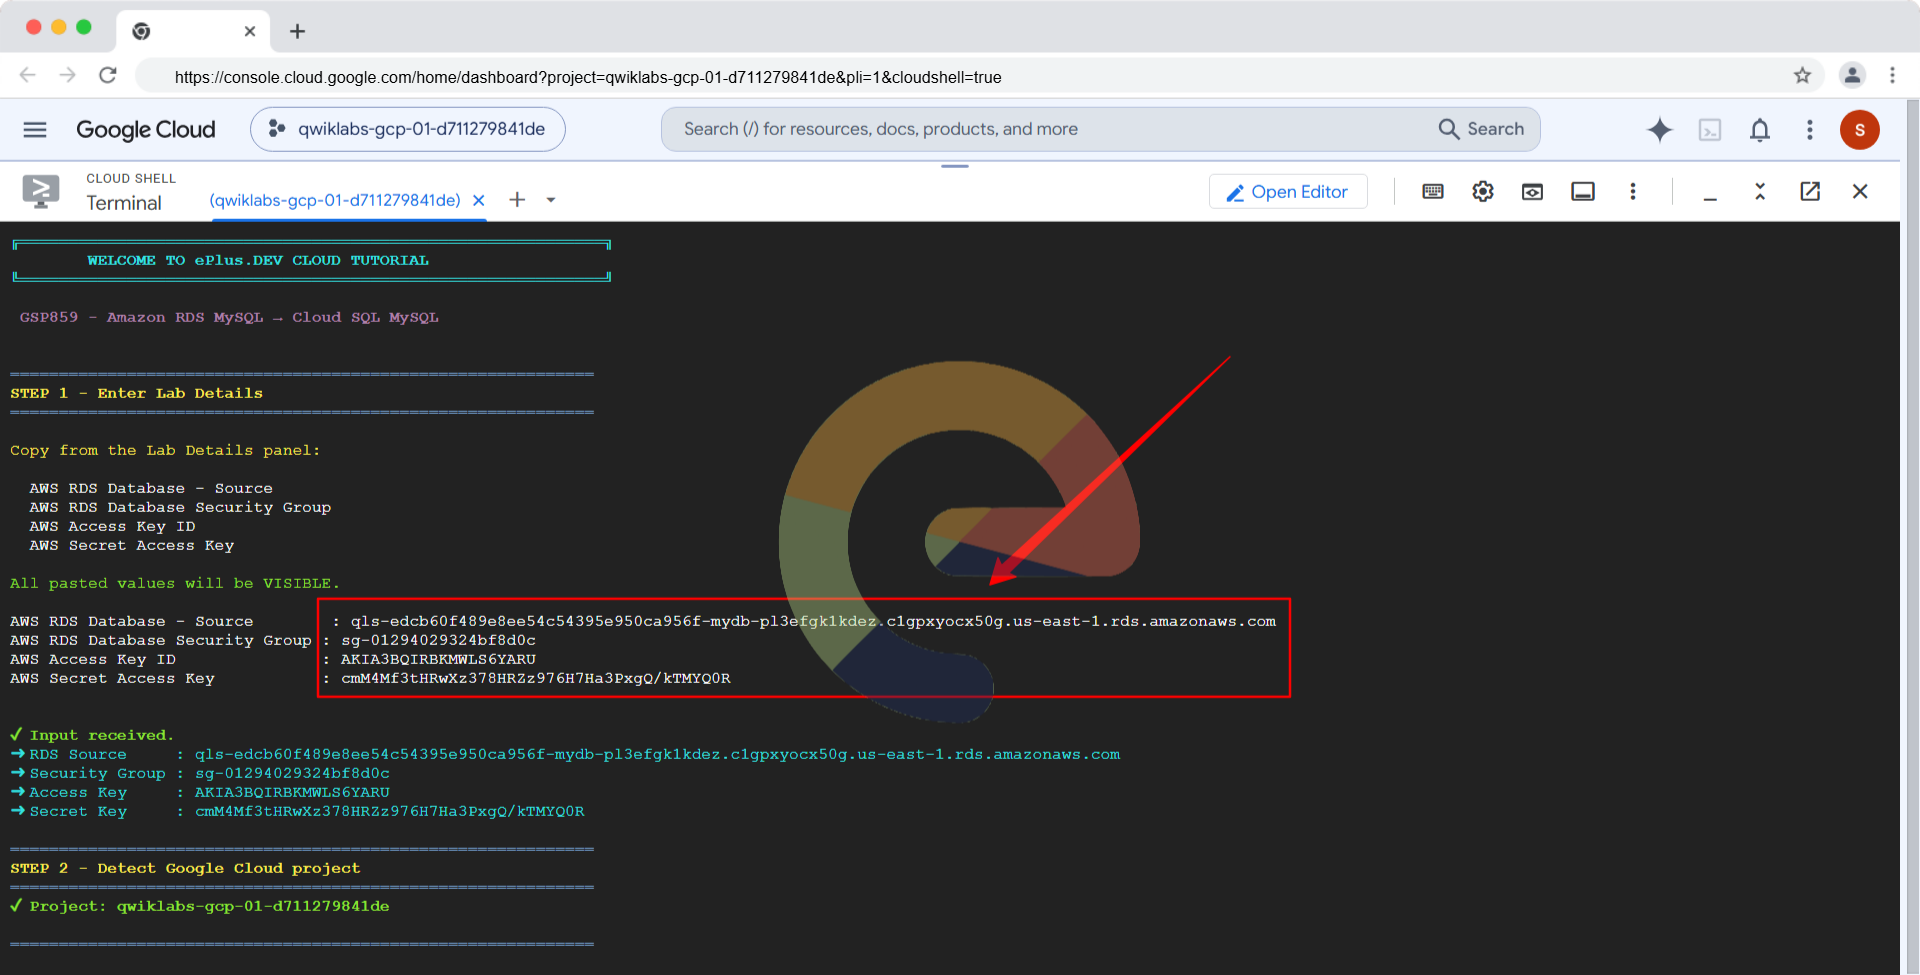
Solution of Lab
Quick
curl -LO raw.githubusercontent.com/ePlus-DEV/storage/refs/heads/main/labs/GSP859/lab.sh
source lab.sh
Manual
https://www.youtube.com/watch?v=_J_vc87rrXE