
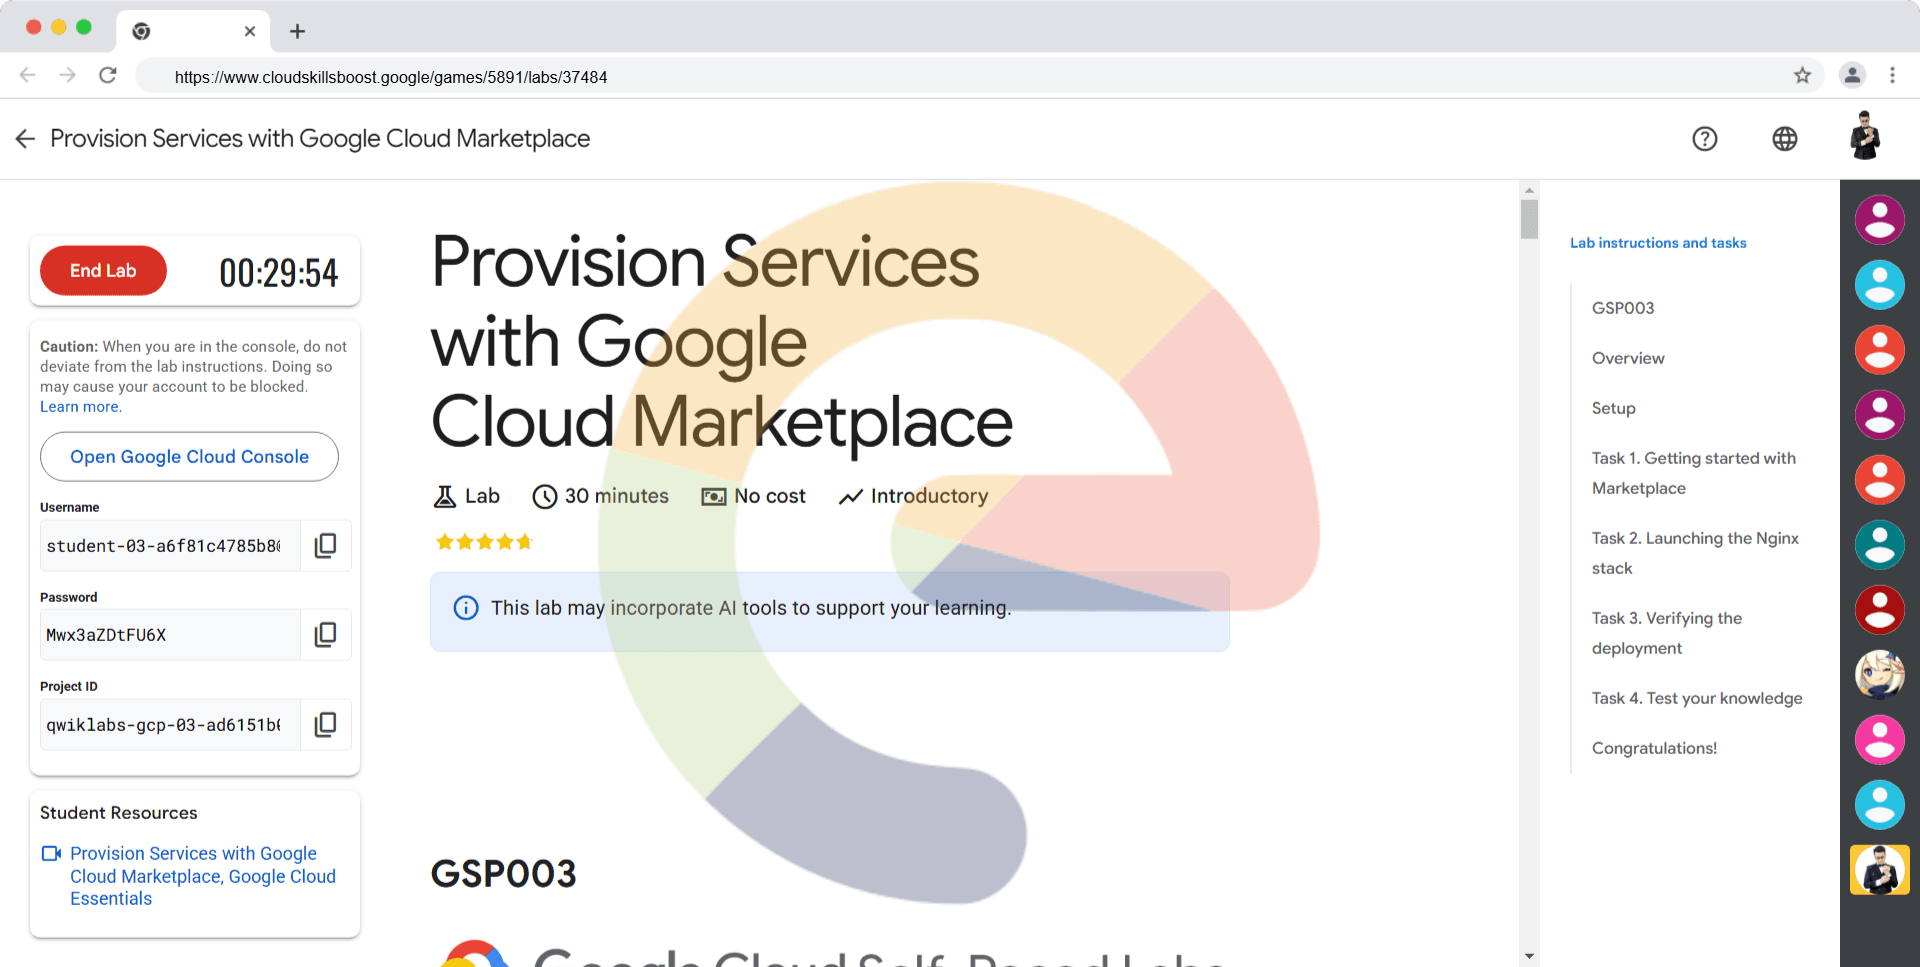
Provision Services with Google Cloud Marketplace - GSP003
A passionate full-stack developer from @ePlus.DEV
Overview
Google Cloud Marketplace provides a way to launch common software packages and stacks on Compute Engine with just a few clicks. Many common web frameworks, databases, CMSs, and CRMs are supported. This is one of the fastest ways to get up and running on the Google Cloud.
In this hands-on lab you'll learn how to launch and configure a Marketplace service on the Google Cloud.
What you'll do
Launch a common web stack with Marketplace
Verify your deployment
Setup
Before you click the Start Lab button
Read these instructions. Labs are timed and you cannot pause them. The timer, which starts when you click Start Lab, shows how long Google Cloud resources are made available to you.
This hands-on lab lets you do the lab activities in a real cloud environment, not in a simulation or demo environment. It does so by giving you new, temporary credentials you use to sign in and access Google Cloud for the duration of the lab.
To complete this lab, you need:
- Access to a standard internet browser (Chrome browser recommended).
Note: Use an Incognito (recommended) or private browser window to run this lab. This prevents conflicts between your personal account and the student account, which may cause extra charges incurred to your personal account.
- Time to complete the lab—remember, once you start, you cannot pause a lab.
Note: Use only the student account for this lab. If you use a different Google Cloud account, you may incur charges to that account.
How to start your lab and sign in to the Google Cloud console
Click the Start Lab button. If you need to pay for the lab, a dialog opens for you to select your payment method. On the left is the Lab Details pane with the following:
The Open Google Cloud console button
Time remaining
The temporary credentials that you must use for this lab
Other information, if needed, to step through this lab
Click Open Google Cloud console (or right-click and select Open Link in Incognito Window if you are running the Chrome browser).
The lab spins up resources, and then opens another tab that shows the Sign in page.
Tip: Arrange the tabs in separate windows, side-by-side.
Note: If you see the Choose an account dialog, click Use Another Account.
If necessary, copy the Username below and paste it into the Sign in dialog.
student-03-a6f81c4785b8@qwiklabs.netYou can also find the Username in the Lab Details pane.
Click Next.
Copy the Password below and paste it into the Welcome dialog.
Mwx3aZDtFU6XYou can also find the Password in the Lab Details pane.
Click Next.
Important: You must use the credentials the lab provides you. Do not use your Google Cloud account credentials.
Note: Using your own Google Cloud account for this lab may incur extra charges.
Click through the subsequent pages:
Accept the terms and conditions.
Do not add recovery options or two-factor authentication (because this is a temporary account).
Do not sign up for free trials.
After a few moments, the Google Cloud console opens in this tab.
Note: To access Google Cloud products and services, click the Navigation menu or type the service or product name in the Search field.

Task 1. Getting started with Marketplace
In this section you'll learn how to create Nginx Stack on Compute Engine with Google Cloud Marketplace.
Navigate to Marketplace
- In the Cloud Console, navigate to Marketplace:
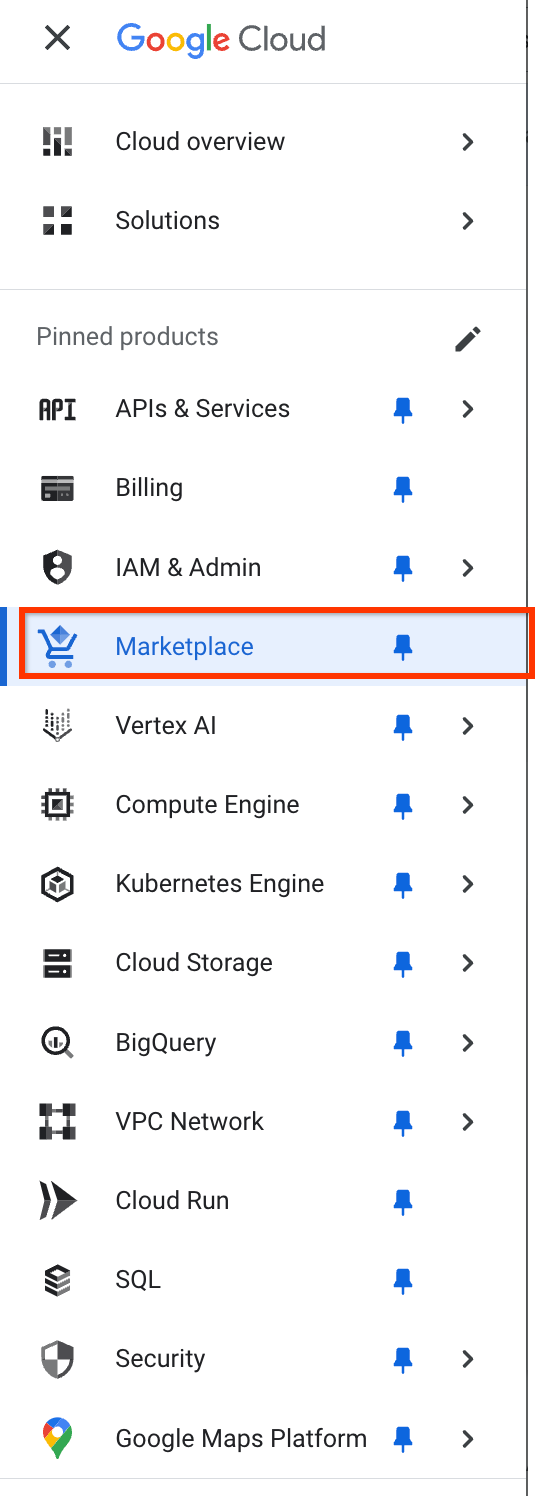
You should see the Marketplace home page, which includes a search engine.
Choosing Nginx
In the search box that says "Search Marketplace", type "Nginx".
Then click on the
Bitnami package for NGINX Open Sourcetile to select the platform.
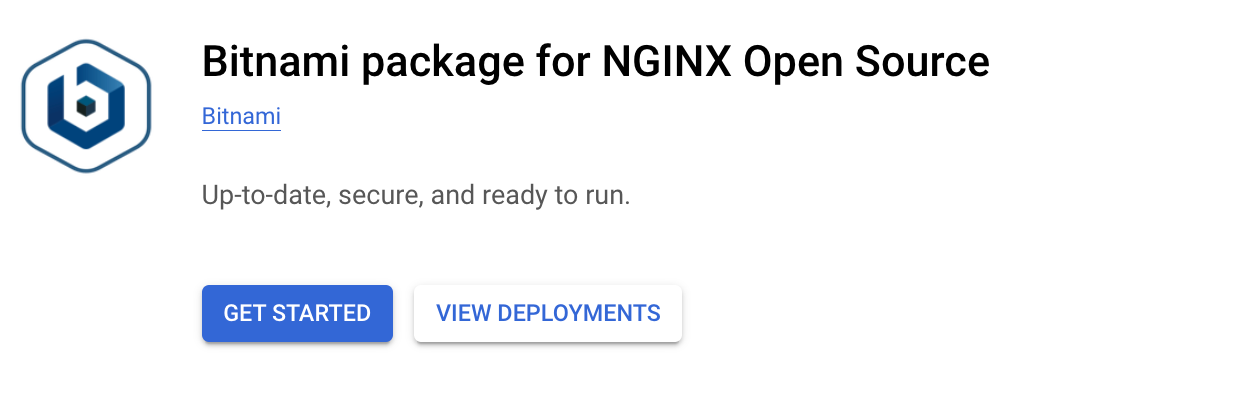
Now click Get Started.
Click the checkbox to accept the terms and conditions, then click on Agree.
Click Deploy
If prompted, click on Enable for the Compute Engine API and the Infrastructure Manager API.
Task 2. Launching the Nginx stack
VM Instance configuration
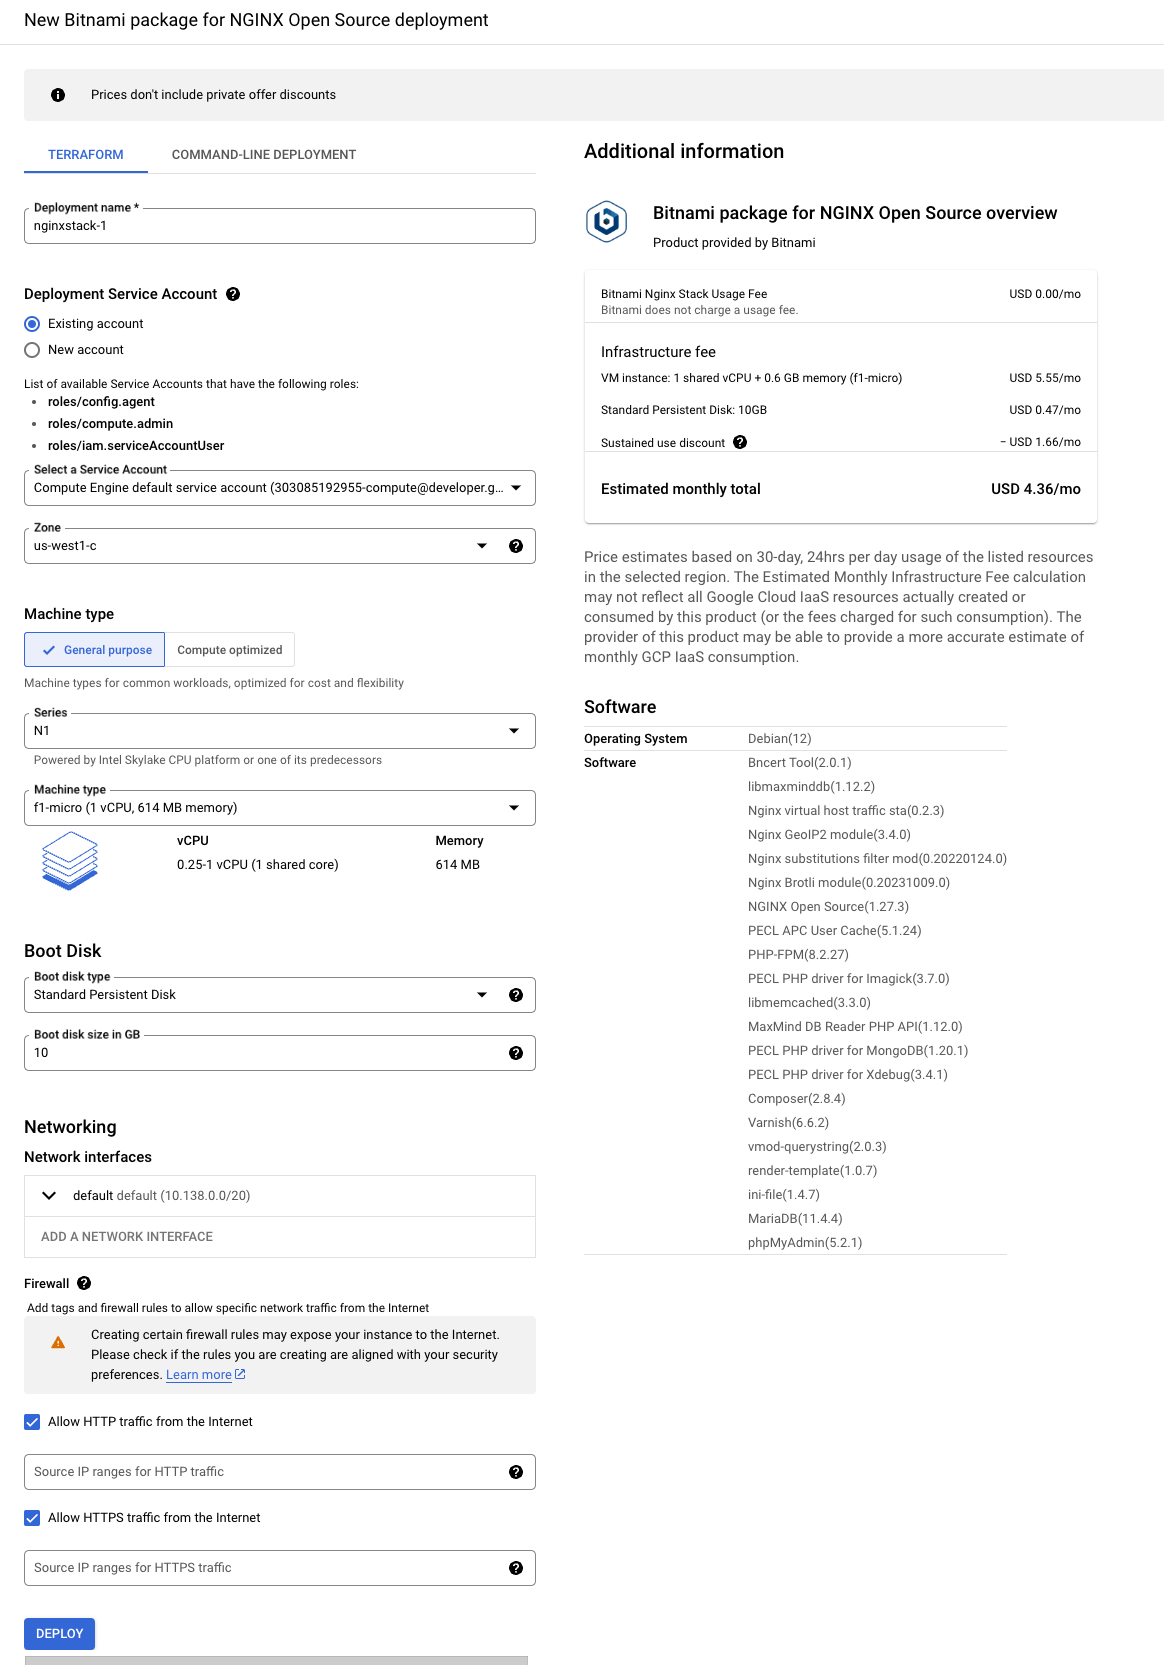
Once the project is created you'll be taken to the New Nginx deployment page in the Cloud Console to configure your Nginx instance.
Now do the following:
Choose a name for your instance (for example
nginxstack-1).Under Deployment Service Account, select Existing Account and choose the account Compute Engine default service account
serviceAccount:524792473003-compute@developer.gserviceaccount.com.Select zone as
us-central1-c.
Note: See the Regions and zones article for more information about regions and zones.
Leave as default:
Machine type: f1-micro (1vCPU, 614MB memory).
Boot Disk: 10 GB SSD.
Allow HTTP Traffic and Allow HTTPS Traffic are checked.
Click Deploy to launch your Nginx Stack.
Creating the VM instance and deploying the Nginx Stack may take a few minutes. Cloud Deployment Manager will provide progress details.
Click Check my progress to verify the objective.
Launch the Nginx Stack.
Check my progress
Task 3. Verifying the deployment
Once your Nginx stack has been deployed you can verify that everything worked correctly. Your screen should look something like this:

Verifying via the web
- Click on the Details tab, and then click the Site Url at the bottom to access the deployed Nginx Stack in a new tab.
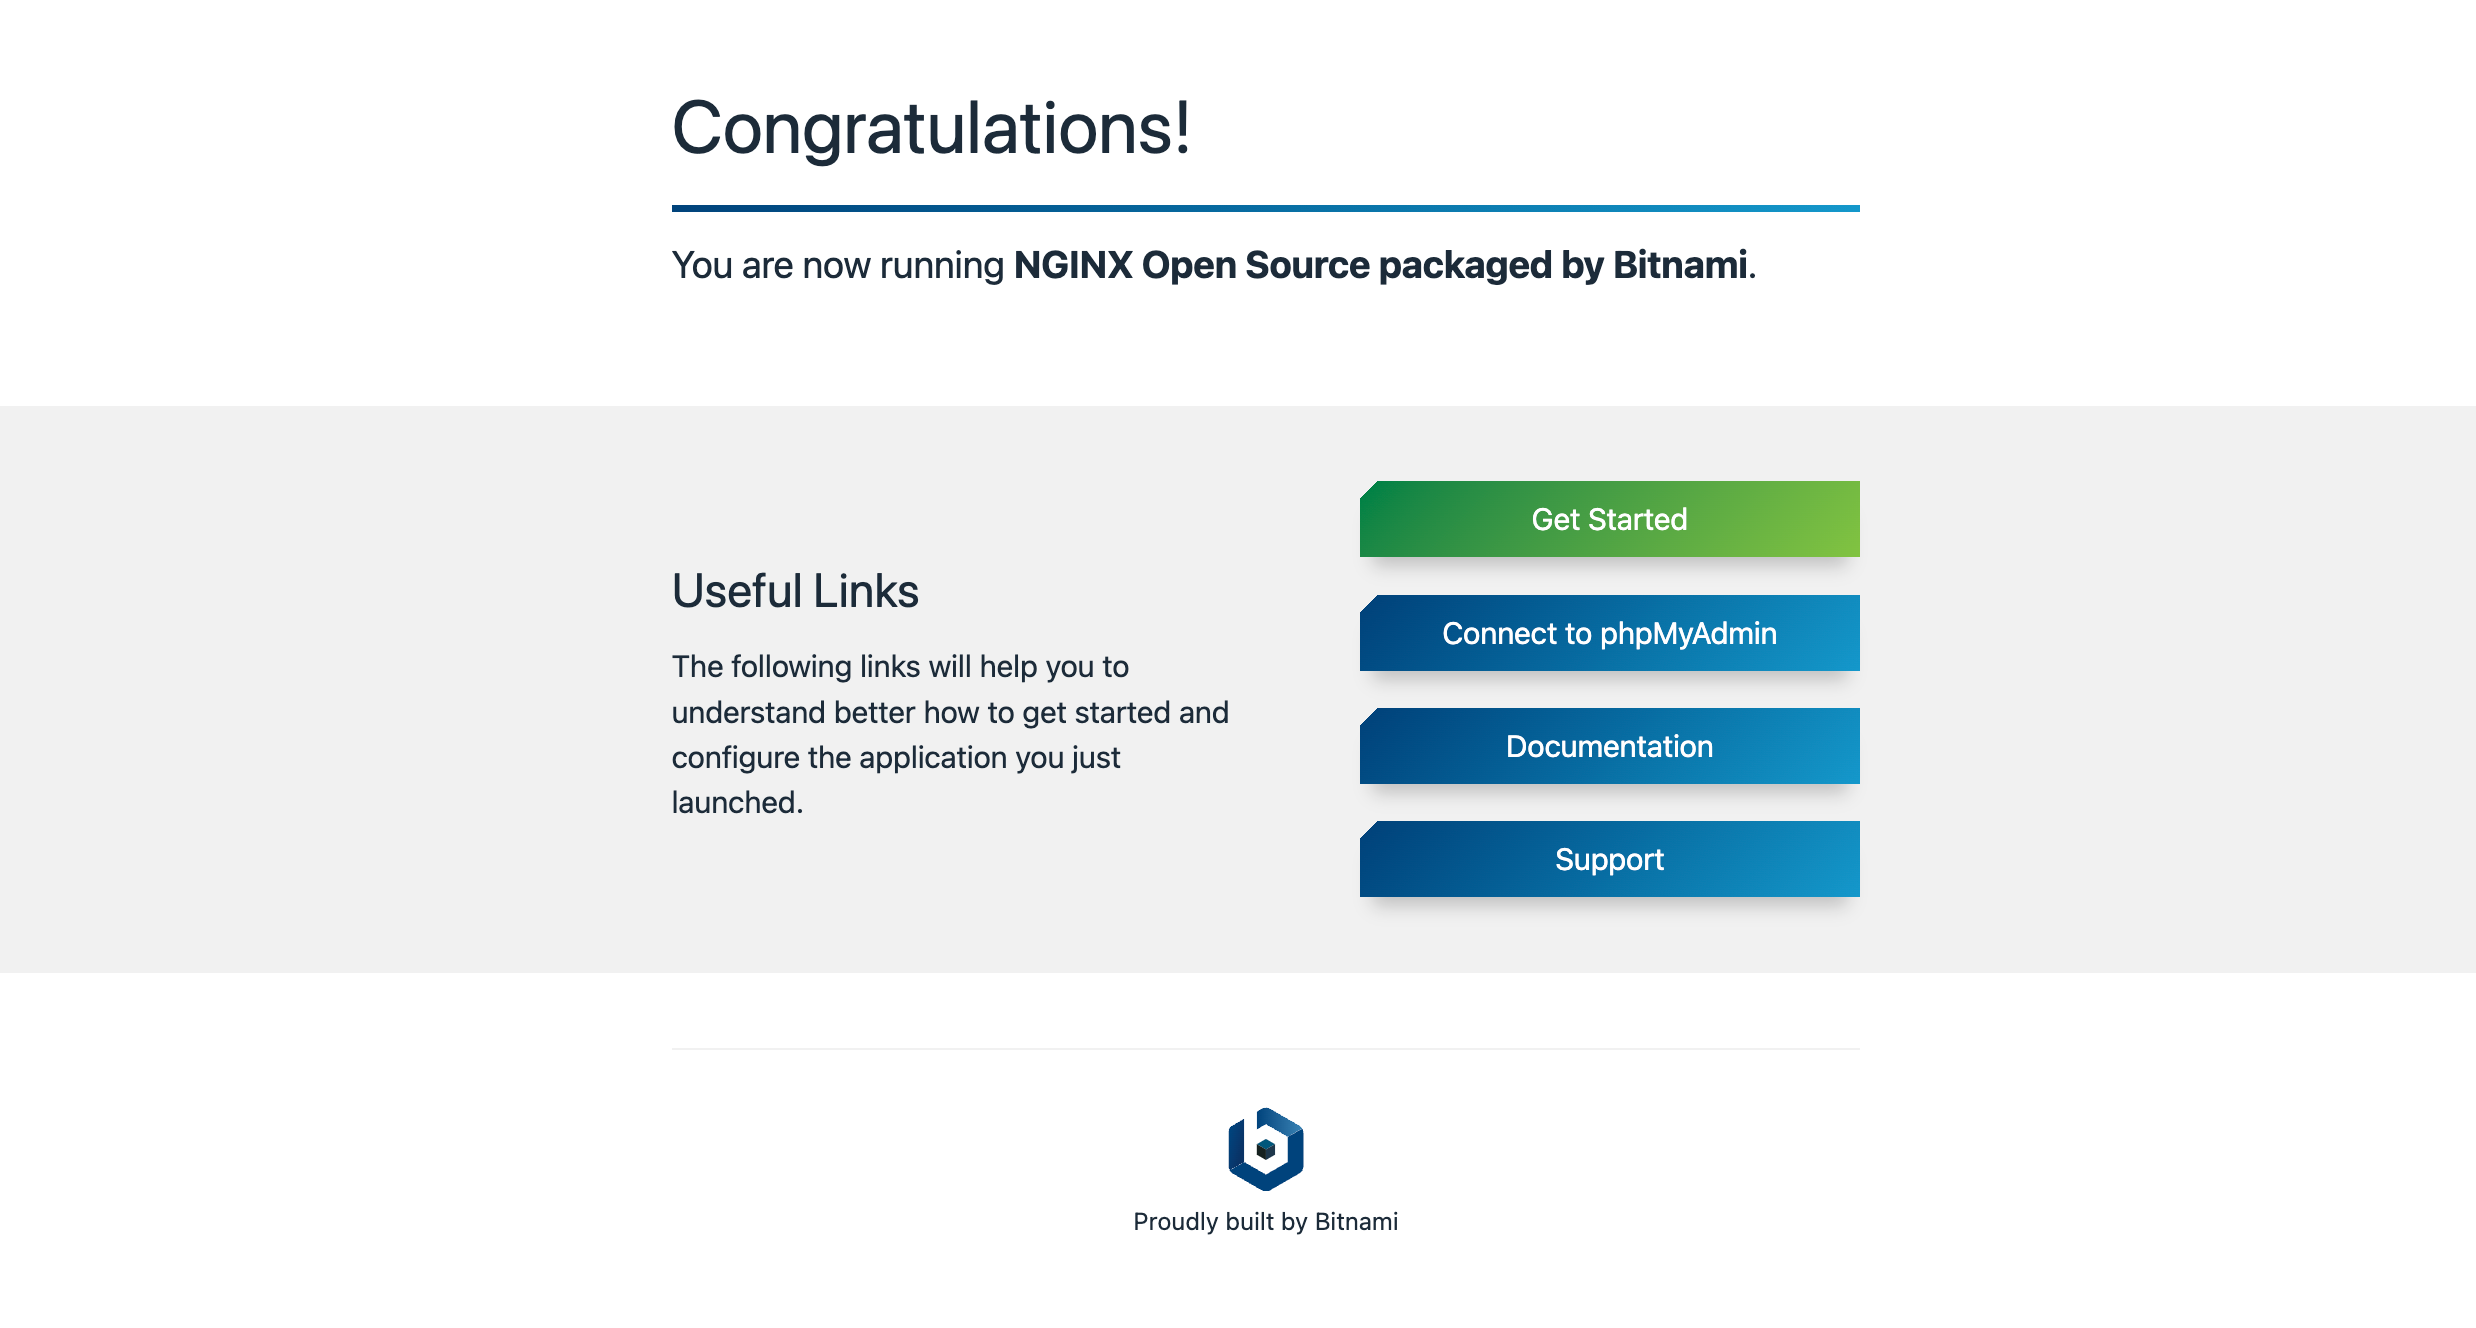
You should see something that looks like this:
Verifying via SSH
In the Cloud Console, click on the Resources tab, and then click on the Resource name(for example
nginxstack-1-vm) for Compute Engine.Click on the SSH for the VM instance in the console to open an SSH prompt in a new browser window.
You can use standard Unix commands like
psto see if Nginx is running on your instance.Try typing the following into Cloud Shell:
ps aux | grep nginx
Output:
root      1571  0.0  0.3  61316  1920 ?        Ss   18:48   0:00 nginx: master process /opt/bitnami/nginx/sbin/.nginx.bin -p /opt/bitnami/nginx/
daemon    1572  0.0  0.9  98836  5680 ?        S    18:48   0:00 nginx: worker process
student+  7249  0.0  0.1  12780   932 pts/0    S+   18:54   0:00 grep nginx
Task 4. Test your knowledge
Test your knowledge about Google Cloud Platform by taking our quiz.
Does Google Cloud Marketplace allow you to deploy a software package now, and scale that deployment later when your applications require additional capacity without updating the software that you have already deployed.
True
False
Solution of Lab
Step 1: Go to Bitnami package for NGINX Open Source from here


Step 2: Run the following Commands in CloudShell
curl -LO raw.githubusercontent.com/QUICK-GCP-LAB/2-Minutes-Labs-Solutions/main/Provision%20Services%20with%20Google%20Cloud%20Marketplace/gsp003.sh
sudo chmod +x gsp003.sh
./gsp003.sh


