
Set Up a Google Cloud Network: Challenge Lab - GSP314
A passionate full-stack developer from @ePlus.DEV
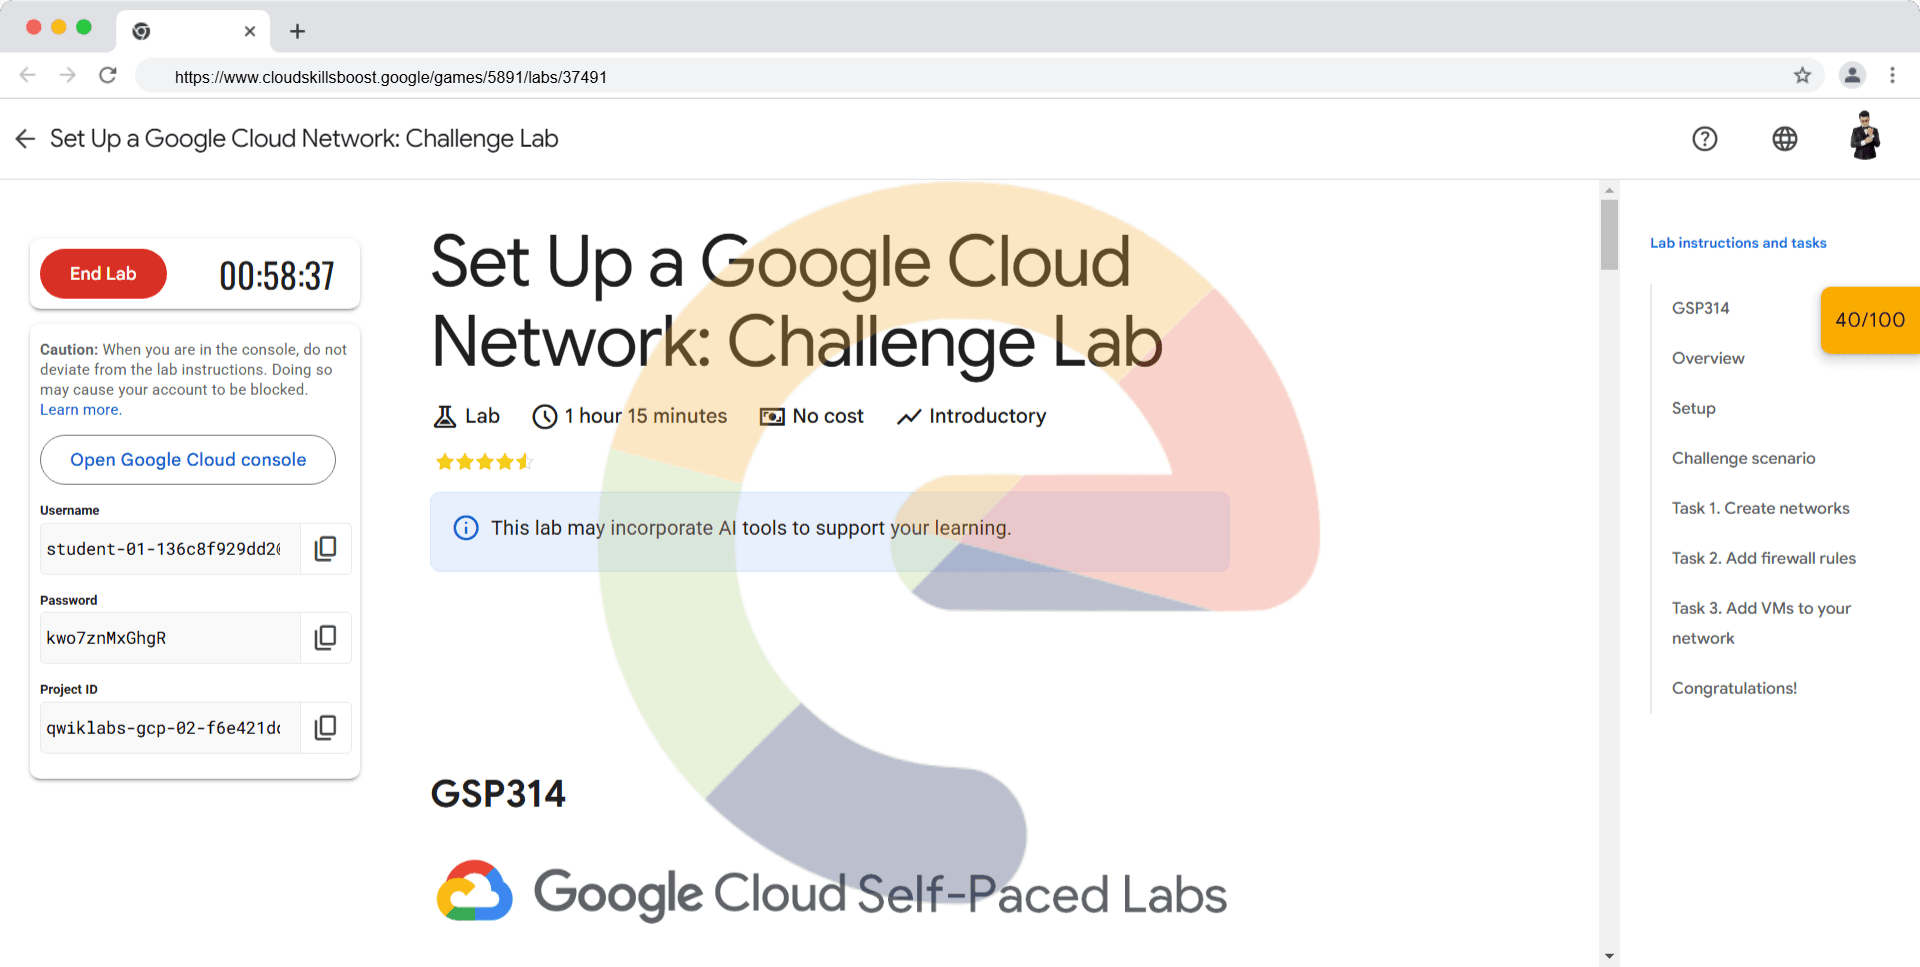
Overview
In a challenge lab you’re given a scenario and a set of tasks. Instead of following step-by-step instructions, you will use the skills learned from the labs in the course to figure out how to complete the tasks on your own! An automated scoring system (shown on this page) will provide feedback on whether you have completed your tasks correctly.
When you take a challenge lab, you will not be taught new Google Cloud concepts. You are expected to extend your learned skills, like changing default values and reading and researching error messages to fix your own mistakes.
To score 100% you must successfully complete all tasks within the time period!
This lab is recommended for students who have enrolled in the Set up a Google Cloud Network skill badge. Are you ready for the challenge?
Setup
Before you click the Start Lab button
Read these instructions. Labs are timed and you cannot pause them. The timer, which starts when you click Start Lab, shows how long Google Cloud resources will be made available to you.
This hands-on lab lets you do the lab activities yourself in a real cloud environment, not in a simulation or demo environment. It does so by giving you new, temporary credentials that you use to sign in and access Google Cloud for the duration of the lab.
To complete this lab, you need:
- Access to a standard internet browser (Chrome browser recommended).
Note: Use an Incognito or private browser window to run this lab. This prevents any conflicts between your personal account and the Student account, which may cause extra charges incurred to your personal account.
- Time to complete the lab---remember, once you start, you cannot pause a lab.
Note: If you already have your own personal Google Cloud account or project, do not use it for this lab to avoid extra charges to your account.
Challenge scenario
You are tasked with setting up a Virtual Private Cloud (VPC) network in Google Cloud Platform (GCP) and ensuring proper connectivity between virtual machines (VMs) in different subnets. You will also configure firewall rules to manage access and test network connectivity between the VMs.
As part of this challenge, you will need to create the following:
A VPC network with two subnetworks and firewalls need to be created to connect new resources together.
Launch two VMs in each subnet and verify that these machines can successfully communicate with each other using the protocols you've configured.
Task 1. Create networks
Create a VPC network with two subnets and firewalls to open connections between resources.
Create a VPC network named
vpc-network-icivwith two subnets:subnet-a-mbabandsubnet-b-w391. Use a Regional dynamic routing mode.For
subnet-a-mbabset the region toeurope-west1.Set the IP stack type to IPv4 (single-stack)
Set IPv4 range to
10.10.10.0/24
For
subnet-b-w391set the region tous-west1.Set the IP stack type to IPv4 (single-stack)
Set IPv4 range to
10.10.20.0/24
Task 2. Add firewall rules
On this network your team will need to be able to connect to Linux and Windows machines using SSH and RDP, as well as diagnose network communication issues via ICMP.
Create a firewall rule named
jjqq-firewall-ssh.For the network, use
vpc-network-iciv.Set the priority to 1000, the traffic to Ingress and action to Allow
The targets should be set to all instances in the network and the IPv4 ranges to
0.0.0.0/0Set the Protocol to TCP and port to
22
Create a firewall rule named
eboq-firewall-rdp.For the network, use
vpc-network-iciv.Set the priority to 65535, the traffic to Ingress and action to Allow
The targets should be set to all instances in the network and the IPv4 ranges to
0.0.0.0/24Set the Protocol to TCP and port to
3389
Create a firewall rule named
vryq-firewall-icmp.For the network, use
vpc-network-iciv.Set the priority to 1000, the traffic to Ingress and action to Allow
The targets should be set to all instances in the network and the IPv4 ranges to
10.10.10.0/24and10.10.20.0/24Set the Protocol to icmp
Click Check my progress to verify the objective.
Create network, subnetworks and firewalls.
Check my progress
Task 3. Add VMs to your network
Create a virtual machine in each subnet, and confirm that the machines can communicate with each other using a protocol that you already set up. Each machine will use network tags that the firewall rules need to allow network traffic.
Create an instance name us-test-01 in
subnet-a-mbaband set the zone toeurope-west1-b.Create an instance name us-test-02 in
subnet-b-w391and set the zone tous-west1-c.
Verify you can connect your VM.
Now do a few exercises to test the connection to your VMs.
Switch back to the Console and navigate to Compute Engine.
Click the SSH button corresponding to the us-test-01. This opens an SSH connection to the instance in a new window.
In the SSH window of us-test-01, type the following command to use an ICMP echo against us-test-02, adding the Internal IP address for the VM in-line:
ping -c 3 <us-test-02-internal-ip-address>
Use ping to measure latency
Use ping to measure the latency between instances between all the regions.
To observe the latency, run the following command after opening an SSH window on the us-test-01:
ping -c 3 us-test-02.us-west1-c
Click Check my progress to verify the objective.
Create two instances in specified zones for Traceroute and performance testing.
Solution of Lab
https://www.youtube.com/watch?v=Z74R0Fm_hso&ab_channel=QUICKGCPLAB


curl -LO raw.githubusercontent.com/ePlus-DEV/storage/refs/heads/main/labs/GSP314/lab.sh
source lab.sh
Script Alternative
export VPC_NAME=
export SUBNET_A=
export SUBNET_B=
export FWL_1=
export FWL_2=
export FWL_3=
export ZONE_1=
export ZONE_2=
curl -LO raw.githubusercontent.com/QUICK-GCP-LAB/2-Minutes-Labs-Solutions/main/Set%20Up%20a%20Google%20Cloud%20Network%20Challenge%20Lab/gsp314.sh
sudo chmod +x gsp314.sh
./gsp314.sh


