
Working with Cloud Build (Solution)
A passionate full-stack developer from @ePlus.DEV
Overview
In this lab you will build a Docker container image from provided code and a Dockerfile using Cloud Build. You will then upload the container to the Artifact Registry.
Objectives
In this lab, you learn how to perform the following tasks:
Use Cloud Build to build and push containers
Use Artifact Registry to store and deploy containers
Lab setup
Access the lab
For each lab, you get a new Google Cloud project and set of resources for a fixed time at no cost.
Sign in to Qwiklabs using an incognito window.
Note the lab's access time (for example,
1:15:00), and make sure you can finish within that time.
There is no pause feature. You can restart if needed, but you have to start at the beginning.When ready, click Start lab.
Note your lab credentials (Username and Password). You will use them to sign in to the Google Cloud Console.
Click Open Google Console.
Click Use another account and copy/paste credentials for this lab into the prompts.
If you use other credentials, you'll receive errors or incur charges.Accept the terms and skip the recovery resource page.
After you complete the initial sign-in steps, the project dashboard opens.
Activate Google Cloud Shell
Google Cloud Shell is a virtual machine that is loaded with development tools. It offers a persistent 5GB home directory and runs on the Google Cloud.
Google Cloud Shell provides command-line access to your Google Cloud resources.
In Cloud console, on the top right toolbar, click the Open Cloud Shell button.
Click Continue.

It takes a few moments to provision and connect to the environment. When you are connected, you are already authenticated, and the project is set to your PROJECT_ID. For example:

gcloud is the command-line tool for Google Cloud. It comes pre-installed on Cloud Shell and supports tab-completion.
- You can list the active account name with this command:
gcloud auth list
Output:
Credentialed accounts:
 - <myaccount>@<mydomain>.com (active)
</mydomain></myaccount>
Example output:
Credentialed accounts:
 - google1623327_student@qwiklabs.net
- You can list the project ID with this command:
gcloud config list project
Output:
[core]
project = <project_id>
</project_id>
Example output:
[core]
project = qwiklabs-gcp-44776a13dea667a6
Note: Full documentation of gcloud is available in the gcloud CLI overview guide .
Task 1. Confirm that needed APIs are enabled
Make a note of the name of your Google Cloud project. This value is shown in the top bar of the Google Cloud console. It will be of the form
qwiklabs-gcp-followed by hexadecimal numbers.In the Google Cloud console, on the Navigation menu(), click APIs & Services.
Click Library.
In the Search for APIs & Services box, enter Cloud Build.
In the resulting card for the Cloud Build API, if you do not see a message confirming that the Cloud Build API is enabled, click the Enable button.
Use the Back button to return to the previous screen with a search box. In the search box, enter Artifact Registry.
In the resulting card for the Google Artifact Registry API, if you do not see a message confirming that the Artifact Registry API is enabled, click the Enable button.
Task 2. Building containers with DockerFile and Cloud Build
You can write build configuration files to provide instructions to Cloud Build as to which tasks to perform when building a container. These build files can fetch dependencies, run unit tests, analyses and more. In this task, you'll create a DockerFile and use it as a build configuration script with Cloud Build. You will also create a simple shell script (quickstart.sh) which will represent an application inside the container.
On the Google Cloud console title bar, click Activate Cloud Shell.
When prompted, click Continue.
Cloud Shell opens at the bottom of the Google Cloud console window.
- Create an empty
quickstart.shfile using the nano text editor:
nano quickstart.sh
- Add the following lines in to the
quickstart.shfile:
#!/bin/sh
echo "Hello, world! The time is $(date)."
Save the file and close nano by pressing the CTRL+X keys, then press Y and ENTER.
Create an empty
Dockerfilefile using the nano text editor:
nano Dockerfile
- Add the following Dockerfile command:
FROM alpine
This instructs the build to use the Alpine Linux base image.
- Add the following Dockerfile command to the end of the Dockerfile:
COPY quickstart.sh /
This adds the quickstart.sh script to the / directory in the image.
- Add the following Dockerfile command to the end of the Dockerfile:
CMD ["/quickstart.sh"]
This configures the image to execute the /quickstart.sh script when the associated container is created and run.
The Dockerfile should now look like this:
FROM alpine
COPY quickstart.sh /
CMD ["/quickstart.sh"]
Save the file and close nano by pressing the CTRL+X keys, then press Y and ENTER.
In Cloud Shell, run the following command to make the
quickstart.shscript executable:
chmod +x quickstart.sh
- Create a new Docker repository named
quickstart-docker-repoin the locationeurope-west1with the description "Docker repository"
gcloud artifacts repositories create quickstart-docker-repo --repository-format=docker \
    --location=europe-west1 --description="Docker repository"
- In Cloud Shell, run the following command to build the Docker container image in Cloud Build:
gcloud builds submit --tag europe-west1-docker.pkg.dev/${DEVSHELL_PROJECT_ID}/quickstart-docker-repo/quickstart-image:tag1
When the build completes, your Docker image is built and pushed to the Artifact Registry.
In the Google Cloud console, in the Search Bar (Located at the top of the console window), Search for Artifact Registry.
Click the repository named
quickstart-docker-repo.
The quickstart-image Docker image appears in the list.
Task 3. Building containers with a build configuration file and Cloud Build
Cloud Build also supports custom build configuration files. In this task you will incorporate an existing Docker container using a custom YAML-formatted build file with Cloud Build.
Let's create a sample custom cloud build configuration file called cloudbuild.yaml.
- Create and open a file called
cloudbuild.yamlwith nano using the following command:
nano cloudbuild.yaml
- Once nano has opened, paste the following into the
cloudbuild.yamlfile:
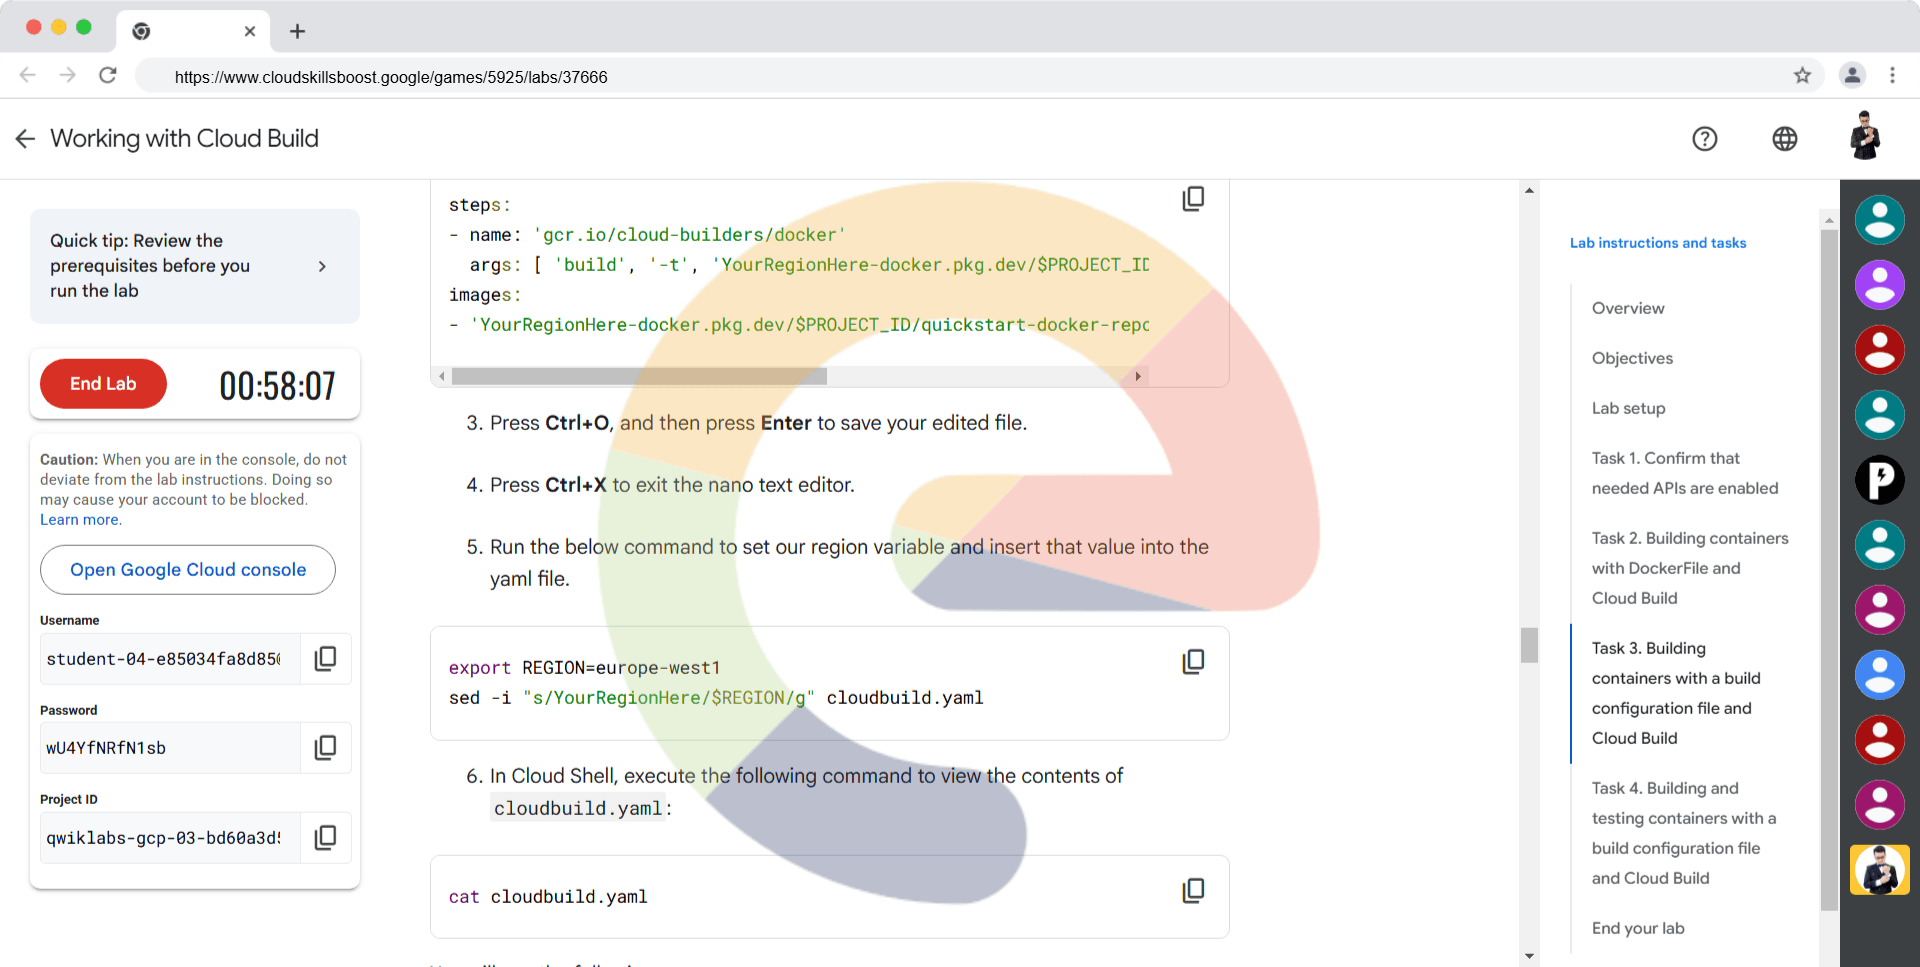
steps:
- name: 'gcr.io/cloud-builders/docker'
  args: [ 'build', '-t', 'YourRegionHere-docker.pkg.dev/$PROJECT_ID/quickstart-docker-repo/quickstart-image:tag1', '.' ]
images:
- 'YourRegionHere-docker.pkg.dev/$PROJECT_ID/quickstart-docker-repo/quickstart-image:tag1'
Press Ctrl+O, and then press Enter to save your edited file.
Press Ctrl+X to exit the nano text editor.
Run the below command to set our region variable and insert that value into the yaml file.
export REGION=europe-west1
sed -i "s/YourRegionHere/$REGION/g" cloudbuild.yaml
- In Cloud Shell, execute the following command to view the contents of
cloudbuild.yaml:
cat cloudbuild.yaml
You will see the following:
steps:
- name: 'gcr.io/cloud-builders/docker'
  args: [ 'build', '-t', 'europe-west1-docker.pkg.dev/$PROJECT_ID/quickstart-docker-repo/quickstart-image:tag1', '.' ]
images:
- 'europe-west1-docker.pkg.dev/$PROJECT_ID/quickstart-docker-repo/quickstart-image:tag1'
This file instructs Cloud Build to use Docker to build an image using the Dockerfile specification in the current local directory, tag it with gcr.io/$PROJECT_ID/quickstart-image ($PROJECT_ID is a substitution variable automatically populated by Cloud Build with the project ID of the associated project), and then push that image to Artifact Registry.
- In Cloud Shell, execute the following command to start a Cloud Build using
cloudbuild.yamlas the build configuration file:
gcloud builds submit --config cloudbuild.yaml
The build output to Cloud Shell should be the same as before. When the build completes, a new version of the same image is pushed to Artifact Registry.
In the Google Cloud console, in the Search Bar (Located at the top of the console window), Search for Artifact Registry.
Click the repository named
quickstart-docker-repo.
Two versions of quickstart-image are now in the list.
Click Check my progress to verify the objective.
Build two container images in Cloud Build
Check my progress
In the Google Cloud console, in the Search Bar (Located at the top of the console window), Search for Cloud Build.
In search results, click Cloud Build.
In Cloud Build, click History. Two builds appear in the list.
Click the build ID for the build at the top of the list. The details of the build, including the build log, are displayed.
Task 4. Building and testing containers with a build configuration file and Cloud Build
The true power of custom build configuration files is their ability to perform other actions, in parallel or in sequence, in addition to simply building containers: running tests on your newly built containers, pushing them to various destinations, and even deploying them to Kubernetes Engine.
In this task, we will see a simple example, a build configuration file that tests the container it built and reports the result to its calling environment. The first step is to alter the quickstart.sh file.
In Cloud Shell, open
quickstart.shin nano.nano quickstart.shReplace the existing with the following:
#!/bin/sh
if [ -z "$1" ]
then
    echo "Hello, world! The time is $(date)."
    exit 0
else
    exit 1
fi
Press Ctrl+O, and then press Enter to save your edited file.
Press Ctrl+X to exit the nano text editor.
Let's create a new custom cloud build configuration file called cloudbuild2.yaml. This has been slightly modified to demonstrate Cloud Build's ability to test the containers it has built.
- Create and open a file called
cloudbuild2.yamlwith nano using the following command:
nano cloudbuild2.yaml
- Once nano has opened, paste the following into the
cloudbuild2.yamlfile:
steps:
- name: 'gcr.io/cloud-builders/docker'
  args: [ 'build', '-t', 'YourRegionHere-docker.pkg.dev/$PROJECT_ID/quickstart-docker-repo/quickstart-image:tag1', '.' ]
- name: 'YourRegionHere-docker.pkg.dev/$PROJECT_ID/quickstart-docker-repo/quickstart-image:tag1'
  args: ['fail']
images:
- 'YourRegionHere-docker.pkg.dev/$PROJECT_ID/quickstart-docker-repo/quickstart-image:tag1'
Press Ctrl+O, and then press Enter to save your edited file.
Press Ctrl+X to exit the nano text editor.
Run the below command to insert our region value into the yaml file.
sed -i "s/YourRegionHere/$REGION/g" cloudbuild2.yaml
- In Cloud Shell, execute the following command to view the contents of
cloudbuild2.yaml:
cat cloudbuild2.yaml
You will see the following:
steps:
- name: 'gcr.io/cloud-builders/docker'
  args: [ 'build', '-t', 'europe-west1-docker.pkg.dev/$PROJECT_ID/quickstart-docker-repo/quickstart-image:tag1', '.' ]
- name: 'gcr.io/$PROJECT_ID/quickstart-image'
  args: ['fail']
images:
- 'europe-west1-docker.pkg.dev/$PROJECT_ID/quickstart-docker-repo/quickstart-image:tag1'
In addition to its previous actions, this build configuration file runs the quickstart-image it has created. In this task, the quickstart.sh script has been modified so that it simulates a test failure when an argument ['fail'] is passed to it.
- In Cloud Shell, execute the following command to start a Cloud Build using
cloudbuild.yamlas the build configuration file:
gcloud builds submit --config cloudbuild2.yaml
You will see output from the command that ends with text like this:
Output
BUILD FAILURE: Build step failure: build step 1 "us-east1-docker.pkg.dev/qwiklabs-gcp-02-1c7ba5c697a0/quickstart-docker-repo/quickstart-image:tag1" failed: starting step container failed: Error response from daemon: failed to create shim task: OCI runtime create failed: runc create failed: unable to start container process: exec: "fail": executable file not found in $PATH: unknown
ERROR: (gcloud.builds.submit) build 96c4a454-be06-4010-aa7c-da57c14165f4 completed with status "FAILURE"
- Confirm that your command shell knows that the build failed:
echo $?
The command will reply with a non-zero value. If you had embedded this build in a script, your script would be able to act up on the build's failure.
Click Check my progress to verify the objective.
Build and test containers with a build configuration file and Cloud Build
Solution of Lab
export REGION=

curl -LO raw.githubusercontent.com/quiccklabs/Labs_solutions/master/Working%20with%20Cloud%20Build/quicklab.sh
sudo chmod +x quicklab.sh
./quicklab.sh


