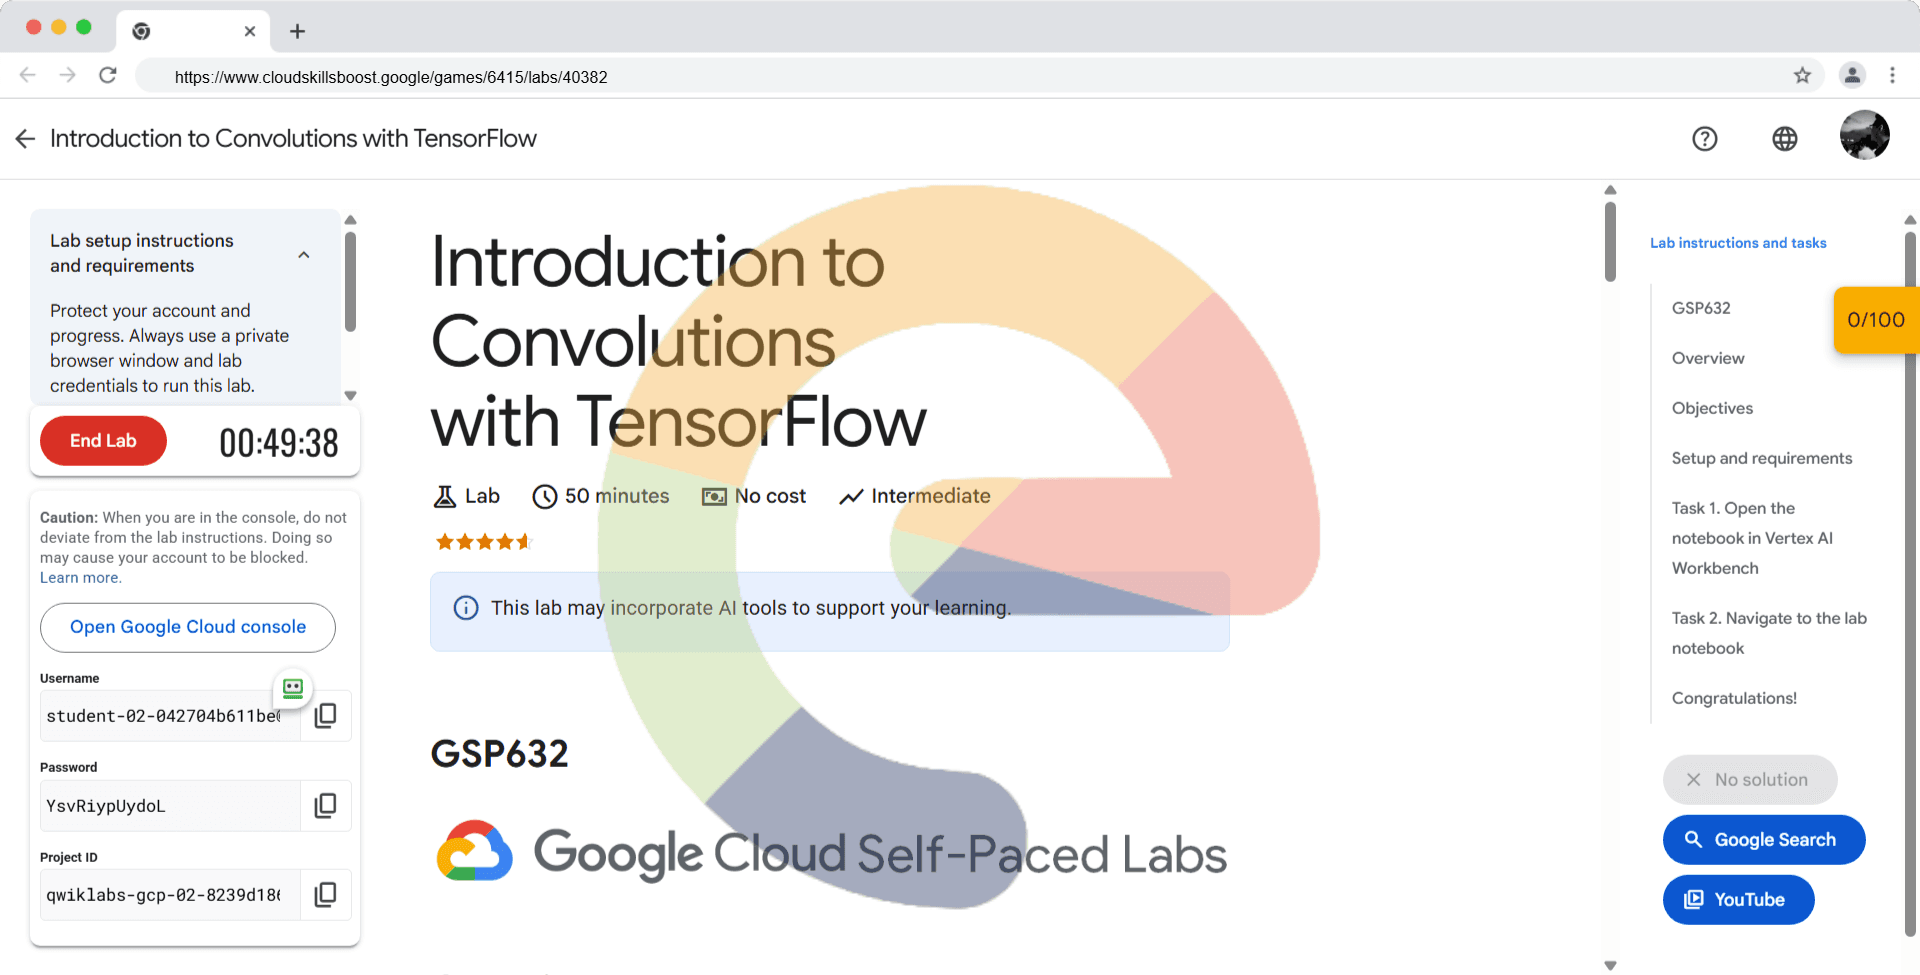
Introduction to Convolutions with TensorFlow - GSP632
A passionate full-stack developer from @ePlus.DEV
Overview
A convolution is a filter that passes over an image, processes it, and extracts features that show a commonality in the image. In this lab you explore convolution filters. You learn what they are and how they work by processing an image to extract features from it! You also explore pooling, which compresses your image and further emphasizes the features.
Objectives
In this lab, you will learn how to:
Load and draw an image from scipy, an open source Python library used for scientific and technical computing
Create a filter as a 3x3 array and a convolution and see the effects on the image
Run a pooling to see how it affects the output
Prerequisites
Although this is a self-standing lab, to maximize your learning consider taking these labs before taking this one:
Setup and requirements
Before you click the Start Lab button
Read these instructions. Labs are timed and you cannot pause them. The timer, which starts when you click Start Lab, shows how long Google Cloud resources are made available to you.
This hands-on lab lets you do the lab activities in a real cloud environment, not in a simulation or demo environment. It does so by giving you new, temporary credentials you use to sign in and access Google Cloud for the duration of the lab.
To complete this lab, you need:
- Access to a standard internet browser (Chrome browser recommended).
Note: Use an Incognito (recommended) or private browser window to run this lab. This prevents conflicts between your personal account and the student account, which may cause extra charges incurred to your personal account.
- Time to complete the lab—remember, once you start, you cannot pause a lab.
Note: Use only the student account for this lab. If you use a different Google Cloud account, you may incur charges to that account.
How to start your lab and sign in to the Google Cloud console
Click the Start Lab button. If you need to pay for the lab, a dialog opens for you to select your payment method. On the left is the Lab Details pane with the following:
The Open Google Cloud console button
Time remaining
The temporary credentials that you must use for this lab
Other information, if needed, to step through this lab
Click Open Google Cloud console (or right-click and select Open Link in Incognito Window if you are running the Chrome browser).
The lab spins up resources, and then opens another tab that shows the Sign in page.
Tip: Arrange the tabs in separate windows, side-by-side.
Note: If you see the Choose an account dialog, click Use Another Account.
If necessary, copy the Username below and paste it into the Sign in dialog.
student-02-042704b611be@qwiklabs.netYou can also find the Username in the Lab Details pane.
Click Next.
Copy the Password below and paste it into the Welcome dialog.
YsvRiypUydoLYou can also find the Password in the Lab Details pane.
Click Next.
Important: You must use the credentials the lab provides you. Do not use your Google Cloud account credentials.
Note: Using your own Google Cloud account for this lab may incur extra charges.
Click through the subsequent pages:
Accept the terms and conditions.
Do not add recovery options or two-factor authentication (because this is a temporary account).
Do not sign up for free trials.
After a few moments, the Google Cloud console opens in this tab.
Note: To access Google Cloud products and services, click the Navigation menu or type the service or product name in the Search field.

Task 1. Open the notebook in Vertex AI Workbench
In the Google Cloud console, on the Navigation menu (), click Vertex AI > Workbench.
Find the
cloudlearningservicesinstance and click on the Open JupyterLab button.
The JupyterLab interface for your Workbench instance opens in a new browser tab.
Note: If you do not see notebooks in JupyterLab, please follow these additional steps to reset the instance:
1. Close the browser tab for JupyterLab, and return to the Workbench home page.
2. Select the checkbox next to the instance name, and click Reset.
3. After the Open JupyterLab button is enabled again, wait one minute, and then click Open JupyterLab.
Task 2. Navigate to the lab notebook
Click on the
CLS_Vertex_AI_Intro_to_CNN-v1.0.0.ipynbfile.In the Select Kernel dialog, choose Python 3 from the list of available kernels.
Continue the lab in the notebook, and run each cell by clicking the Run icon at the top of the screen. Alternatively, you can execute the code in a cell with SHIFT + ENTER.
Read the narrative and make sure you understand what's happening in each cell.
Click Check my progress to verify the objective.
Run the notebook