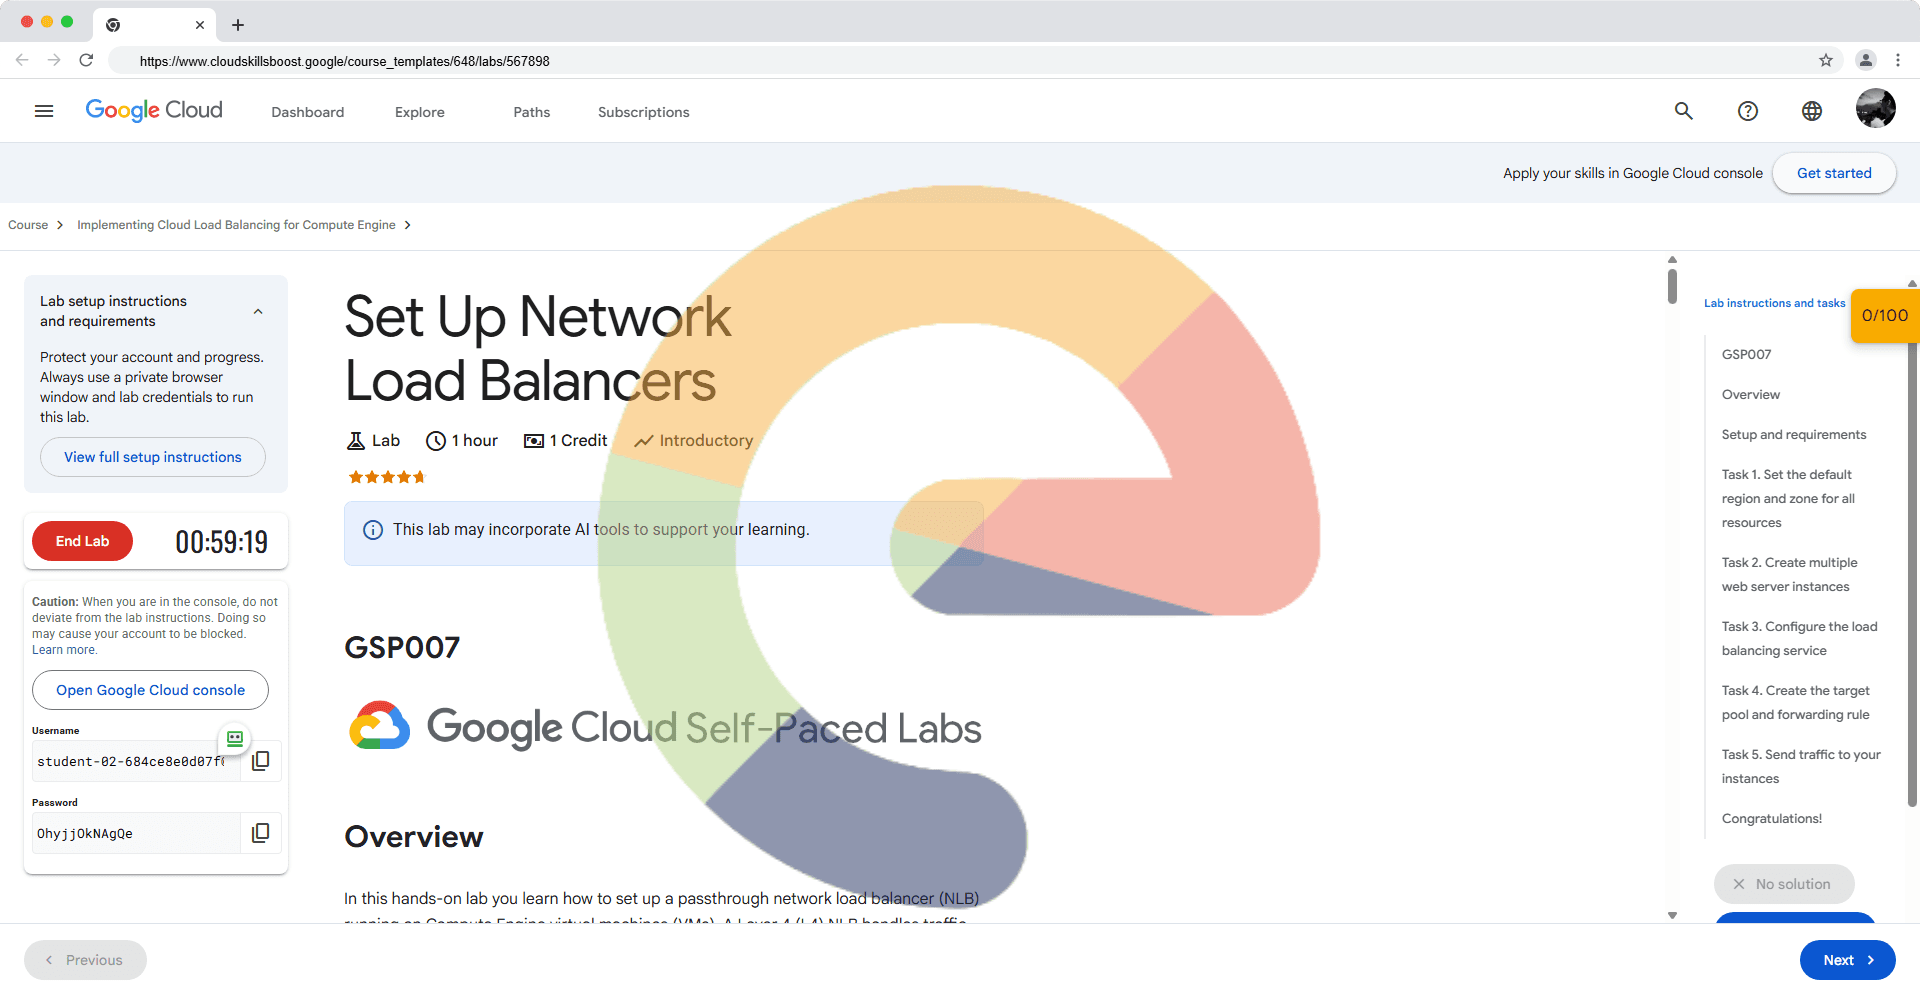
Set Up Network Load Balancers - GSP007
A passionate full-stack developer from @ePlus.DEV
Overview
In this hands-on lab you learn how to set up a passthrough network load balancer (NLB) running on Compute Engine virtual machines (VMs). A Layer 4 (L4) NLB handles traffic based on network-level information like IP addresses and port numbers, and does not inspect the content of the traffic.
There are several ways you can load balance on Google Cloud. This lab takes you through the setup of the following load balancers:
You are encouraged to type the commands yourself, which can help you learn the core concepts. Many labs include a code block that contains the required commands. You can easily copy and paste the commands from the code block into the appropriate places during the lab.
Objectives
In this lab, you learn how to perform the following tasks:
Configure the default region and zone for your resources.
Create multiple web server instances.
Configure a load balancing service.
Configure a forwarding rule to distribute traffic
Setup and requirements
Before you click the Start Lab button
Read these instructions. Labs are timed and you cannot pause them. The timer, which starts when you click Start Lab, shows how long Google Cloud resources are made available to you.
This hands-on lab lets you do the lab activities in a real cloud environment, not in a simulation or demo environment. It does so by giving you new, temporary credentials you use to sign in and access Google Cloud for the duration of the lab.
To complete this lab, you need:
- Access to a standard internet browser (Chrome browser recommended).
Note: Use an Incognito (recommended) or private browser window to run this lab. This prevents conflicts between your personal account and the student account, which may cause extra charges incurred to your personal account.
- Time to complete the lab—remember, once you start, you cannot pause a lab.
Note: Use only the student account for this lab. If you use a different Google Cloud account, you may incur charges to that account.
How to start your lab and sign in to the Google Cloud console
Click the Start Lab button. If you need to pay for the lab, a dialog opens for you to select your payment method. On the left is the Lab Details pane with the following:
The Open Google Cloud console button
Time remaining
The temporary credentials that you must use for this lab
Other information, if needed, to step through this lab
Click Open Google Cloud console (or right-click and select Open Link in Incognito Window if you are running the Chrome browser).
The lab spins up resources, and then opens another tab that shows the Sign in page.
Tip: Arrange the tabs in separate windows, side-by-side.
Note: If you see the Choose an account dialog, click Use Another Account.
If necessary, copy the Username below and paste it into the Sign in dialog.
student-02-684ce8e0d07f@qwiklabs.netYou can also find the Username in the Lab Details pane.
Click Next.
Copy the Password below and paste it into the Welcome dialog.
OhyjjOkNAgQeYou can also find the Password in the Lab Details pane.
Click Next.
Important: You must use the credentials the lab provides you. Do not use your Google Cloud account credentials.
Note: Using your own Google Cloud account for this lab may incur extra charges.
Click through the subsequent pages:
Accept the terms and conditions.
Do not add recovery options or two-factor authentication (because this is a temporary account).
Do not sign up for free trials.
After a few moments, the Google Cloud console opens in this tab.
Note: To access Google Cloud products and services, click the Navigation menu or type the service or product name in the Search field.

Activate Cloud Shell
Cloud Shell is a virtual machine that is loaded with development tools. It offers a persistent 5GB home directory and runs on the Google Cloud. Cloud Shell provides command-line access to your Google Cloud resources.
Click Activate Cloud Shell at the top of the Google Cloud console.
Click through the following windows:
Continue through the Cloud Shell information window.
Authorize Cloud Shell to use your credentials to make Google Cloud API calls.
When you are connected, you are already authenticated, and the project is set to your Project_ID, qwiklabs-gcp-02-19e027312a33. The output contains a line that declares the Project_ID for this session:
Your Cloud Platform project in this session is set to qwiklabs-gcp-02-19e027312a33
gcloud is the command-line tool for Google Cloud. It comes pre-installed on Cloud Shell and supports tab-completion.
- (Optional) You can list the active account name with this command:
gcloud auth list
- Click Authorize.
Output:
ACTIVE: *
ACCOUNT: student-02-684ce8e0d07f@qwiklabs.net

To set the active account, run:
    $ gcloud config set account `ACCOUNT`
- (Optional) You can list the project ID with this command:
gcloud config list project
Output:
[core]
project = qwiklabs-gcp-02-19e027312a33
Note: For full documentation of gcloud, in Google Cloud, refer to the gcloud CLI overview guide.
Task 1. Set the default region and zone for all resources
Set the default region:
gcloud config set compute/region us-central1In Cloud Shell, set the default zone:
gcloud config set compute/zone us-central1-cLearn more about choosing zones and regions in Compute Engine's Regions and zones documentation.
Task 2. Create multiple web server instances
For this load balancing scenario, you create three Compute Engine VM instances and install Apache on them, then add a firewall rule that allows HTTP traffic to reach the instances.
The code provided sets the zone to us-central1-c. Setting the tags field lets you reference these instances all at once, such as with a firewall rule. These commands also install Apache on each instance and give each instance a unique home page.
Create a virtual machine,
www1, in your default zone using the following code:gcloud compute instances create www1 \ --zone=us-central1-c \ --tags=network-lb-tag \ --machine-type=e2-small \ --image-family=debian-11 \ --image-project=debian-cloud \ --metadata=startup-script='#!/bin/bash apt-get update apt-get install apache2 -y service apache2 restart echo " <h3>Web Server: www1</h3>" | tee /var/www/html/index.html'Create a virtual machine,
www2, in your default zone using the following code:gcloud compute instances create www2 \ --zone=us-central1-c \ --tags=network-lb-tag \ --machine-type=e2-small \ --image-family=debian-11 \ --image-project=debian-cloud \ --metadata=startup-script='#!/bin/bash apt-get update apt-get install apache2 -y service apache2 restart echo " <h3>Web Server: www2</h3>" | tee /var/www/html/index.html'Create a virtual machine,
www3, in your default zone.gcloud compute instances create www3 \ --zone=us-central1-c \ --tags=network-lb-tag \ --machine-type=e2-small \ --image-family=debian-11 \ --image-project=debian-cloud \ --metadata=startup-script='#!/bin/bash apt-get update apt-get install apache2 -y service apache2 restart echo " <h3>Web Server: www3</h3>" | tee /var/www/html/index.html'Create a firewall rule to allow external traffic to the VM instances:
gcloud compute firewall-rules create www-firewall-network-lb \
    --target-tags network-lb-tag --allow tcp:80
Now you need to get the external IP addresses of your instances and verify that they are running.
Run the following to list your instances. You'll see their IP addresses in the
EXTERNAL_IPcolumn:gcloud compute instances listVerify that each instance is running with
curl, replacing [IP_ADDRESS] with the external IP address for each of your VMs:curl http://[IP_ADDRESS]Click Check my progress to verify that you've created a group of web servers.
Create multiple web server instances
Task 3. Configure the load balancing service
When you configure the load balancing service, your virtual machine instances receives packets that are destined for the static external IP address you configure. Instances made with a Compute Engine image are automatically configured to handle this IP address.
Note: Learn more about how to set up Network Load Balancing from the Backend service-based external passthrough Network Load Balancer overview guide.
Create a static external IP address for your load balancer:
gcloud compute addresses create network-lb-ip-1 \
  --region us-central1
Output:
Created [https://www.googleapis.com/compute/v1/projects/qwiklabs-gcp-03-xxxxxxxxxxx/regions/us-central1/addresses/network-lb-ip-1].Add a legacy HTTP health check resource:
gcloud compute http-health-checks create basic-checkClick Check my progress to verify that you've created an L4 Network Load Balancer that points to the web servers.
Configure the load balancing service
Task 4. Create the target pool and forwarding rule
A target pool is a group of backend instances that receive incoming traffic from external passthrough NLBs. All backend instances of a target pool must reside in the same Google Cloud region.
Run the following to create the target pool and use the health check, which is required for the service to function:
gcloud compute target-pools create www-pool \
  --region us-central1 --http-health-check basic-check
Add the instances you created earlier to the pool:
gcloud compute target-pools add-instances www-pool \
    --instances www1,www2,www3
Next you'll make the forwarding rule. A forwarding rule specifies how to route network traffic to the backend services of a load balancer.
Add a forwarding rule:
gcloud compute forwarding-rules create www-rule \
    --region  us-central1 \
    --ports 80 \
    --address network-lb-ip-1 \
    --target-pool www-pool
Click Check my progress to verify that you've created the target pool and a forwarding rule.
Create the target pool and forwarding rule
Task 5. Send traffic to your instances
Now that the load balancing service is configured, you can start sending traffic to the forwarding rule and watch the traffic be dispersed to different instances.
Enter the following command to view the external IP address of the www-rule forwarding rule used by the load balancer:
gcloud compute forwarding-rules describe www-rule --region us-central1Access the external IP address:
IPADDRESS=$(gcloud compute forwarding-rules describe www-rule --region us-central1 --format="json" | jq -r .IPAddress)Show the external IP address:
echo $IPADDRESSUse the
curlcommand to access the external IP address, replacingIP_ADDRESSwith an external IP address from the previous command:while true; do curl -m1 $IPADDRESS; doneThe response from the
curlcommand alternates randomly among the three instances. If your response is initially unsuccessful, wait approximately 30 seconds for the configuration to be fully loaded and for your instances to be marked healthy before trying again.Use Ctrl + C to stop running the command.
Solution of Lab
https://www.youtube.com/watch?v=3bDxS6vGgfY
curl -LO raw.githubusercontent.com/ePlus-DEV/storage/refs/heads/main/labs/GSP007/lab.sh
source lab.sh
Script Alternative
curl -LO https://raw.githubusercontent.com/Itsabhishek7py/GoogleCloudSkillsboost/refs/heads/main/Set%20Up%20Network%20and%20Application%20Load%20Balancers/abhishek.sh
sudo chmod +x abhishek.sh
./abhishek.sh